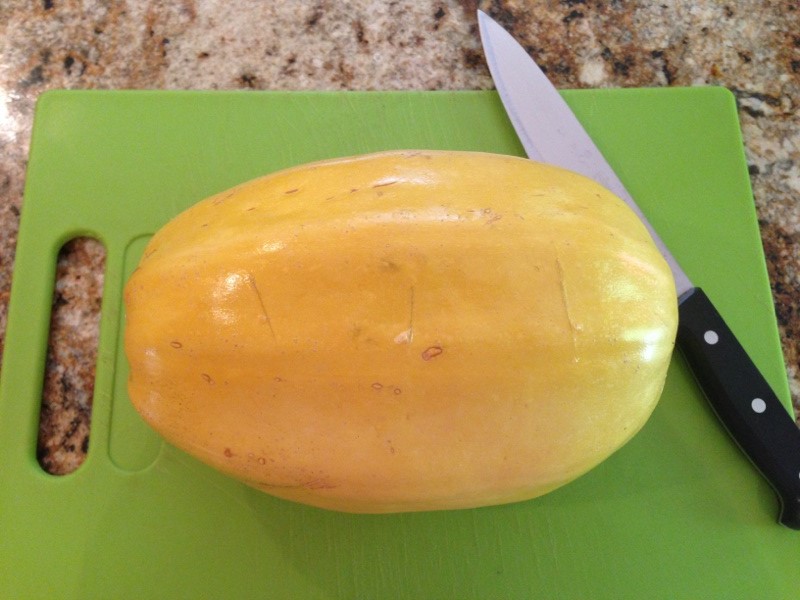
Spaghetti Squash
I’ve been on a low carbohydrate diet for a few weeks and one of the things I miss most is a big bowl of spaghetti Bolognese. I’ve been reluctant to try making this dish with spaghetti squash instead, but was pleasantly surprised when I finally caved and did just that over the weekend.
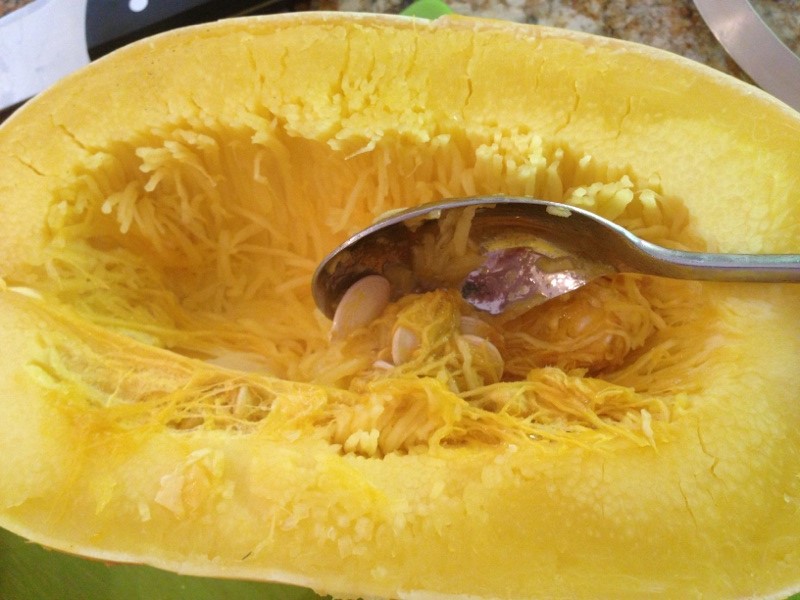
Remove Seeds
About Spaghetti Squash (Cucurbita Pepo):
- Although it’s harvested in the fall, spaghetti squash can keep for up to 6 months in a cool place. That’s how we find it at the market year-around.
- When cooked, the spaghetti squash’s flesh becomes strand-like much like spaghetti, hence its name.
- Spaghetti squash seeds can be roasted just like pumpkin seeds.
- Spaghetti squash is full of folic acid, vitamin A, potassium and beta carotene (especially in orange varieties).
- It’s low in calories at about 40 calories per cup.
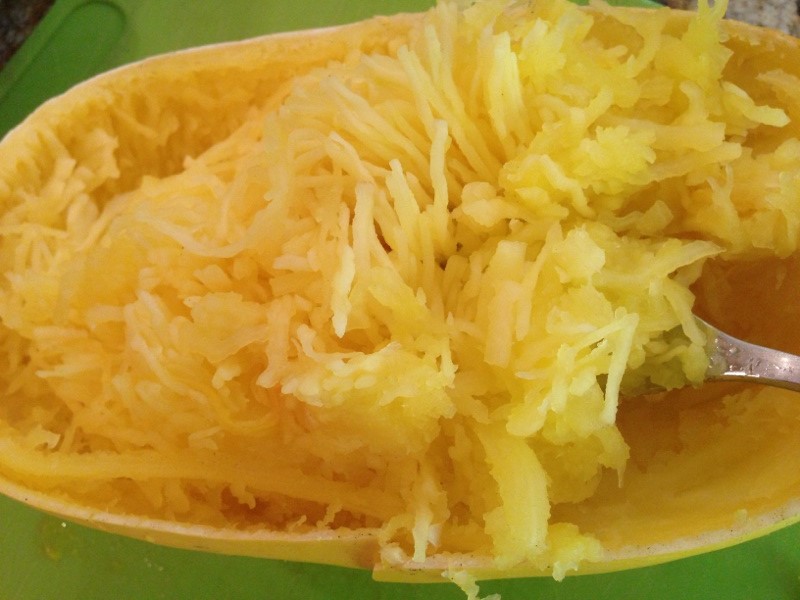
Pull Strings with Fork
Here’s a fail-proof way of cooking spaghetti squash:
- Pierce through the flesh of the squash in about 10 places with a sharp, thin blade knife.
- Place a double layer of paper towel in the microwave and place the squash on them.
- Microwave for 12 minutes (for medium-sized squash), rotating every few minutes if your oven doesn’t have a rotating plate. Allow to cool for 5 minutes before attempting to handle.
- Cut the squash long ways.
- Using a spoon, remove the seeds and save them for roasting.
- Using a fork, pull strings of squash flesh away from the outer skin. Place the “spaghetti” in a bowl for intended use.
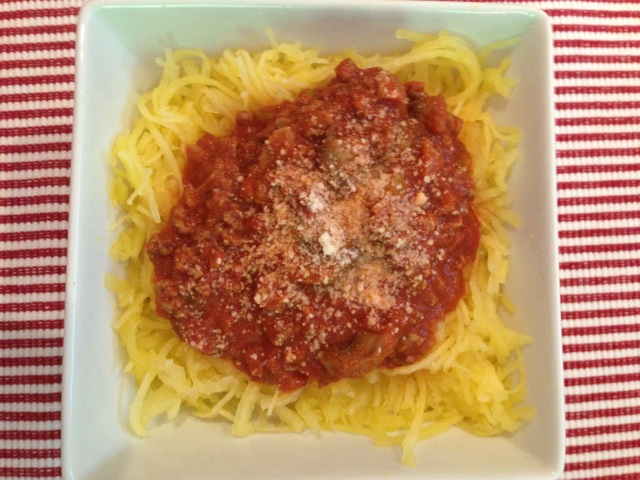
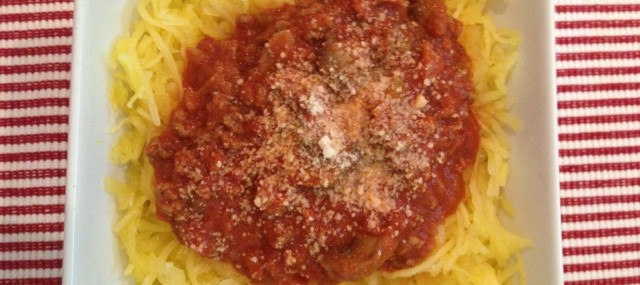
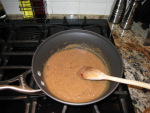
Spaghetti Squash with Meat Sauce
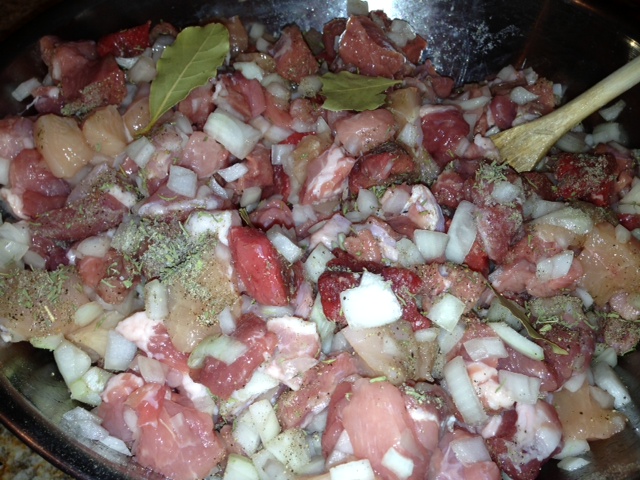
Since I had a major craving for meat sauce, I topped my squash spaghetti with traditional Quebec Meat Sauce I’d defrosted. YUM!!!!!!!
Have you had this fruit and if so, what’s your favorite way to enjoy it?
Veronique


Recent Comments