Vegan Fudge with Walnuts

Vegan Fudge with Walnuts

Yes, you read that recipe title correctly – VEGAN! My dear friend Sharon’s been living a vegan, unprocessed foods lifestyle for a while now and posts recipes of foods she’s reinventing as vegan that always look tasty and interesting. This past week, she posted a recipe I finally decided to try and post here as it’s perfect for the upcoming holidays – Vegan Fudge!

Photo Credit: Diane Biancamano

The recipe was created by amazing vegan chef/recipe creator/food blogger Dianne Wenz. Dianne and I ran in some of the same circles both being New Jersey food bloggers, before I relocated to Charlotte. Her popular food blog, Dianne’s Vegan Kitchen, is filled with fantastic recipes and tips for adopting and living a vegan lifestyle.

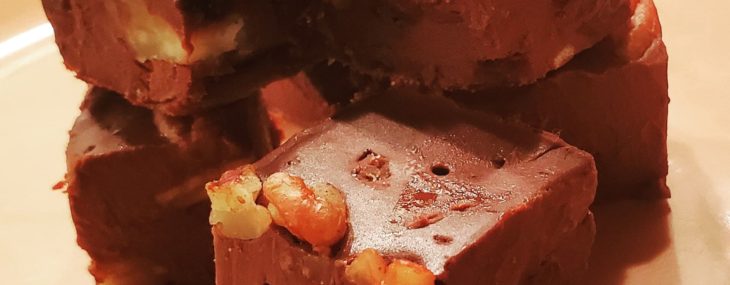
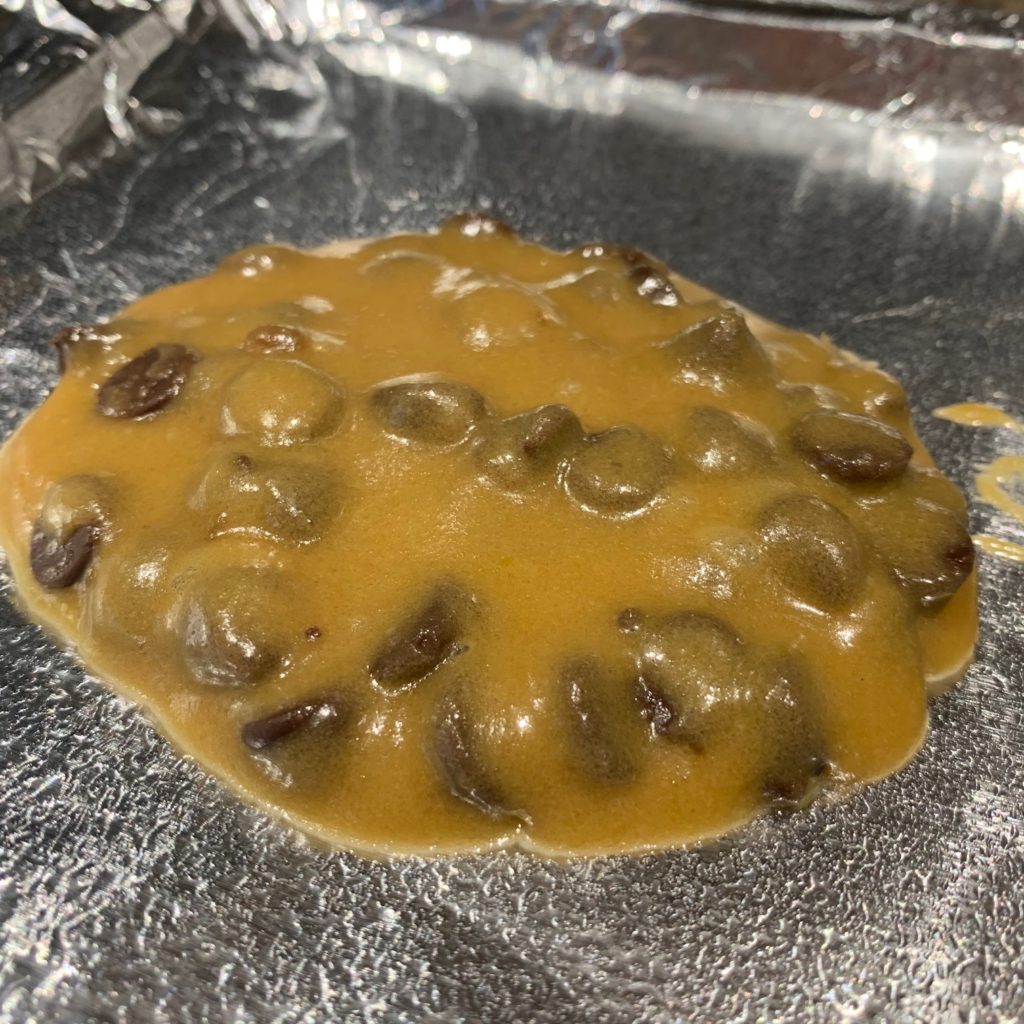
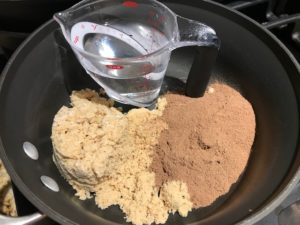
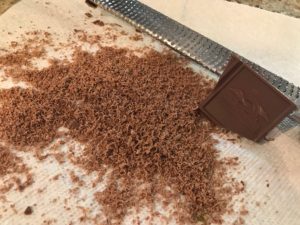
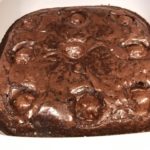
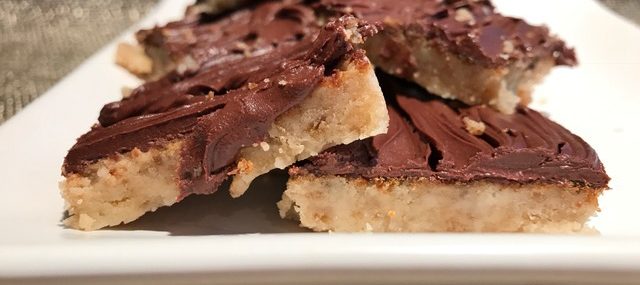
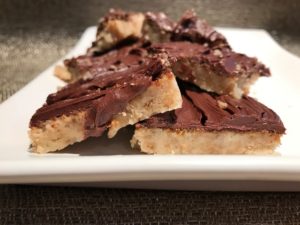
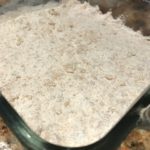
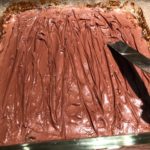
Two things attracted me to this recipe: 1) the fudge looks creamy and velvety 2) the recipe calls for homemade dairy-free condensed milk – WHAT!!?? If find all this intriguing and fantastic.

Photo Credit: Sharon Lewis

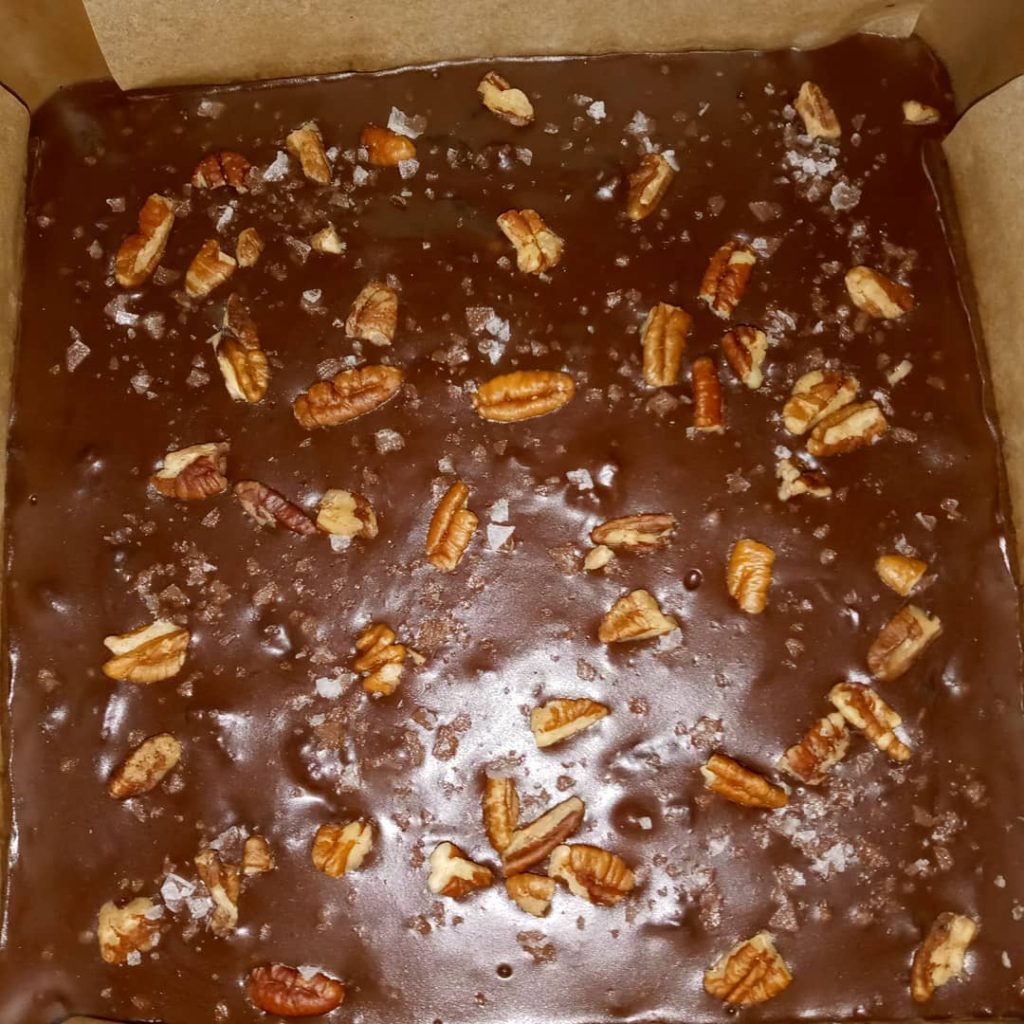
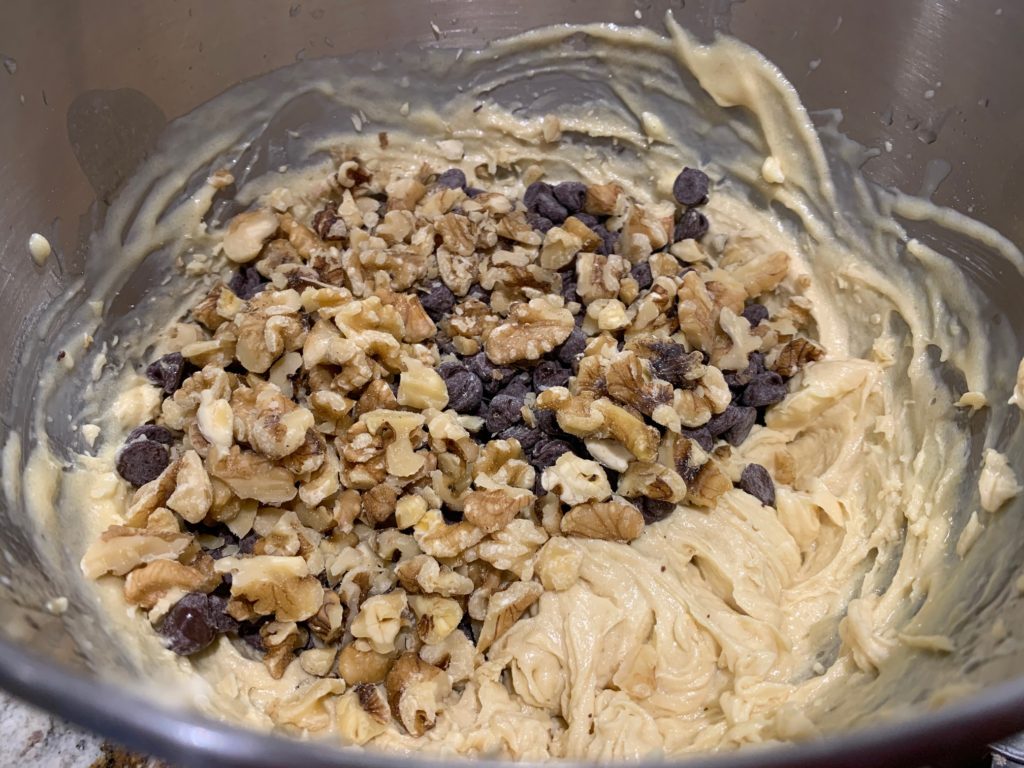
Here’s Dianne’s recipe for Vegan HOMEMADE VEGAN FUDGE (WITH DAIRY-FREE CONDENSED MILK). The recipe calls for walnuts, which I think are a must in fudge, but please skip if you don’t like them or if there are food allergies in your homes.

I cannot wait to make this for the holidays and hope you give it a try too!

Cheers,

Veronique

Chocolate Chip and Walnut Pie

If you’ve followed this blog or my social media posts for a while, you’ll know I’m a huge fan of pies. From berry to citrusy to chocolatey pies, I like them all (not pumpkin, never pumpkin).

This pie, originally published by Nestle Toll House, is pretty amazing as it combines chewy, fudgy chocolate chip cookie texture inside a buttery, flaky crust. I used classic walnuts in this but please use whatever nuts you like. Pecans or macadamia would be particularly awesome.

If the thought of making your own pie crust stops you from trying this recipe, simply use a store-bought pie shell.

Ingredients:  

  • 2 large eggs
  • ½ cup all-purpose flour
  • ½ cup granulated sugar
  • ½ cup packed brown sugar
  • 1 ½ sticks butter, softened
  • 1 cup semi-sweet chocolate chips
  • 1 cup chopped walnuts (could use other unsalted nuts)
  • 9” deep-dish pie shell, unbaked (use this homemade fail-proof crust recipe or use store-bought)
  • Good quality vanilla ice cream (optional but recommended)

Directions:

  • Preheat oven to 325 degrees F.
  • In the bowl of an electric mixer, beat the eggs of medium-high speed until light and fluffy, about 2 minutes.
  • Add the flour, granulated sugar, brown sugar and the softened butter and beat to fully incorporate into the egg mixture.
  • Add the chips and walnuts and blend to just combine.
  • Add the mixture to the unbaked pie shell.
  • Bake the pie for 55 to 60 minutes or until toothpick inserted in the center of the pie comes out clean. Cool on wire rack.
  • Serve warm with ice cream (if using).

Pie serves 6-8.

DoubleTree Signature Cookie Recipe

Social media went crazy when, earlier this month, Hilton shared its DoubleTree cookie recipe. For those of us who often stay at DoubleTree by Hilton properties, it’s alway such a treat to receive a warm cookie at check-in time. I often wondered “what do they put in these cookies?” as they’re so so so tasty! There’s a texture thing that I thought might be coconut, but it’s in fact rolled oatmeal!

Here’s the link to the recipe and I’ve made a few observations:

300 degrees is lower a temperature than I’m used to baking at. My cookies baked in 25 minutes, so start checking the browning at 20-23 minutes, knowing it could take a few additional minutes.

I had pecans instead of walnuts so I used the pecans and the cookies were fantastic. Not the original receipe, but very delish.

I baked 4 cookies and froze the rest as dough balls that, according to the recipe, can be baked right from the freezer.

I like the idea of the lemon juice and will use it in all my cookie recipes going forward.

I ended up with 28 cookies…just couldn’t keep trying to resize them to get to the proposed 26 cookies.

These are amazing cookies!!

Veronique

Easy Recipe for Two Cookies

Easy Recipe for Two Cookies

Having a sweets craving but don’t want to be at home with a normal batch of cookies in fear you might have more than a couple? Here’s a super simple chocolate and butterscotch chip cookies that makes just two large cookies!

These will seems a bit strange as they’re more liquid (see photo below) than what we’re used to where cookie batter can be balled up and placed on a cookie sheet. Because the ‘batter’ is more liquid, be sure to space out the cookies on your cookie sheets as they get super large (and awesome) when they bake.

This time I used both chocolate and butterscotch chips, but you could easily use all chocolate chips.

Ingredients:

  • 2 Tbsp. butter
  • 1 Tbsp. granulated sugar
  • 2 Tbsp. brown sugar
  • Pinch of salt
  • 1/2 tsp. pure vanilla extract
  • 1 egg yolk
  • 1/4 cup of all-purpose flour
  • 1/4 tsp. baking soda
  • 2 Tbsp. semisweet chocolate chips
  • 1 Tbsp. butterscotch chips

Instructions

  1. Preheat oven to 350 degrees.
  2. Line a baking sheet with foil or parchment paper. If using foil, coat with cooking spray.
  3. Heat the butter in the microwave until it just starts to melt and is softened – don’t let it bubble up.
  4. Add the white and brown sugars, the salt and the vanilla and blend well.
  5. Add the egg yolk and stir until well-incorporated.
  6. Add the flour and the baking soda and stir until just combined.
  7. Add the chips and stir until just incorporated.
  8. Scoup batter onto the baking sheets into two cookies.
  9. Bake for approximately 9 minutes, or until edges are golden brown.

Makes two large cookies.

One Minute Brownie in a Cup

One Minute Brownie in a Cup

This is a perfect little one minute brownie recipe for when you have sugar cravings but don’t want to wait 45 minutes to satisfy your sweet tooth.

Ingredients:

  • 1 Tbsp. all-purpose flour
  • 2 Tbsp. powdered milk
  • 2 Tbsp. granulated sugar
  • 1 Tbsp. cocoa powder
  • 2 Tbsp. whole milk

Directions:

  1. In a small bowl, combine all the ingredients. Pour mixture in a microwaveable-safe mug and microwave for one minute.

Serves one.

Chocolate Pudding Cobbler

Chocolate Pudding Cobbler

I’m Canadian and one of our very typical home-style desserts is the beloved chocolate pudding cobbler. Think cakey cake and warm gooey chocolate pudding in one – divine! Kind of like a lava cake but in a pan that’s fail-proof and serves 6-8 people!

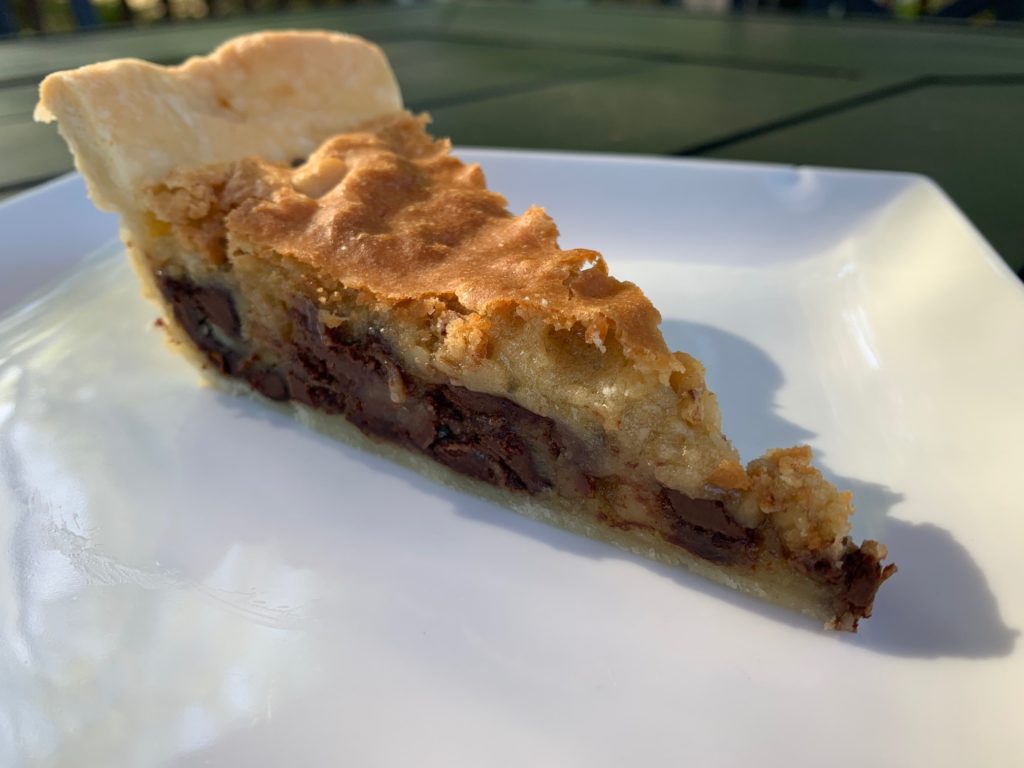
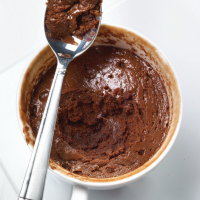
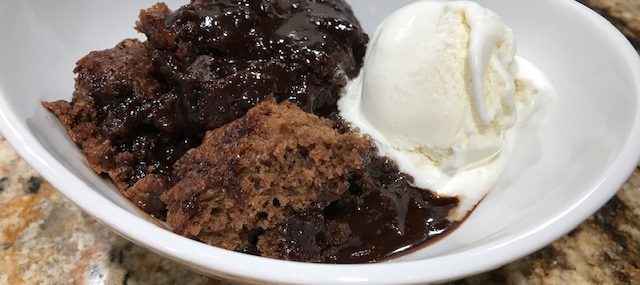
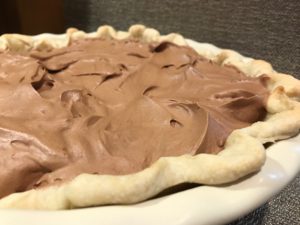
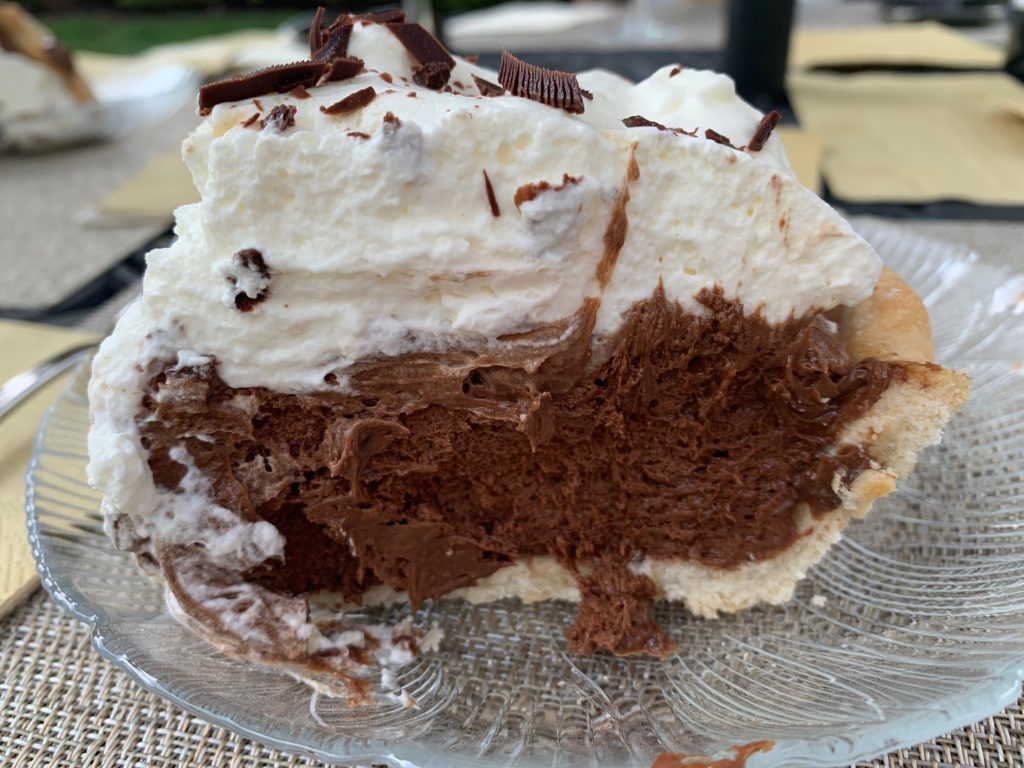
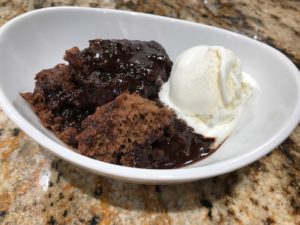
This recipe comes together super quickly and it’s best served with good quality vanilla ice cream which kind of melts into the pudding – decadent and comforting.

Cake Ingredients:

  • 1 cup all-purpose flour
  • ½ tsp. salt
  • 2 Tbsp. cocoa powder
  • 2 Tbsp. butter, melted and cooled
  • 2 tsp. baking powder
  • 2/3 cup granulated sugar
  • ½ cup whole milk
  • 1 tsp. pure vanilla extract

Chocolate Pudding Ingredients:

  • 1 cup brown sugar
  • 1 cup water
  • 4 tbsp. cocoa powder

Cake Directions:

  1. In a medium bowl, combine the flour, salt, cocoa powder, baking powder and sugar. Add the milk, melted butter and vanilla and whisk to combine.

Chocolate Pudding Directions:

  1. Preheat oven to 350 degrees.
  2. Grease or coat in cooking spray am 8” x 8” baking pan. Add the cake batter.
  3. In a medium saucepan over medium-high heat, combine then bring to a boil the brown sugar, water and cocoa powder. Whisk to ensure a hot sauce, then gently pour over the cake batter.
  4. Bake for 30 minutes and serve warm with vanilla ice cream.

Cheers,

Veronique

Chocolate French Silk Pie

Chocolate French Silk Pie

Growing up, I’d always ask for chocolate silk pie for my birthday. I much preferred it over cakes and my love for pie started around that time. My grandma made the best super tall chocolate silk pie and I wish I could have a slice of it just one more time.

I have my old standard Mile High Chocolate Cream Pie recipe (https://www.foodandwinechickie.com/2012/01/16/mile-high-chocolate-cream-pie) that produces this light and velvety pie but I thought I’d go a different route to see if I could get a better result and tried the below. It was really creamy and light with big chocolate flavors boosted by the espresso powder.

If you want to go with a store-bought pie crust, that’s perfectly fine. The recipe below yields two 9” pie crusts that freeze well, so I typically use one and freeze one.

INGREDIENTS:

For the Filling

  • 1 cup butter, soften
  • 1 ½ cups granulated sugar
  • 4 ounces unsweetened chocolate, melted and slightly cooled
  • 2 tsp. pure vanilla extract
  • ¼ tsp. instant espresso/coffee powder
  • 2 Tbsp. Dutch-processed cocoa powder
  • 4 large eggs
  • 2 cups heavy cream, whipped
  • Chocolate shavings or curls (optional)

DIRECTIONS:

  1. Preheat oven to 400F.
  2. Place a pie crust in a 9” pie plate, embellish the edges and dock the dough by piercing with a fork several times around the bottom and sides to prevent the crust from bubbling or puffing up while baking. Add a piece of parchment paper over the crust and fill with dried beans/pie weights (I use beans that I cool after baking and store in a zip top baggies for the next pie). Bake in the bottom third of the oven for 15 minutes. Remove the parchment/dried beans and return to the oven for 10 more minutes, or until the crust is lightly golden. Let the crust cool completely on a wire rack before adding the filling – don’t be tempted to add the filling until the crust is cooled, it’ll be a mess and won’t work or set correctly.
  3. In the bowl of an electric mixer fitted with the paddle attachment, cream the butter and sugar until light and fluffy, scraping the bowl with a rubber spatula a couple of times to ensure all is well-incorporated.
  4. With the mixer running at low speed, pour the cooled melted chocolate into the butter mixture. Add the vanilla, the espresso powder and the cocoa powder. Scrape down the bowl again to fully combine.
  5. Add the eggs one at a time, beating for 3 minutes after each addition (12 minutes total) at a high speed. Mixing for 12 minutes is crucial to getting a light and silky texture.
  6. Add the filling to the cooled crust and allow to set in the refrigerator for at least 4 hours and up to 2 days prior to serving.
  7. Top the pie with whipped cream and chocolate shavings or curls (if using).

RECIPE NOTES:

Consuming raw or undercooked eggs may increase your risk of food borne illness, especially if you have a medical condition.

Serves 8.

Inspired by this recipe.

Crunchy Peanut & Chocolate Chip Pepper Cookies

Crunchy Peanut & Chocolate Chip Pepper Cookies

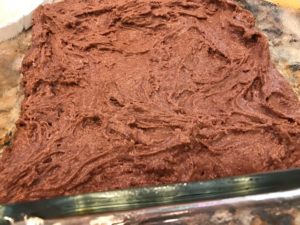
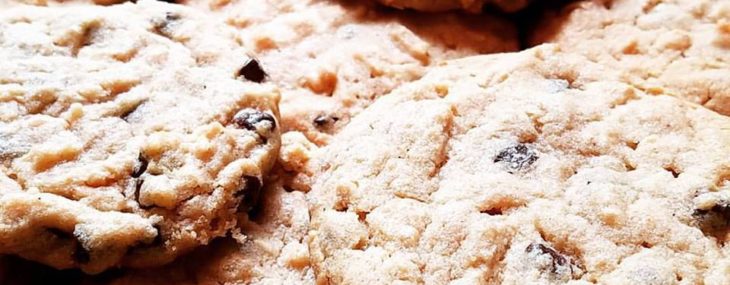
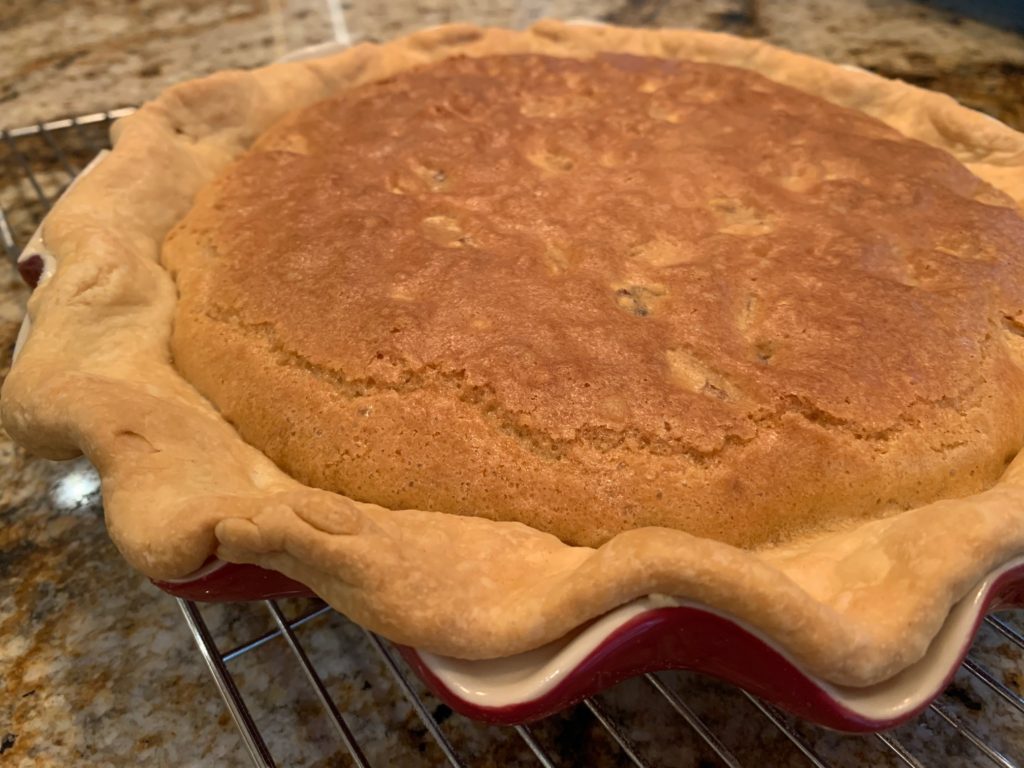
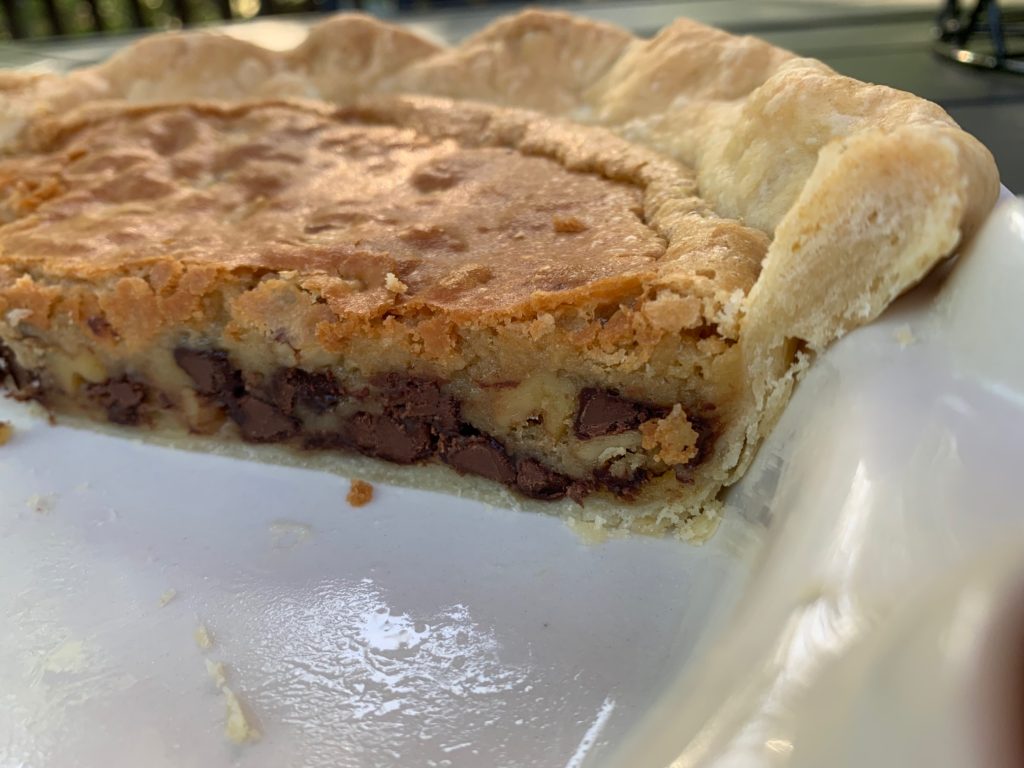
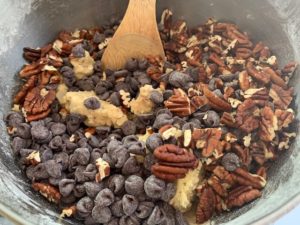
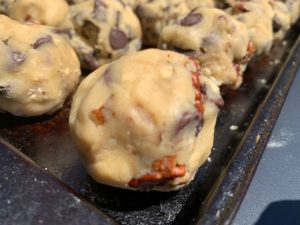
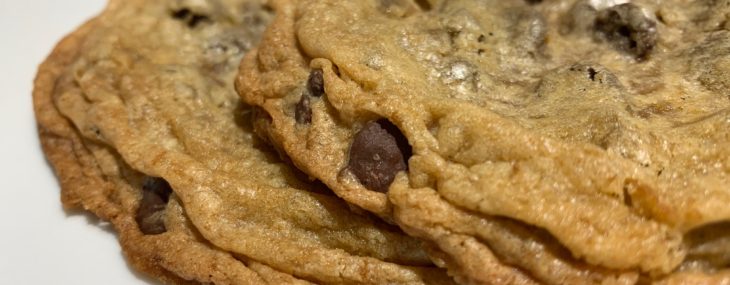
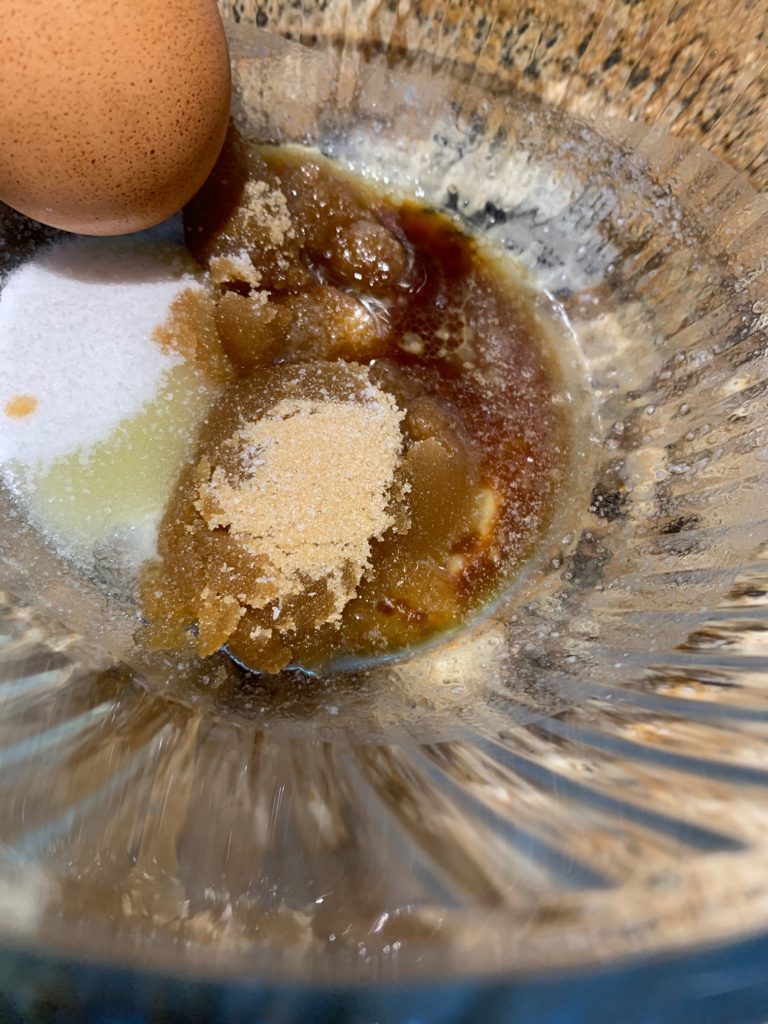
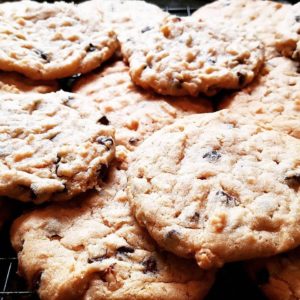
My friend Diane is a great baker so when she posted this yummy-looking photo of a batch of cookies she made, I knew I had to share it with you.

Ingredients:

  • 1 ¼ cups all-purpose flour
  • 1 ¼ tsp. kosher salt
  • ¾ tsp. cayenne pepper
  • ½ tsp. baking soda
  • ½ cup (1 stick) unsalted butter, at room temperature
  • 1/3 cup granulated sugar, plus more for pressing
  • ½ cup packed light brown sugar
  • ½ cup natural, unsweetened peanut butter, stirred well
  • 1 large egg, at room temperature
  • 1 tsp. pure vanilla extract
  • ¼ cup roasted, unsalted peanuts, coarsely chopped
  • ¾ cup miniature chocolate chips

Directions:

  1. Preheat the oven to 350 degrees.
  2. Coat two cookies sheets with cooking spray or line them with parchment paper.
  3. In a medium bowl, whisk the flour, salt, cayenne and baking soda.
  4. In the bowl of an electric mixer, cream together the butter, granulated sugar and brown sugar for 2 minutes. Add the peanut butter, egg and vanilla to the creamed mixture and mix until fully incorporated, about 30 seconds. Add the flour mixture to the peanut butter mixture and stir to combine. Stir in the peanuts and chocolate chips.
  5. Scoop the dough into 2-tablespoon balls and place on the prepared sheets at least 2 inches apart. Using a fork dipped in sugar, gently press a crisscross pattern in the top of each cookie, flattening it out to a 2-inch circle.
  6. Bake until the cookies are light golden brown around the edges, 12 to 14 minutes, rotating the sheets halfway through the baking process. Allow the cookies cool for 5 minutes on the cookie sheets, then move them to baking racks to cool completely. Store in an airtight container at room temperature for up to 2 days or in the freezer for 1 month.

Yields 24 cookies.

Adapted from this recipe.

Ferrero Rocher Brownies

Ferrero Rocher Brownies

ferrero-rocher-brownies
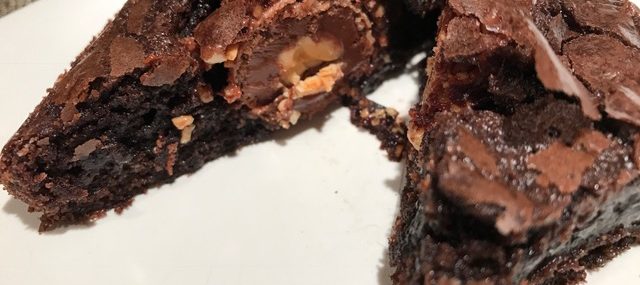
Day 8 of my 12 Days of Christmas Baking compilation.

Ah Ferrero Rocher chocolates….those golden little treats that are available year-around but sooooo prominent around the holidays. I’ve incorporated Rochers in cupcakes before to fabulous results (think chocolate cupcakes with Nutella frosting and a Rocher in the center), but this weekend, I tried them in my brownie recipe – chocolate hazelnut goodness!

I’m sure this would work fine if you used a commercial brownie mix but I used my amazing Ghirardelli Dark Fudgy Brownies.

Ingredients:


Directions:

  1. Prepare the brownie batter as per the instructions.
  2. Pour half the brownie batter in the prepared pan.
  3. Add 9 Ferrero Rocher in a pattern that will allow for a Rocher in the center of one of nine brownie squares (see photo for a visual).
  4. Cover the Rochers with the second half of the brownie batter and bake 3 minutes longer that the recipe calls for.

Yields 9 sizeable brownies.

Chocolate Butterscotch Bars

Chocolate Butterscotch Bars

Chocolate Butterscotch BarsDay 7 of my 12 Days of Christmas Baking compilation.

When my friend Lisa comes over, I try to make desserts that are butterscotch/caramel-based as she’s a fan (so am I). While I adore my Chocolate Crumb Bars for similar flavors, this recipe only has four ingredients that I always have on hand and it’s a breeze to make!  

Ingredients:

  • 1 cup all-purpose flour
  • ½ cup plus ¼ cup brown sugar
  • ¼ cup plus 1/3 cup butter (I use salted)
  • ½ cup semi-sweet chocolate chips

Directions:

  1. Preheat oven to 350 degrees.
  2. Coat an 8×8 glass pan with cooking spray.
  3. In a medium bowl, combine the flour, ½ cup of brown sugar and the ¼ cup of butter. Use a pastry cutter or two better knives to combine, until mixture is crumbly and butter is the size of peas – i finish the job with my hands, working quickly not to melt all the butter. Press the mixture into bottom of the prepared pan.
  4. In a small saucepan over medium heat, melt the remaining 1/3 cup of butter. Add in the remaining ¼ cup of brown sugar and stir. Bring to a boil and cook for 1 minute. Remove from the heat and pour over the crust – this mixture will not look very caramely, but hang in there, the taste sure will!
  5. Bake in the oven for 15 minutes – don’t overbake or the caramel will harden too much.
  6. Remove from oven and sprinkle the chocolate chips on top of the caramel, wait 2 minutes then spread gently with an offset spatula or a thin knife. Allow to cool completely then cut into bars.

Makes 12 to 16 bars, depending on how large you cut them. I get 16 out of this recipe as I find the bars rich, thus a smaller piece is just fine.