 I’ve been using my “Beef Chili for a Crowd” recipe for as long as I can remember. It’s flavorful, a bit spicy and feeds an army. I never saw a reason to use a different recipe until I judged a chili competition when this elderly gentleman made the absolutely best Texas-style chili I’ve ever had. For those not familiar with Texas-style chili – it contains no beans (blasphemy) and it typically featured hand-chopped beef instead of the common ground beef style that’s so popular here in the northeast.
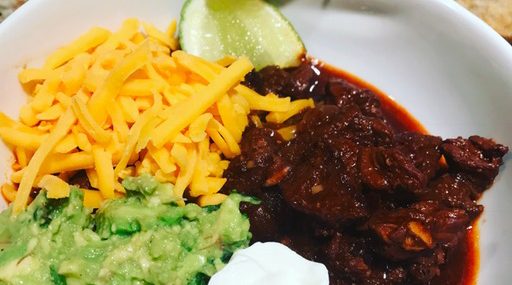
This chili is hearty, rich, and earthy with just the right level of spice. I won’t lie – cubing the beef into small pieces pretty much sucks, but the final product is so worth it.
While many grocery stores now carry dried chiles, I visited my local Mexican grocer to find the requisite guajillo chiles.
I know it’s a multi-step recipe, but it freezes beautifully for a month, so make it, have a bowl and freeze the rest!
I serve this chili with tortilla chips for dipping, guacamole, cheddar and sour cream. Use whatever garnishes you enjoy.
Ingredients:
- 8 dried chiles, either New Mexico or guajillo
- 2 tsp. ground cumin
- 1 tsp. kosher salt
- 1 tsp. ground black pepper
- 6 Tbsp. vegetable oil, divided
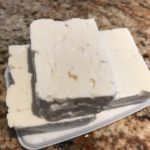
- 2 – 2½ pounds boneless beef chuck roast, cut into ½-inch cubes
- ½ yellow onion, diced
- 2 cloves garlic, minced
- 2 cups beef stock
- 1 cup dark beer
- 3 Tbsp. yellow cornmeal
- 1 Tbsp. white vinegar
- 1 Tbsp. brown sugar
- Sour cream, for garnish (optional)
- Sharp Cheddar cheese, grated, for garnish (optional)
- Diced avocado, for garnish (optional)
- Lime wedges, for garnish (optional)
-
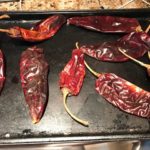
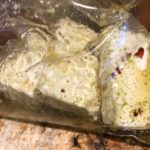
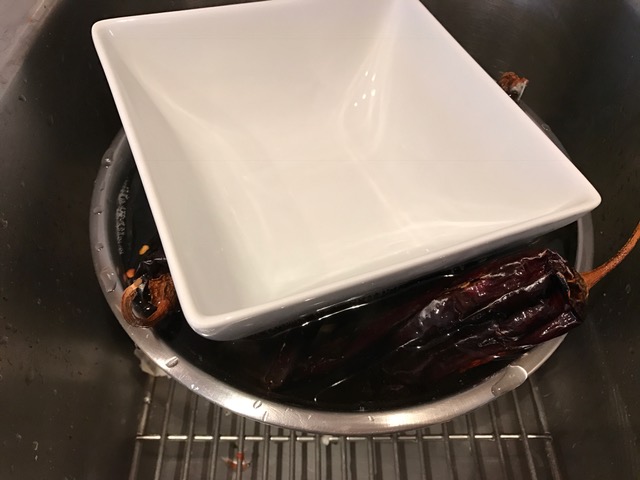
- Roasting Chiles
-
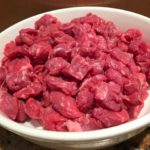
- Cubed Beef
-
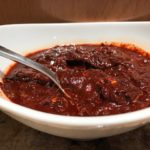
- Chile Paste
-
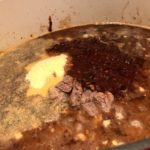
- Chili Simmering
Directions:
- Preheat oven to 325 degrees.
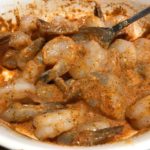
- Lay out dried chiles on a baking sheet lined with foil and roast in the oven for 8 minutes, until fragrant. Add the roasted chiles to a bowl, cover them with hot water and allow to soak for 30 minutes. I use a bowl to weight down the chiles in the water – SEE IMAGE OF THIS TRICK.
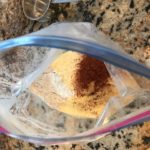
- Drain the chiles (reserve the soaking water), cut off stems, remove seeds and roughly chop them. Add the chopped chiles to a blender along with the cumin, the salt, the pepper, 1/2 cup of the reserved chile soaking liquid and blend until the mixture is very smooth, about 2 minutes. Set aside.
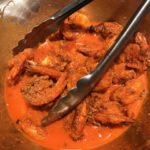
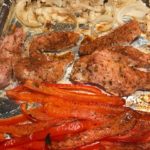
- Place a large Dutch oven over medium-high heat. Season beef cubes with big pinches of salt and pepper. Add 3 tablespoons vegetable oil and brown beef in 2 batches until browned on all sides, 8-10 minutes per batch. Remove beef and set aside.
- Lower the heat to medium, add the remaining 3 tablespoons vegetable oil to the pot and add onions – cook for 4 minutes, stirring frequently then add the garlic and cook for another minute.
- Add the beef stock, 1 cup of the reserved chile soaking liquid and the beer to the onions and garlic and scrape up any bits on the bottom of the pan. Add the beef back to pot with any cooking juices along with the pureed chile paste and the cornmeal. Turn the heat to low and simmer the chili, covered, for 90 minutes. Uncover the chili and cook for 15 more minutes.
- Add the vinegar and the brown sugar to the pot, remove from heat, and let sit for 30 minutes for the chili to thicken. The chili can be made a day ahead of serving, up until this point. Simply cool, cover and refrigerate.
- When ready to eat, gently reheat chili over low heat, adding more beef stock if the chili is too thick. Give a final seasoning of salt or pepper, if needed.
- Serve chili with any/all preferred garnishes.
Yields 4 hearty portions.
Adapted from this recipe.
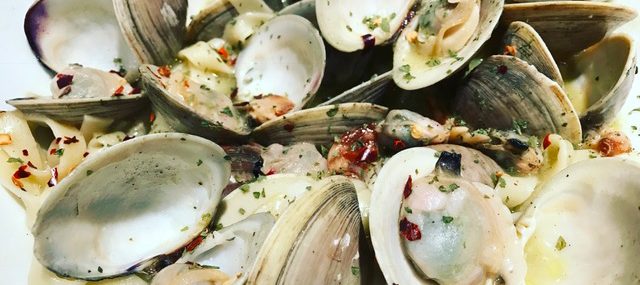
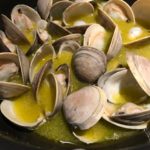
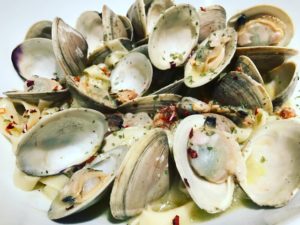 I was watching an old episode of The Best Thing I Ever Ate – SAUCED last weekend where Chef Michael Psilakis talked about the linguine and clam sauce at Don Peppe in Queens, NY (watch the mouth-watering
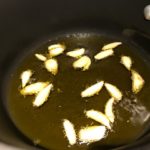

 We were just going to order pizza while watching the “big game” since it was just the two of us, but then I decided to make the next best thing – pepperoni pizza dip!!
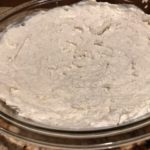


 I love any type of baked cheese dip. I’d been fortunate enough to find
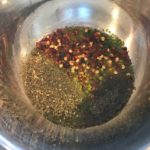

 The “big game” is next weekend and I’ve been trying to come up with a couple appetizers to make while we watch the game. Chicken wings are always a winner, but my all-time favorite Buffalo anything is by far Buffalo shrimp. I know I’m not supposed to like chain restaurants as a discerning foodie, but the Buffalo shrimp at Hooters at the greatest. I’ve used the breading and Buffalo sauce that my sister’s come up with in terms of Hooters wings copycat but simply used large shrimp in place of the chicken.
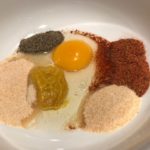

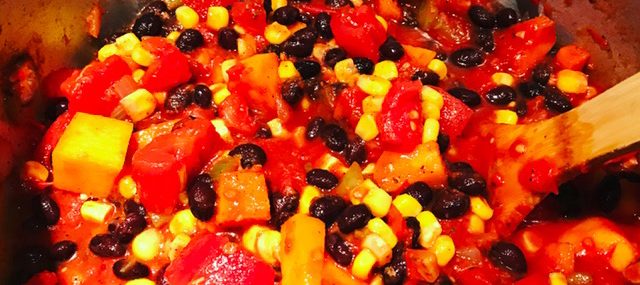
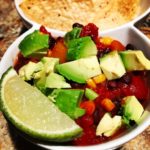
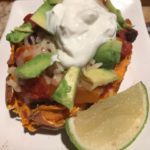
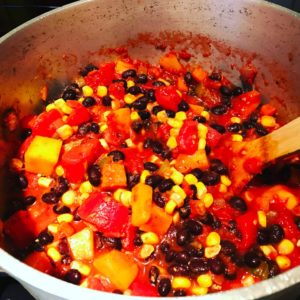 While winter’s been mild here so far in New Jersey, I’m still craving hearty, comforting food. In my continued effort to ‘prep Sunday – eat throughout the week’, this week, I’ve made a meatless chili that was uber satisfying and can be used in various ways during the week. I used it as dip for chips during the football game and topped a baked sweet potato with it for lunch (see photos).
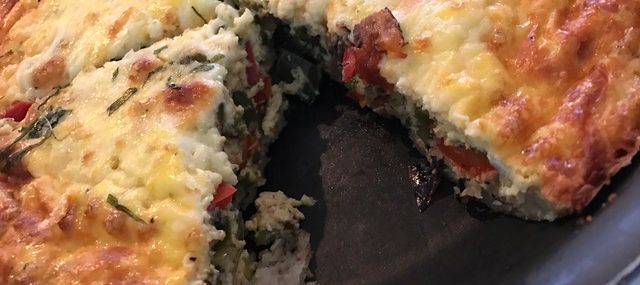
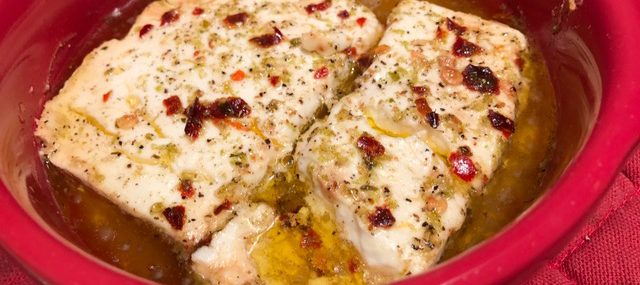
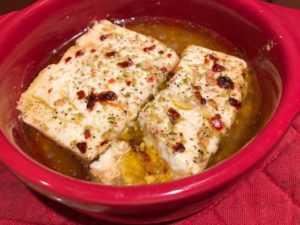
 On Christmas morning, my mom went all fancy on us and served this delicious frittata. A frittata is an Italian egg-based dish alike an omelet or a quiche without a crust. It was a perfect, comforting dish on a snowy Quebec morning.
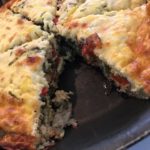

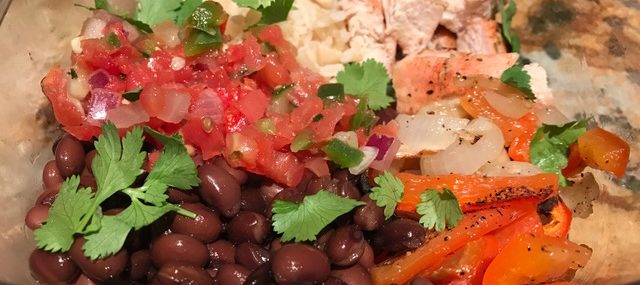
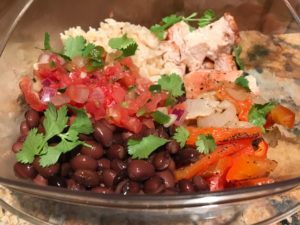 It’s a new year and I’m making all efforts to use meal prepping more so I can cook on Sundays and have delicious, healthy lunches during the week. I did pretty well with this in 2016, but since I travel over 50% of the time, meals at home weren’t very frequent. This recipe makes four lunch since bowls that are easy to take to work and reheat in the microwave. Corn would be a nice addition to this recipe, so feel free to add if you’re not trying to cut down on carbs a bit. Ingredients:


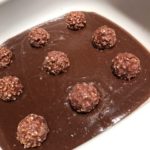
 Day 9 of my 12 Days of Christmas Baking compilation.
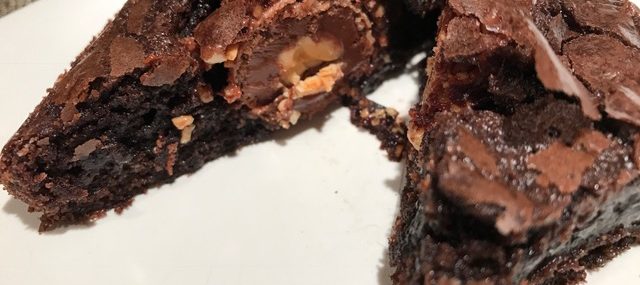
 Day 8 of my 12 Days of Christmas Baking compilation.


Recent Comments