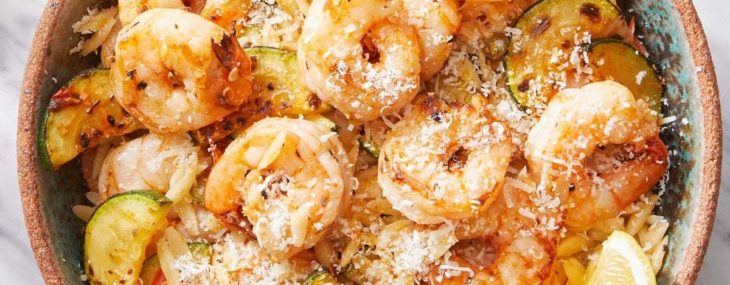
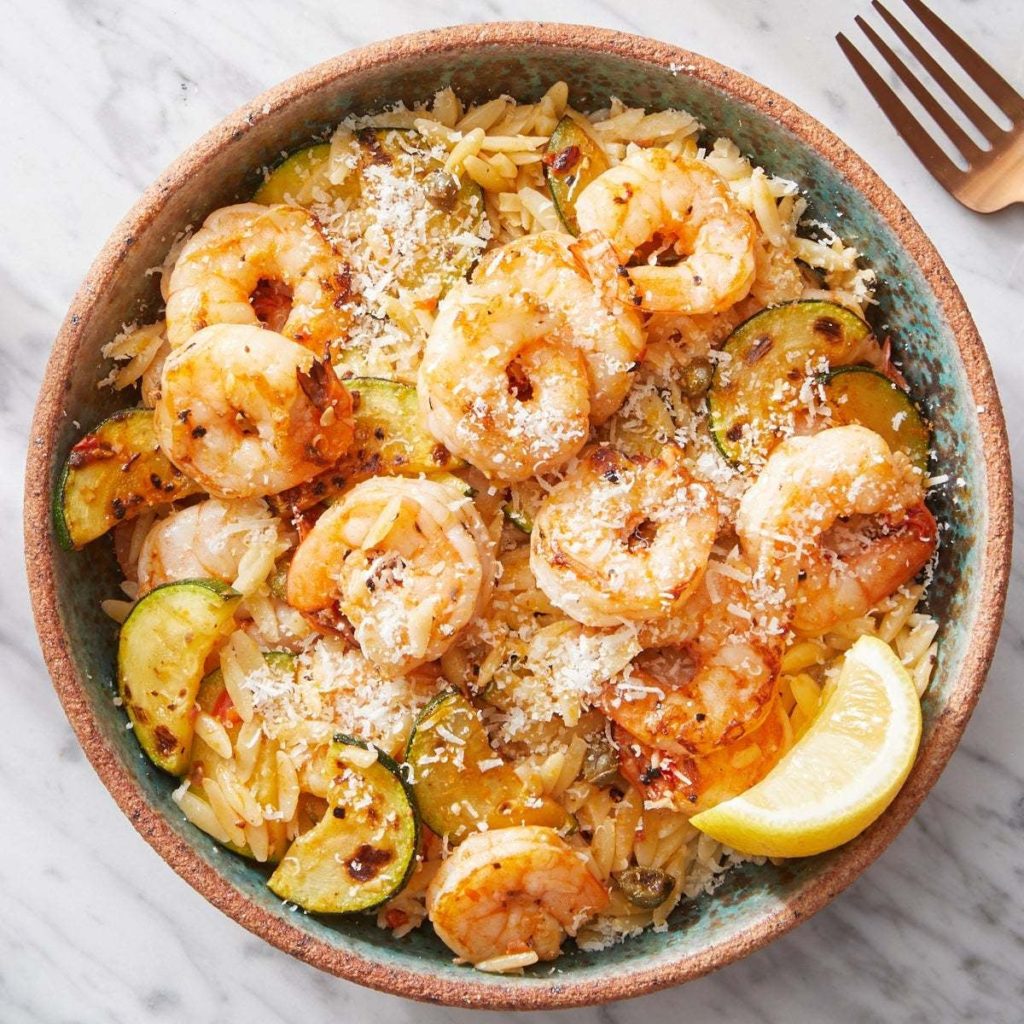
This quick and easy dish was in our Blue Apron box this week, and I wanted to share it and it’s fabulous and so simple to make in less than 15-20 minutes. This recipe pairs tender orzo and shrimp super flavorful from lemon, garlic and Calabrian chili paste.
Ingredients:
- ¾ pound shrimp (peeled, deveined, tails removed)
- 2 garlic cloves, finely chopped
- 1 Tbsp. capers
- 1 tsp. Calabrian chili paste
- 1 tsp. olive oil, divided
- 4 ounces orzo
- 1 medium zucchini, halved lengthwise and thinly slice crosswise
- 2 Tbsp. crème fraîche
- Lemon, quartered and seeded
- ¼ cup grated Parmesan cheese
Directions:
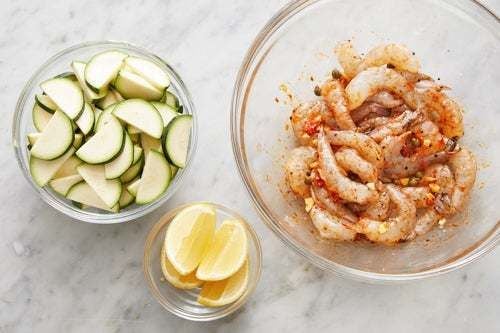
- Pat the shrimp dry with paper towels and place in a medium bowl with the chopped garlic, capers, as much of the chili paste as you’d like, depending on how spicy you’d like the dish to be (we used ½ the teaspoon), ½ teaspoon olive oil and a pinch of salt and pepper. Stir to combine, set aside.
- Bring a medium pot of water to a boil over high heat. Add the orzo to the boiling water and cook for 8 minutes. Drain and return the orzo to the pan to keep warm under cover.
- While the orzo is cooking, heat remaining ½ teaspoon of olive oil on medium-high until hot in a large nonstick sauté pan. Add the sliced zucchini in an even layer and cook, without stirring, 2 to 3 minutes, or until lightly browned. Move the zucchini to one side of the pan. Add the prepared shrimp in an even layer to the other side of the pan and cook, without stirring, 2 to 3 minutes, or until slightly opaque. Continue to cook, stirring the zucchini and shrimp together, 1 to 2 minutes, or until the shrimp are opaque and cooked through. Turn off the heat.
- To the pot of cooked orzo, add the cooked shrimp and zucchini, crème fraîche and the juice of 2 lemon wedges. Stir to combine.
- Taste, then season with salt and pepper, if desired. Serve the finished shrimp and orzo with the cheese and remaining lemon wedges.
Serves two.


 Ingredients:


Recent Comments