Fall’s here and I’m now starting to crave slow braises and roasts. I enjoy the whole process – searing the meat, sautéing the vegetables, splashing wine and broth. Smelling the awesome aromas in the house as the short ribs or the roasts braise in the oven is truly intoxicating!
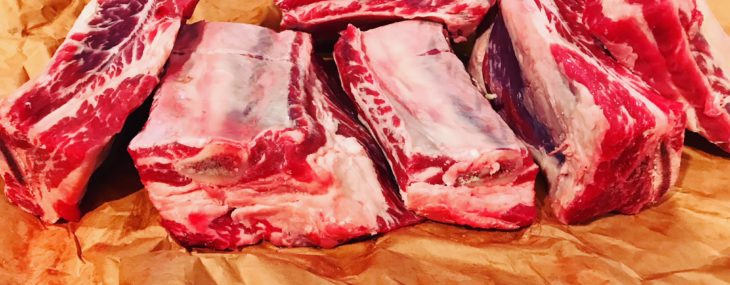
 While I was visiting my favorite craft butcher, Denville Meat Shop (https://www.denvillemeatshop.com), last week, I saw amazing-looking short ribs and I knew they’d be perfect for dinner for the out-of-town company I was entertaining.
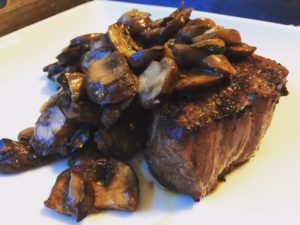
I serve these beauties and creamy mashed potatoes in casual bowls for a rustic look. I also love serving short ribs over creamy soft polenta also. Depends on the mood.
Ingredients:
- 3 Tbsp. vegetable oil
- 1 tsp. each salt and pepper
- 6 large bone-in beef short ribs
- Large Spanish onion, diced
- 3 large carrots, chopped
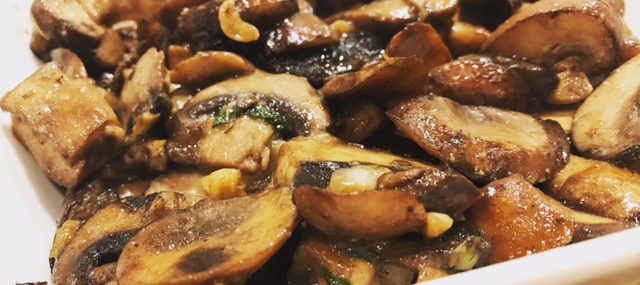
- 1 pound Cremini mushrooms, sliced
- 2 Tbsp. tomato paste
- 3 cups dry red wine, like a Cabernet Sauvignon
- 4 cups beef broth
- 2 bay leaves
- 1 Tbsp. fresh thyme
-
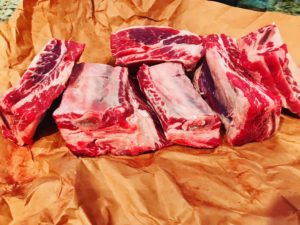
- Gorgeous Short Ribs
-
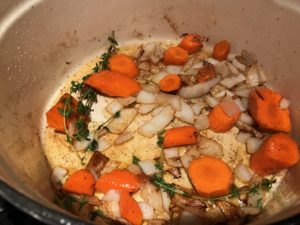
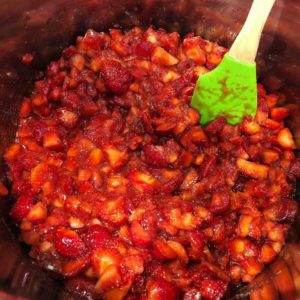
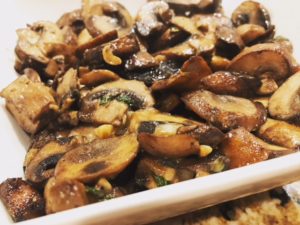
- Veggies Cooking
-
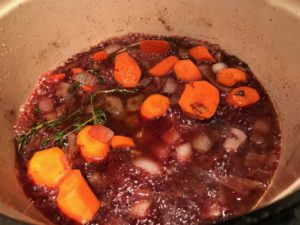
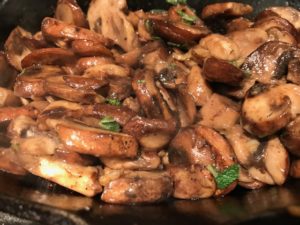
- Adding Broth/Wine
Directions:
- Preheat oven to 300 degrees.
- Over high heat, warm the oil in a large Dutch oven (I actually used two medium-sized ones).
- Sprinkle the salt and pepper all over the short ribs.
- Sear the ribs in the hot oil until browned, about 2 minutes on each side. Place the ribs on a plate.
- Lower the heat to medium-high, add the onion and carrots and cook for 5 minutes until slightly-browned, stirring occasionally. Add the mushrooms and continue cooking for another 3 minutes, until mushrooms have softened. Add the tomato paste and cook for a minute. Add the wine and broth and scrape all the brown bits that have formed on the bottom of the pot (the fond). Add the bay leaves, the thyme and the seared short ribs to the pot then cover and place in the oven to braise for 4-6 hours. Check that the cooking liquid doesn’t seem dry every 30 minutes. If liquid seems low, add ½ cup more beef broth.
Makes 6 servings.
Cheers,
Veronique
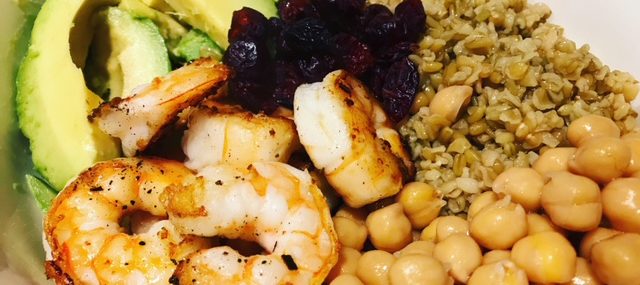
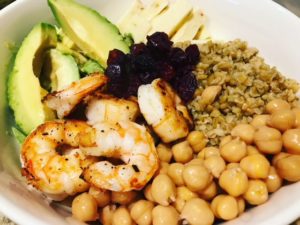 These types of bowls are all the rave right now and for good reason – they’re delicious and so versatile! I like the start with a grain or pasta, this time I’m using freekeh, and add whatever staples you have on hand. Here’s I’m using sliced avocado, canned chickpeas (don’t hate), leftover pepper jack cheese, cranberries and shrimp I thawed from the freezer that I used blackening spices on. Drizzle my favorite dressing and I was good to go in the time it took to cook the freekeh!
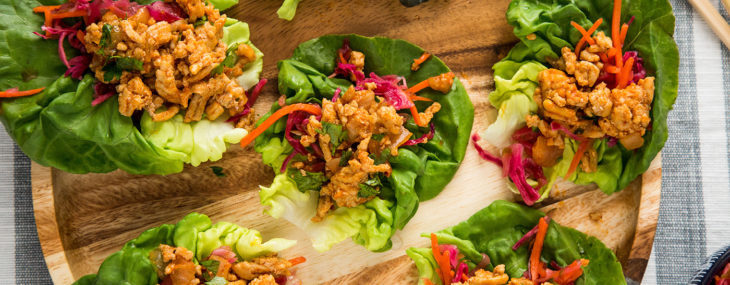
 Pickled Slaw Ingredients:


 In an effort to cut down on carbs, we often forego the typical baked potatoes and corn in favor of grilled vegetables. Asparagus, zucchini and squash are veggies we like, but, our very favorites are mushrooms. We enjoy all kinds of mushrooms cooked many different ways.


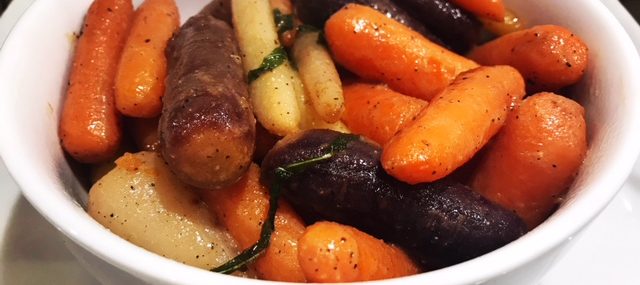
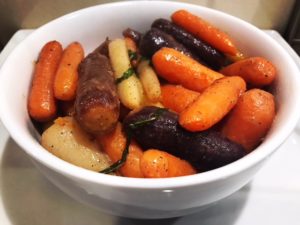 If you can’t find multi-colored carrots at your market, simply use regular orange-colored ones. It won’t affect the taste at all.
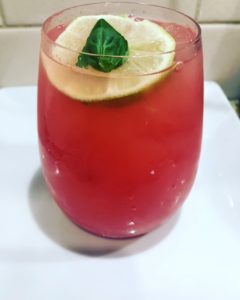 This tasty margarita features watermelon juice which I had fun making in my blender using fresh watermelon right from the farm. I made basil-infused simple syrup to add additional basil flavor – very good thing. I keep the simple syrup in a container with a tight lid in the fridge for a couple weeks.
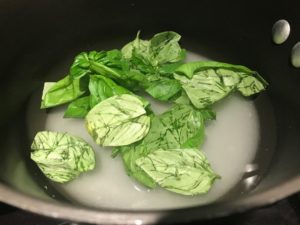
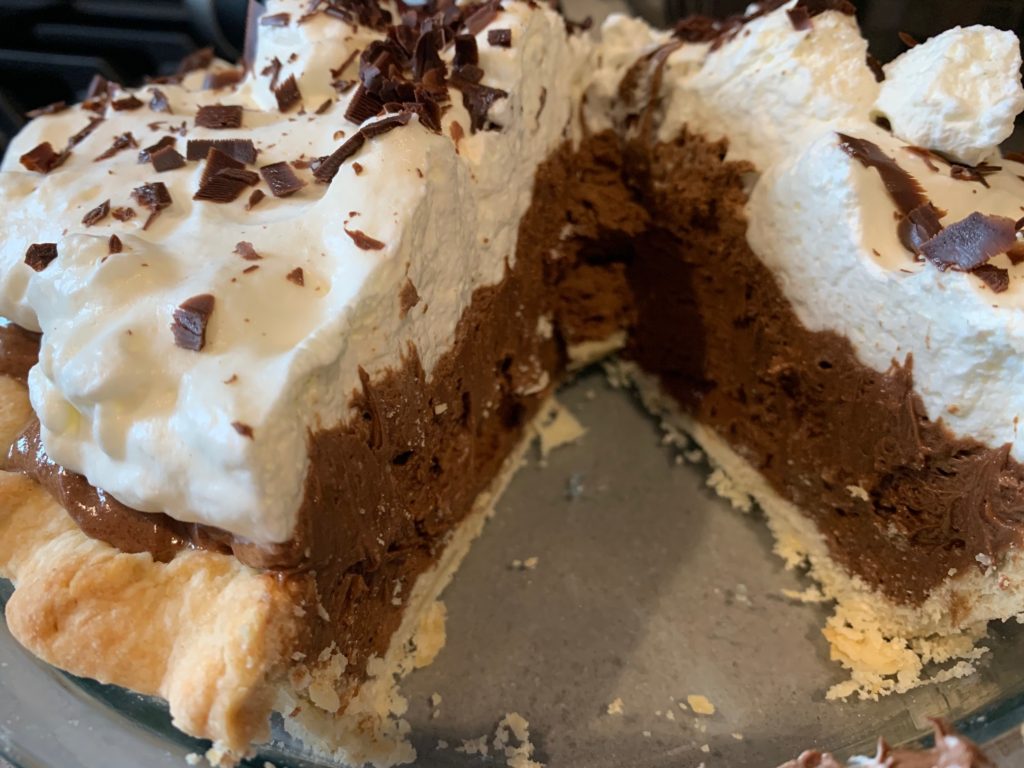
 I was going to a potluck where I offered to bring dessert and thought….why not do something different than my usual


Recent Comments