
At our home, we make soup nearly every weekend when the weather’s cooler. While we have some favorites that we often default to, we also like to try new flavors to change things up.
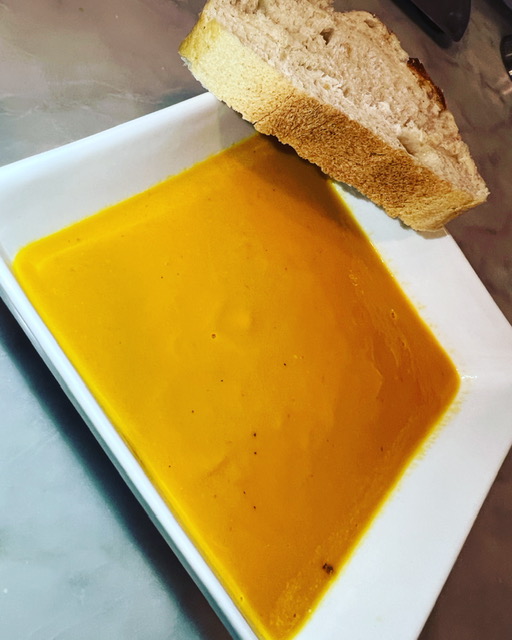
This week, I did a velvety, stellar carrot, apple and ginger soup that was absolute fall in a bowl.
This recipe is super simple to prepare with just a few ingredients. After simmering all the ingredients in vegetable broth, I puréed the mixture in my Vitamix until perfectly smooth.
The results were outstanding.
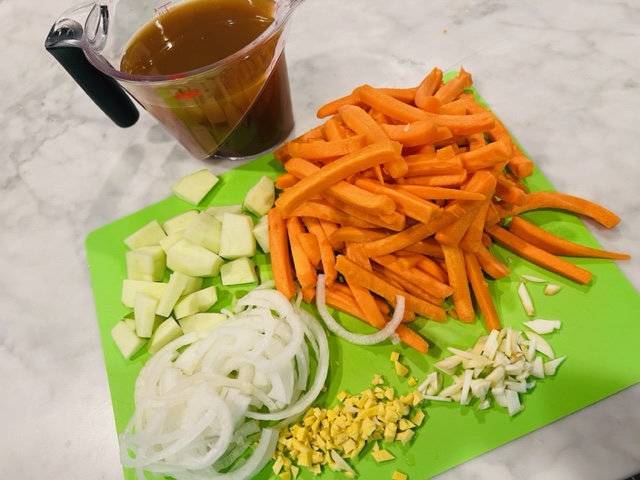
Ingredients:
- 3 Tbsp. olive oil
- 1 medium onion, sliced
- 4 cups peeled and sliced carrots
- 2 Tbsp. chopped fresh ginger
- 1 large garlic clove, chopped
- 1 medium apple, peeled and diced (I used a Granny Smith)
- 4 cups vegetable broth
- Pinch of nutmeg
- ½ tsp. each salt and pepper
- ¼ cup heavy cream, optional

Directions:
- In a large saucepan over medium heat, add the oil and warm for 1 minute.
- Add the onion and the carrot and sauté for 5 minutes, stirring frequently.
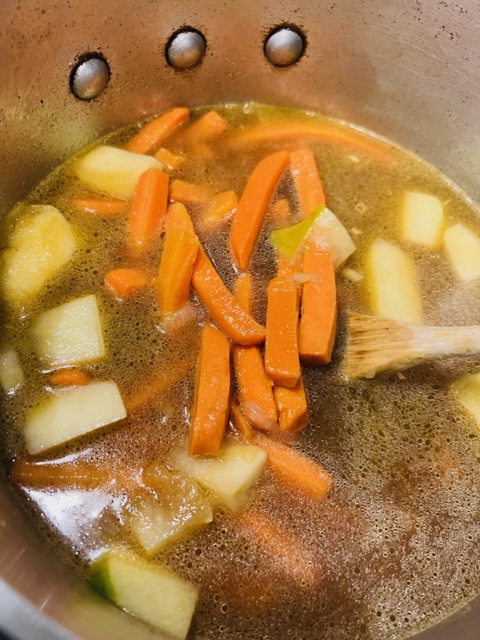
- Add the ginger, the garlic and the apple and sauté an additional minute.
- Add the broth and spices and simmer for 30 minutes.
- Pour the cooled mixture in a blender (could also use a food processor) and purée until very smooth. This may need to be done in two batches depending on the size of your blender.
- Pour the soup back in the saucepan over medium heat and bring back to a simmer. Turn off the heat and add the cream, if using.
Serves 6.
Cheers,
Veronique


Recent Comments