 It’s been said that bacon makes everything better. I must agree with that statement…porky, fatty, salty…what could be better (vegan/vegetarian friend refrain from comments!).
Here are 5 of the best bacon-centric recipes on my blog for you to try this weekend.
- Bacon Collard Greens Crustless Quiches
- Chicken Thighs with Bacon in Riesling
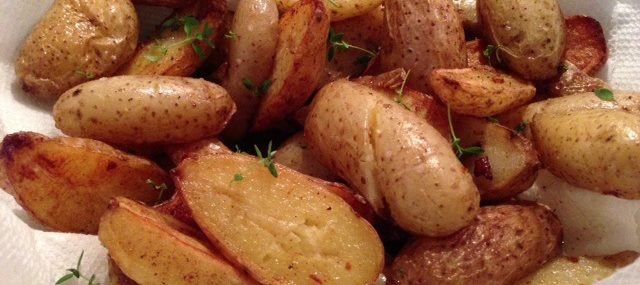
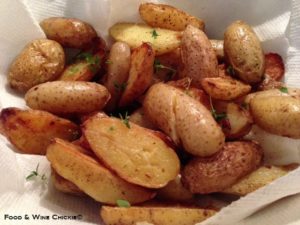
- Duck Fat and Bacon Fingerling Potatoes
- Gnocchi with Butternut Squash and Bacon in Sage and Danish Blue Cheese Sauce
- Souper Easy Clam Chowder
Bonus recipe (I know it’s pancetta you purists): Spaghetti alla Carbonara
Leave me a comment after you’ve tried these!
Happy eating,
Veronique
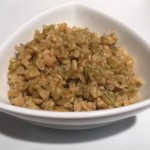
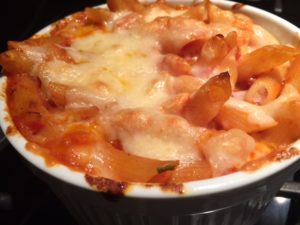 I love recipes that take me all of 10 minutes to prepare and that will serve a few meals during the week. This beyond-easy pasta dish is one of those recipes that I make on Sundays and portion for lunches during the week.

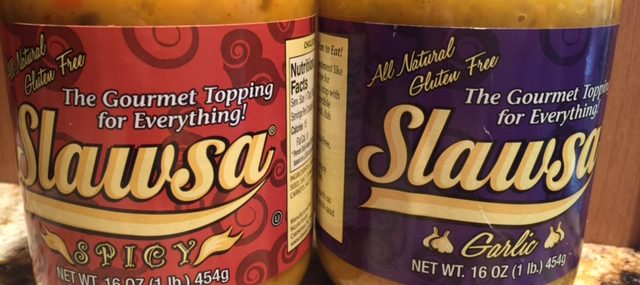
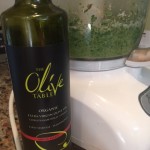
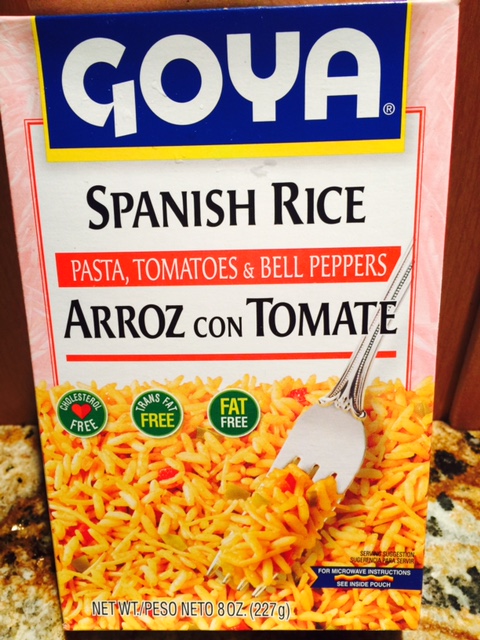
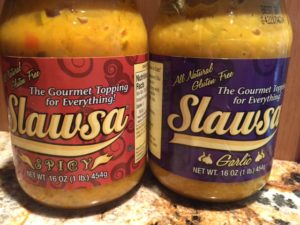 Last week, I was sent samples of a new product called


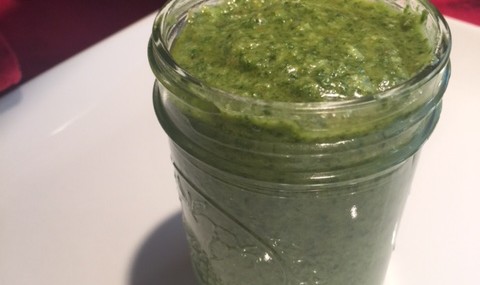
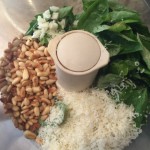
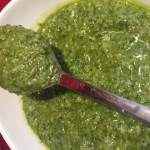
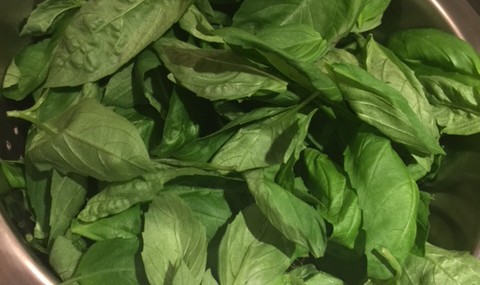
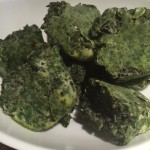
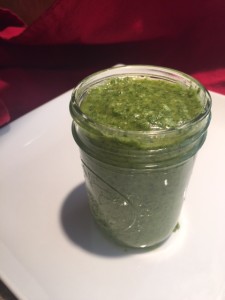 Every spring, I plant basil in my garden as it’s one of my favorite fresh herbs. By mid-summer, I have so much basil that I wonder why I planted so much for a 2-person household. Every summer is the same “why did I plant so much again”.

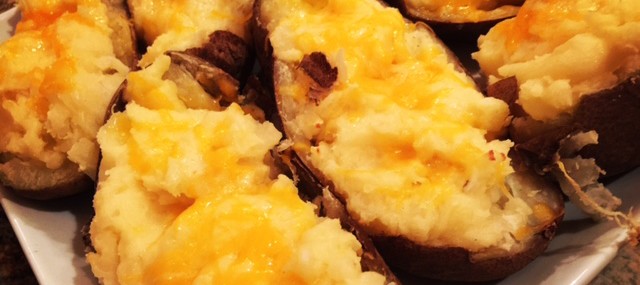
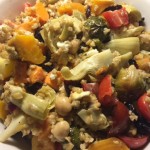
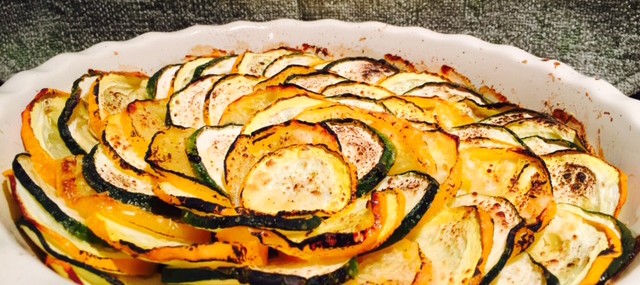
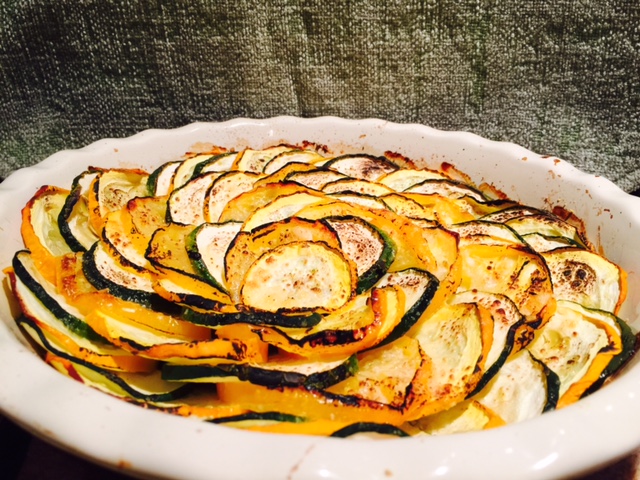
 Summer’s all about BBQs and outdoor parties and the last thing I want to do once my guests have arrived is to slave over a hot stove in the kitchen. We also attend a lot of outdoor events where I’m always puzzled with what to bring besides desserts.


Recent Comments