
Strawberry Bread
I live in New Jersey, in the true “Garden State” area of the state and as such, there are farms and farmers markets all over the place. Last weekend, I visited my favorite NJ farm, Donaldson Farms, where strawberry self-picking season was in full force.
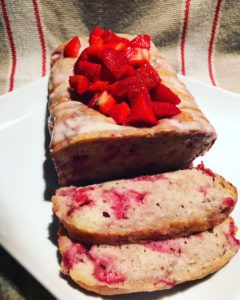
I left the farm with a trunkful of gorgeous, ripe, juicy strawberries, way too much for a family of two to eat fresh, so I opted to make strawberry bread with lemon-flavored icing with some of the berries. This bread is ultra-moist, berry-packed and delicious on its own or used in a strawberry shortcake with whipped cream, as we did.
Bread ingredients:
- 1½ cups all-purpose flour
- ¾ cup granulated sugar
- ½ tsp. salt
- ¼ tsp. baking powder
- ½ tsp. baking soda
- 1 large egg
- ⅓ cup vegetable oil
- 3-ounce container of strawberry Greek yogurt
- 2 Tbsp. milk
- 1 cup sliced strawberries
-
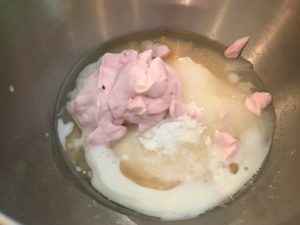
- Mixer Ingredients
-
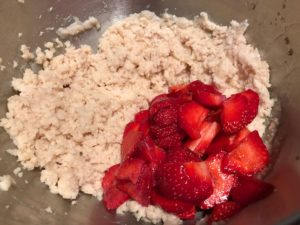
- Folding Berries
-
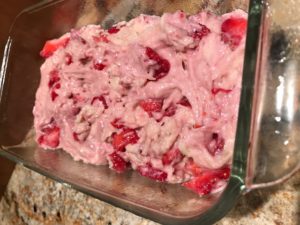
- Unbaked Bread
Icing ingredients:
- 1 cup powdered sugar
- ½ tsp. pure vanilla extract
- 1 Tbsp. lemon juice
- 2 Tbsp. milk
Bread directions:
- Preheat oven to 325 degrees.
- Coat a 9”x5” loaf pan with cooking spray (or grease).
- In the bowl of an electric mixer, combine the flour, sugar, salt, baking powder, baking soda, egg, oil, yogurt and milk on low speed until just combined. Using a rubber spatula, incorporate the strawberries – don’t overmix, you want big strawberry chunks in the bread.
- Transfer the bread mixture to the loaf pan and bake for 55 minutes, or until no longer wiggly in the center of the bread (test 5 minutes before the proposed baking time of 55 minutes). Allow the bread to cool on a wire rack in the pan, then unmold onto a serving platter.
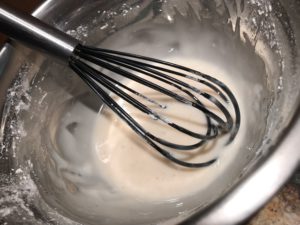
Lemon Icing
Icing directions:
In a small bowl, add all the icing ingredients and whisk until smooth. Drizzle over the bread.
8 servings.
Enjoy – Veronique
 This is the fourth post in my new series called “Not Really a Recipe”. These will be non-recipe posts that just give ideas on how to fix meals that are tasty and require very little work.
 There’s nothing like a refreshing glass of lemonade on a warm day.
 This is the third post in my new series called “Not Really a Recipe”. These will be non-recipe posts that just give ideas on how to fix meals that are tasty and require very little work.
 This is the second post in my new series called “Not Really a Recipe”. These will be non-recipe posts that just give ideas on how to fix meals that are tasty and require very little work.


 This will be the first in a new series I’m going to do called “Not Really a Recipe”. These will be non-recipe posts that just give ideas on how to fix meals that are tasty and require very little work.
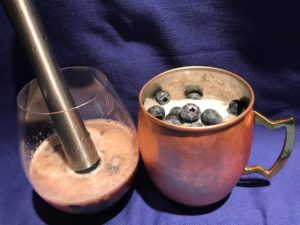
 I’m not one to turn down a Moscow Mule, a drink typically made using ginger beer and Vodka. Last summer, when I was to host a Greek-themed party, I opted to create a Greek Mule, simply replacing the Vodka with Ouzo, the famed licorice-flavored liquor of Greece. The drink was delicious and refreshing and my guests raved about it.

 I love refreshing cocktails and am always looking for fun, easy-to-make recipes for summer parties. The nice folks at
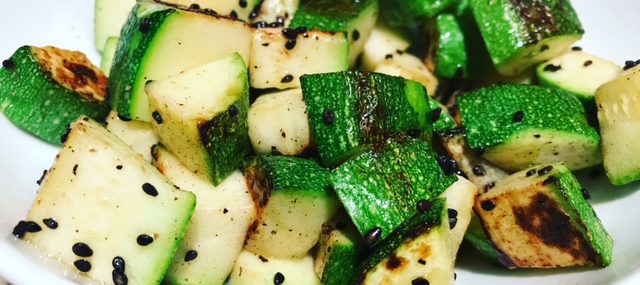
 Yes, I’m officially on the zoodles bandwagon. Not familiar with zoodles? They’re made by spiralizing vegetables and using as you would pasta. Many grocery stores even have already-prepared zoodle packages in the produce department – mine does. Zoodles are a good way to reduce carbohydrates intake, thus reducing high blood sugar – it’s why they grace my fridge every week instead of perfectly-cooked pasta.


Recent Comments