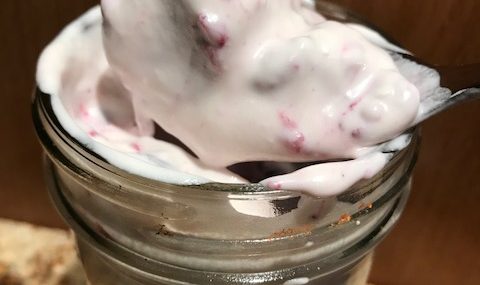
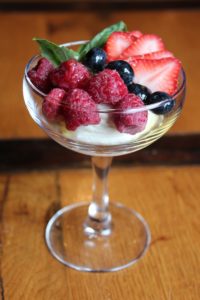
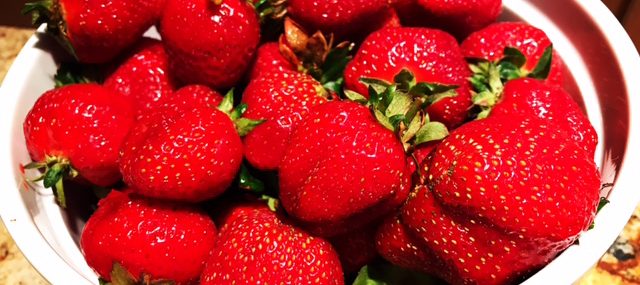
 My mom shared this super easy-yet-delicious recipe with me last week and, I agree, it’s a winner. It uses three ingredients, takes mere moments to make and is a great way to use fresh berries when in season. Alternatively, I’ve also tried making this recipe with thawed frozen whole berries and it was great. If using thawed, frozen berries, just be sure to rinse them and dry them using paper towels.
Ingredients:
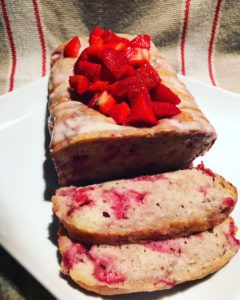
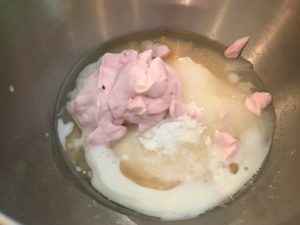
8-ounce package of cream cheese, softened
½ cup vanilla coffee creamer, I opted for Califia Farms Almond Milk Vanilla Creamer
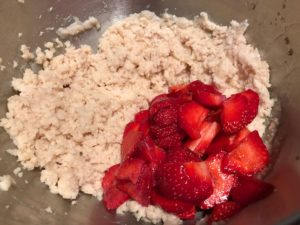
2 cups berries, any combination works
-
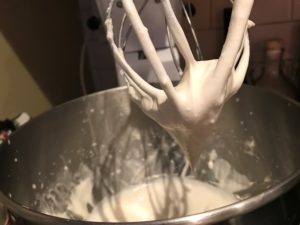
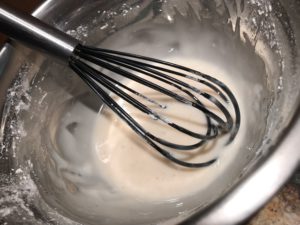
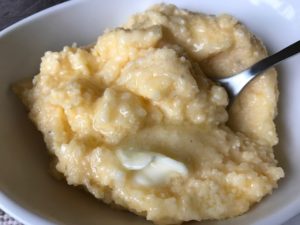
- Cheese & Creamer Texture
-
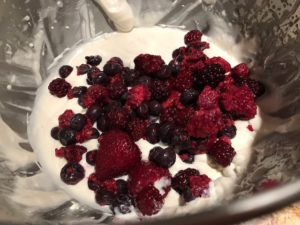
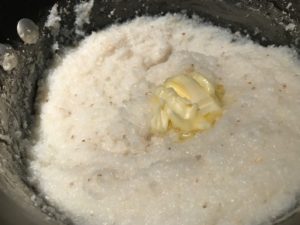
- Thawed Berries Added
Directions:
- Add the softened cream cheese to the bowl of an electric mixer and beat for 2 minutes until light and fluffy.
- Add the creamer and beat for another minute until fully incorporated.
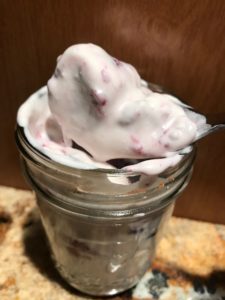
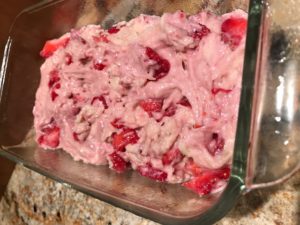
- Using a rubber spatula, gently incorporate the berries to the cream cheese mixture. Place in glass serving cups. I like to use small mason jars.
Makes six servings.
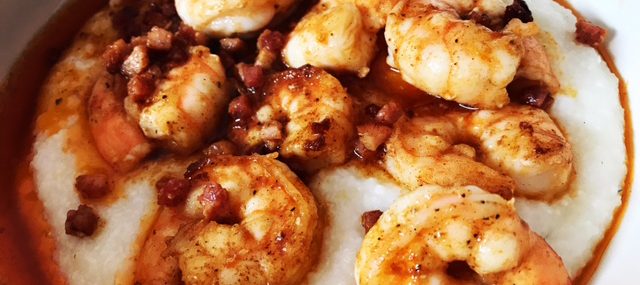
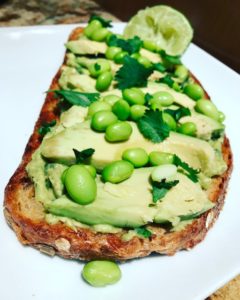
 I returned from being on the road for work for nearly a week and the first thing I did when I got home was to get in the kitchen to fix myself some lunch! I miss my kitchen when I’m away (yeah, I know, rough life eating at top restaurants and getting room service) – eating out gets old fast!
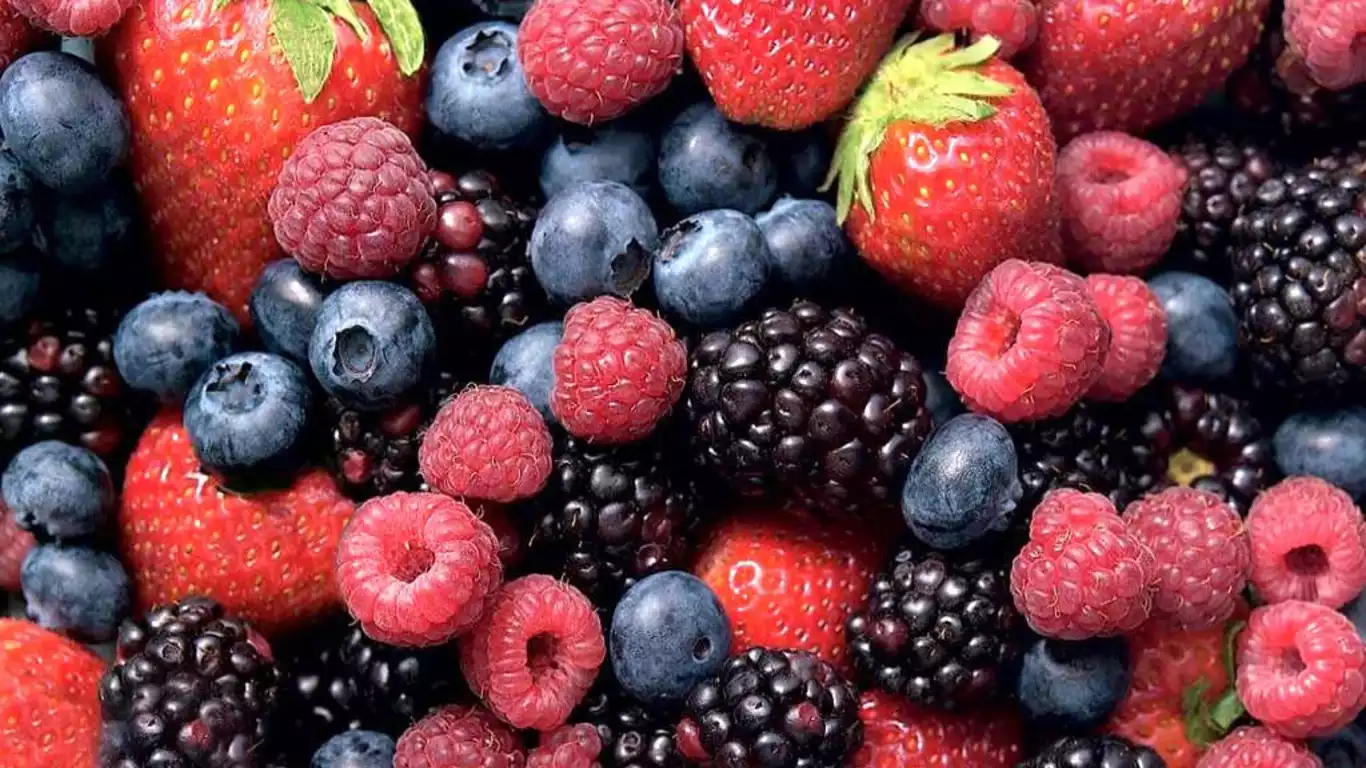
 July is National Blueberry Month and
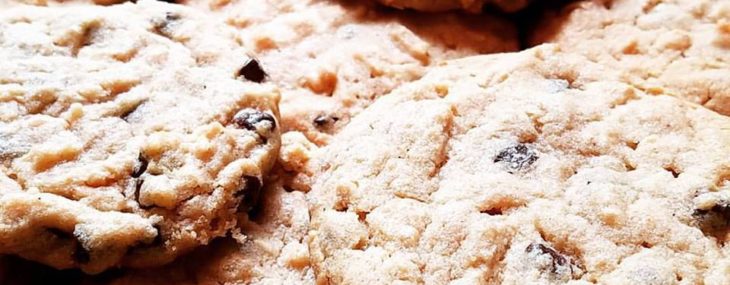
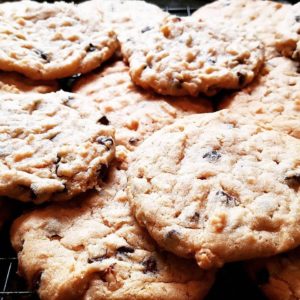 My friend Diane is a great baker so when she posted this yummy-looking photo of a batch of cookies she made, I knew I had to share it with you.
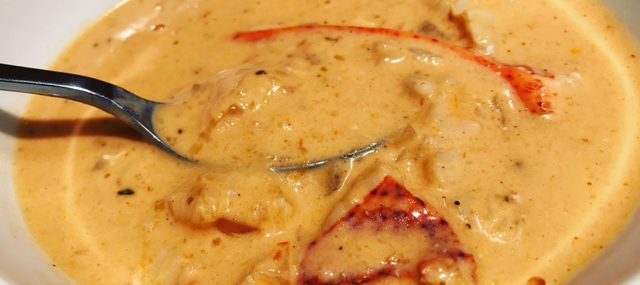


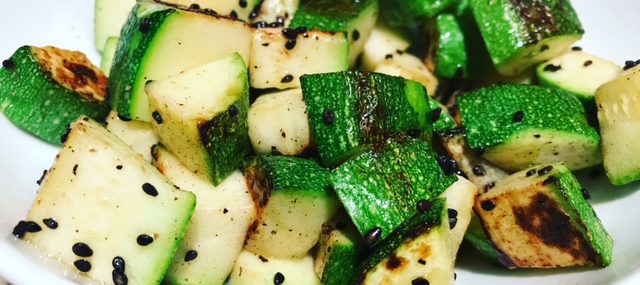
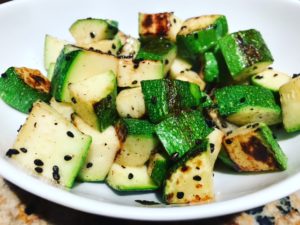 This is the fourth post in my new series called “Not Really a Recipe”. These will be non-recipe posts that just give ideas on how to fix meals that are tasty and require very little work.
 This is the third post in my new series called “Not Really a Recipe”. These will be non-recipe posts that just give ideas on how to fix meals that are tasty and require very little work.
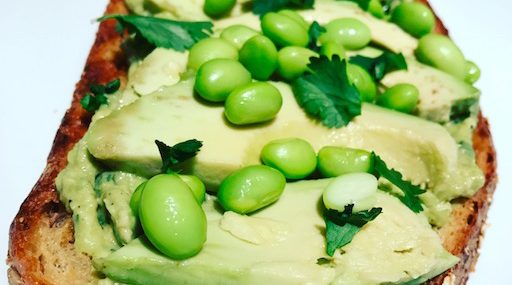
 This is the second post in my new series called “Not Really a Recipe”. These will be non-recipe posts that just give ideas on how to fix meals that are tasty and require very little work.


Recent Comments