
 I’ve been roasting vegetables every Sunday this winter to use for various meals during the week. While I have favorites, Brussels sprouts, butternut squash and beets, cauliflower is also delicious roasted, as I’ve come to find out recently.
The wet ‘rub’ below can be altered to suit your own personal tastes.
Ingredients:
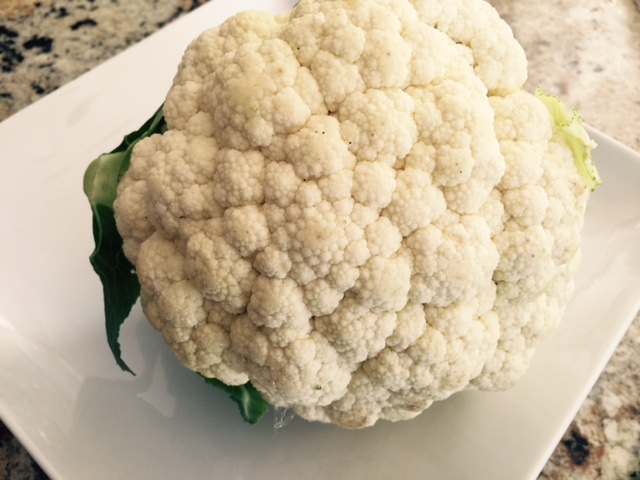
- 1 medium head of cauliflower, about 2 pounds
- ½ cup olive oil
- 1 tsp. smoked paprika
- 1 tsp. ground cumin
- ½ tsp. each salt and pepper
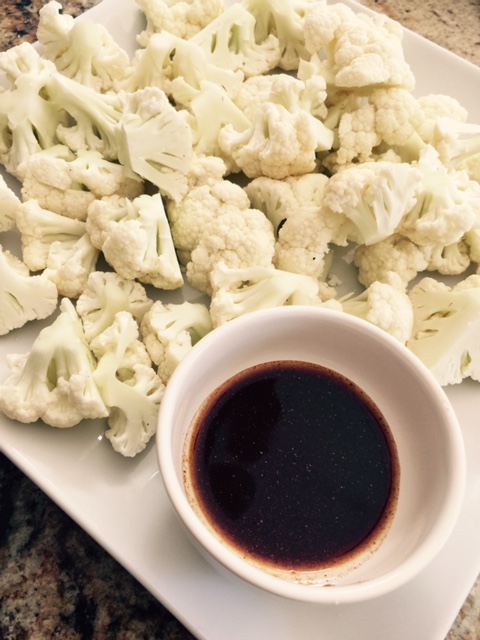
Cauliflower Florets & Rub
Directions:
- Preheat oven to 400 degrees. Line a baking sheet with aluminum foil.
- Cut cauliflower into florets, removing thicker stems. Place the florets in the lined baking sheet.
- In a small bowl, whisk together the oil, smoked paprika, ground cumin, salt and pepper.
- Pour the wet rub over the cauliflower and toss to coat using your hands.
- Roast the cauliflower, turning occasionally, until it is browned and tender, about 20 minutes.
Yields 2 side dishes.


Recent Comments