
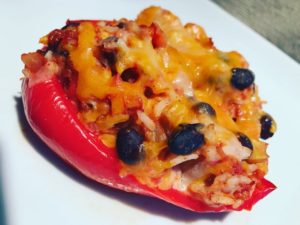
 I’m still on my mission to try to stick to vegetarian dishes on #MeatlessMonday and since I’d make a double batch of my Vegetarian Black Bean and Butternut Squash Chili a month ago and it was calling my name from the freezer, I decided to use that delicious concoction in a stuffed pepper dish.
Since I defrosted about 3 cups of chili, I used the remaining two cups for a southwestern lasagna and I’ll share that with you next week.
These stuffed peppers are fab as a take to work lunch as they’re really simple to microwave from the office kitchen. They’re also great paired with a salad dressed with some tasty, zesty dressing (perhaps my Easy Greek Vinaigrette) for a light dinner.
Ingredients:
- 1 large red bell pepper (if green or yellow peppers are cheaper, go for them)
- 1 cup brown or white rice, cooked
- 1 cup grated Cheddar cheese, plus 2 reserved tablespoons
- 1 cup vegetarian chili (could be store-bought_


Directions:
- Preheat oven to 350 degrees.
- Remove the pepper stem and cut the pepper in half lengthwise. Remove any seeds and extra membrane from the inside of each half.
- Place each pepper halves, cut side down, in a baking dish and cook in the oven for 20 minutes. Allow to cool for a few minutes so the pepper is cool enough to handle.
- In a large bowl, combine the rice, the cup of cheese and the chili.
- Spoon the chili mixture inside each bell pepper half and return to the baking dish. Top each pepper half with a tablespoon of cheese and bake for 20 minutes.
Serve with a side salad. Yields 2 servings.

- • 1 large red bell pepper (if green or yellow peppers are cheaper, go for them)
- • 1 cup brown or white rice, cooked
- • 1 cup grated Cheddar cheese, plus 2 reserved tablespoons
- • 1 cup vegetarian chili (could be store-bought)
- 1. Preheat oven to 350 degrees.
- 2. Remove the pepper stem and cut the pepper in half lengthwise. Remove any seeds and extra membrane from the inside of each half.
- 3. Place each pepper halves, cut side down, in a baking dish and cook in the oven for 20 minutes. Allow to cool for a few minutes so the pepper is cool enough to handle.
- 4. In a large bowl, combine the rice, the cup of cheese and the chili.
- 5. Spoon the chili mixture inside each bell pepper half and return to the baking dish. Top each pepper half with a tablespoon of cheese and bake for 20 minutes.
- Serves 2.
Veronique
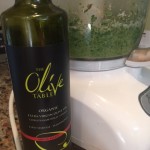
 I’ve been using my “


 We were just going to order pizza while watching the “big game” since it was just the two of us, but then I decided to make the next best thing – pepperoni pizza dip!!


 I love any type of baked cheese dip. I’d been fortunate enough to find
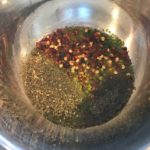
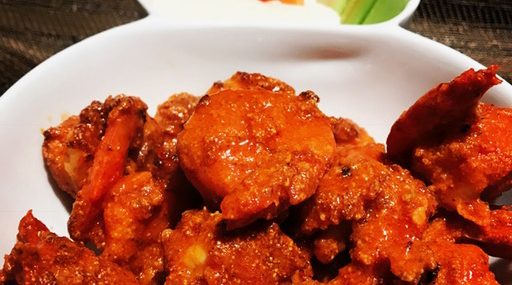
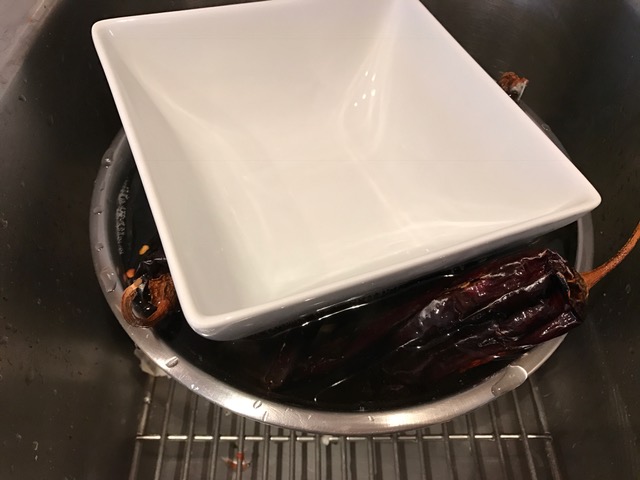
 The “big game” is next weekend and I’ve been trying to come up with a couple appetizers to make while we watch the game. Chicken wings are always a winner, but my all-time favorite Buffalo anything is by far Buffalo shrimp. I know I’m not supposed to like chain restaurants as a discerning foodie, but the Buffalo shrimp at Hooters at the greatest. I’ve used the breading and Buffalo sauce that my sister’s come up with in terms of Hooters wings copycat but simply used large shrimp in place of the chicken.


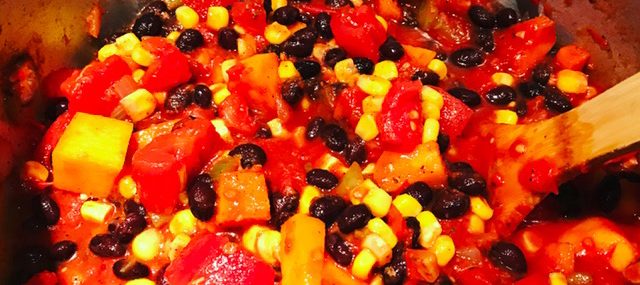
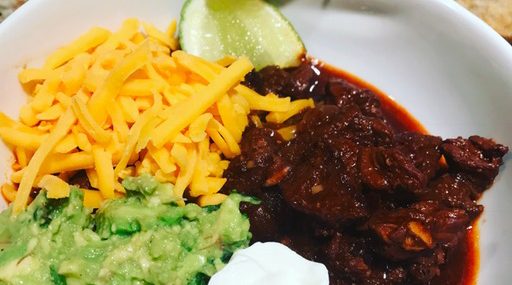
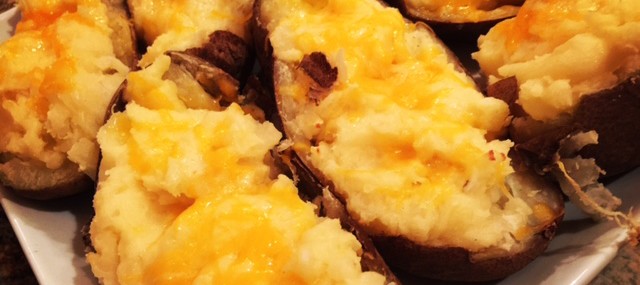
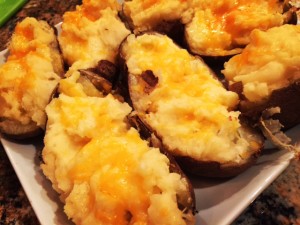
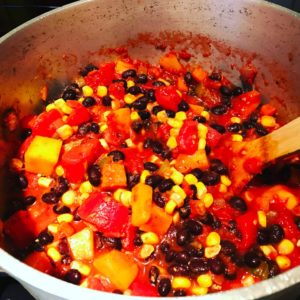 While winter’s been mild here so far in New Jersey, I’m still craving hearty, comforting food. In my continued effort to ‘prep Sunday – eat throughout the week’, this week, I’ve made a meatless chili that was uber satisfying and can be used in various ways during the week. I used it as dip for chips during the football game and topped a baked sweet potato with it for lunch (see photos).


 Day 5 of my 12 Days of Christmas Baking compilation.
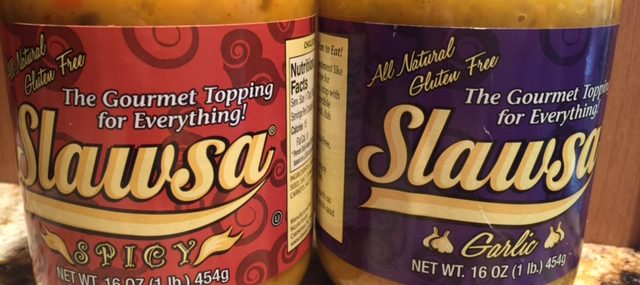
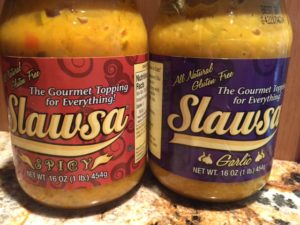 Last week, I was sent samples of a new product called


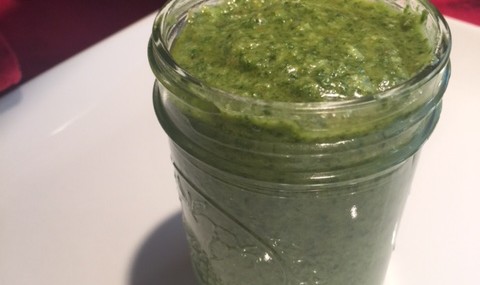
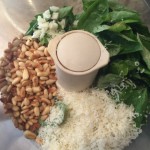
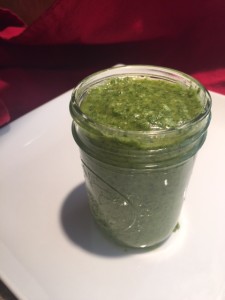 Every spring, I plant basil in my garden as it’s one of my favorite fresh herbs. By mid-summer, I have so much basil that I wonder why I planted so much for a 2-person household. Every summer is the same “why did I plant so much again”.


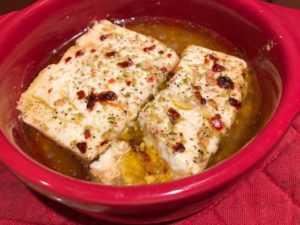
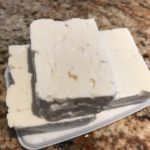
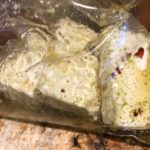
 Summer’s all about BBQs and outdoor parties and the last thing I want to do once my guests have arrived is to slave over a hot stove in the kitchen. We also attend a lot of outdoor events where I’m always puzzled with what to bring besides desserts.


Recent Comments