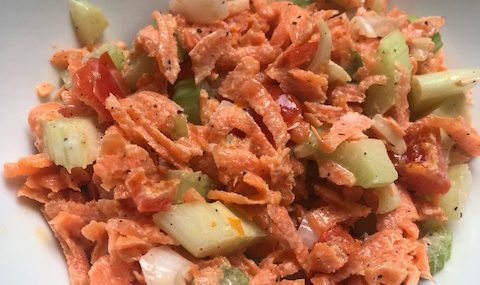
In the summertime, I’m always looking for easy and tasty recipes for side dishes to serve at outdoor parties. While I love my mom’s potato salad is always a hit, I was looking for a tangy, vinegary slaw to serve. I found the perfect slaw in this week’s Blue Apron box! It’s made with sweet carrots and crunchy celery with a bit of heat from the sweet piquante peppers.
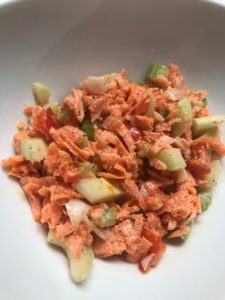 Sweet piquante peppers are found typically jarred and are also known as peppadew peppers. They’re great on sandwiches, in salads and in this easy slaw recipe.
The recipe can easily be doubled or quadrupled based on the number of guests being fed. I even scooped this slaw on tacos and it added great crunch and tang.
Ingredients:
- 2 Tbsp. mayonnaise
- 2 stalks of celery, sliced
- White part of 2 scallions, diced
- 2 medium sized carrots, peeled and grated on the large whole side of a box grater
- ½ ounce sweet piquante peppers (about two peppers), roughly chopped
- 1 Tbsp. red wine vinegar
- 2 Tbsp. olive oil
- Pinch each of salt and pepper
Directions:
- In a medium bowl, combine the mayonnaise, sliced celery, scallions, grated carrots, chopped piquante peppers and vinegar.
- Drizzle with olive oil and season with salt and pepper. Set aside to marinate, stirring occasionally, at least 10 minutes, but no more than an hour.
Makes two side servings.
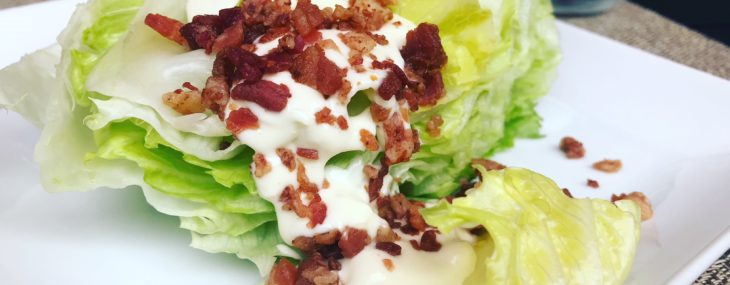
 It’s not innovative but it’s pretty close to perfect on hot summer days with its crisp, cold lettuce, decadent blue cheese dressing and fun toppings that can be customized to please your guests.
 I make the tarragon dipping sauce the day before and keep it in the refrigerator until I’m ready to serve the dish. This saves some time and keeps you out of the kitchen and with your guests come party time.
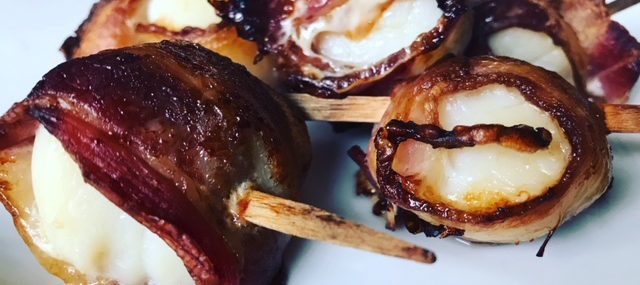


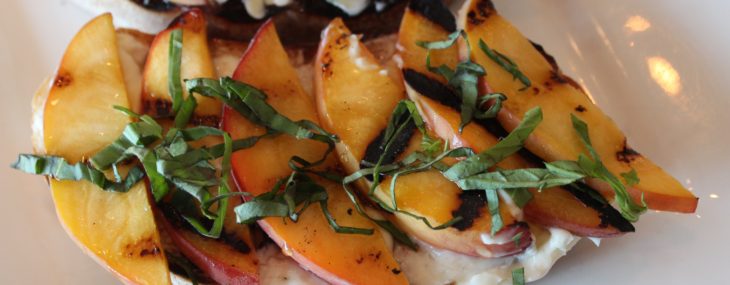
 In celebration of National Peach Month in August,
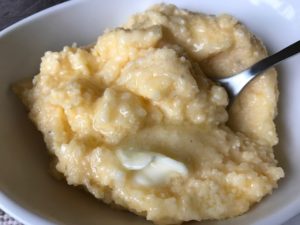
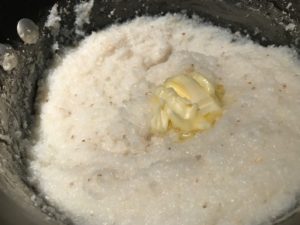
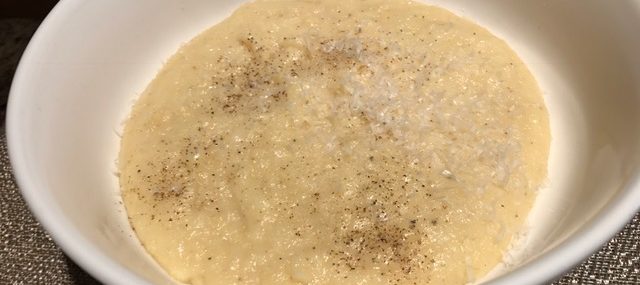
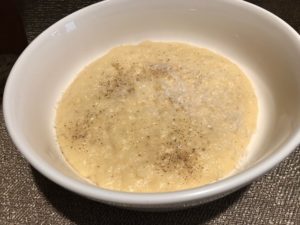
 Polenta is comfort in a bowl and ultra-easy to make. It’s a perfect complement for hearty toppings like short ribs, boeuf Bourguignon or sautéed mixed mushrooms. It’s also delicious served on its own with an extra grating of Parmesan.
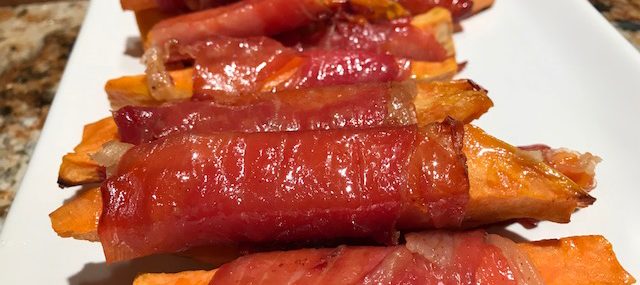
 It’s been said that bacon makes everything better. I must agree with that statement…porky, fatty, salty…what could be better (vegan/vegetarian friend refrain from comments!).


Recent Comments