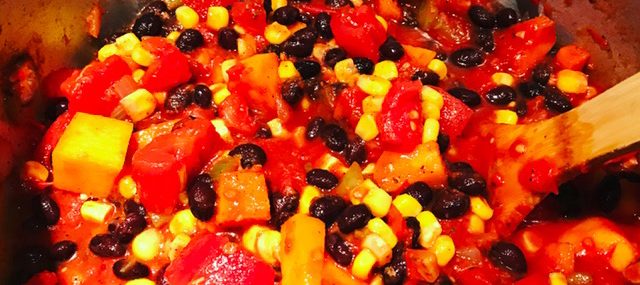
 While winter’s been mild here so far in New Jersey, I’m still craving hearty, comforting food. In my continued effort to ‘prep Sunday – eat throughout the week’, this week, I’ve made a meatless chili that was uber satisfying and can be used in various ways during the week. I used it as dip for chips during the football game and topped a baked sweet potato with it for lunch (see photos).
This chili can be made in the slow cooker too – just throw all the ingredients in the crockpot (except for the toppings) and cook on low for 4-5 hours.
Ingredients:
- 2 Tbsp. olive oil
- 1 medium Spanish onion, chopped
- 1 red bell pepper, cored and diced
- 4 cloves garlic, minced
- 1 butternut squash, peeled and cut into small cubes
- ½ tsp. each salt and pepper
- 2 Tbsp. chili powder
- 1 tsp. ground cumin
- ½ tsp. cayenne pepper
- 1 cup vegetable broth, then more if the chili gets too thick
- 1 28-ounce can of diced tomatoes
- 1 28-ounce can of crushed totatoes
- 1 cup corn kernels
- 1 28-ounce can black beans, drained and rinsed
- Toppings (optional) – fresh cilantro, lime wedges, diced avocado, sour cream and cheddar/jack cheese
-

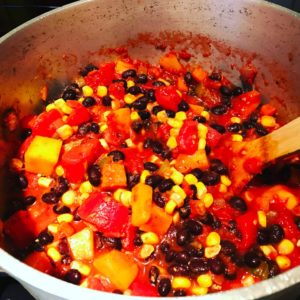
- Bowl of Chili
-

- Chili and Chips
-

- Chili Sweet Potato
Directions:
- In a large heavy Dutch oven, heat olive oil over medium-high heat.
- Add onion and bell pepper and cook for 4 minutes, stirring frequently.
- Add garlic and sauté 1 additional minute.
- Add the butternut squash, the salt and pepper, the chili powder, cumin and cayenne pepper. Cook for 5 minutes, stirring frequently.
- Add the vegetable broth, tomatoes, corn and black beans.
- Bring to a light boil then reduce heat to low, cover and allow to simmer for 45 minutes, or until the butternut squash is completely tender.
- Thin with an additional broth if needed.
- Serve with desired toppings, if using.
Serves 8.

 On Christmas morning, my mom went all fancy on us and served this delicious frittata. A frittata is an Italian egg-based dish alike an omelet or a quiche without a crust. It was a perfect, comforting dish on a snowy Quebec morning.

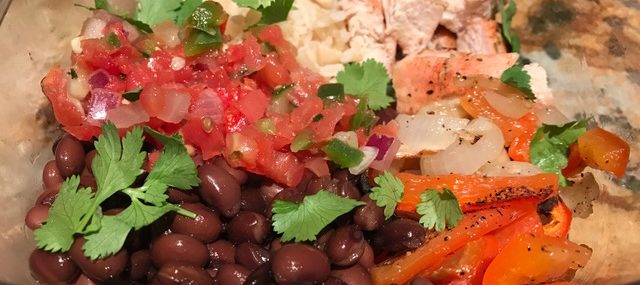
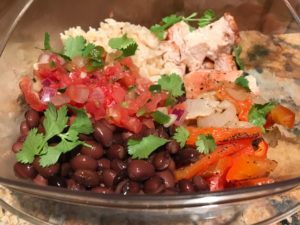 It’s a new year and I’m making all efforts to use meal prepping more so I can cook on Sundays and have delicious, healthy lunches during the week. I did pretty well with this in 2016, but since I travel over 50% of the time, meals at home weren’t very frequent. This recipe makes four lunch since bowls that are easy to take to work and reheat in the microwave. Corn would be a nice addition to this recipe, so feel free to add if you’re not trying to cut down on carbs a bit. Ingredients:


 Day 9 of my 12 Days of Christmas Baking compilation.
 Day 8 of my 12 Days of Christmas Baking compilation.


 Day 7 of my 12 Days of Christmas Baking compilation.


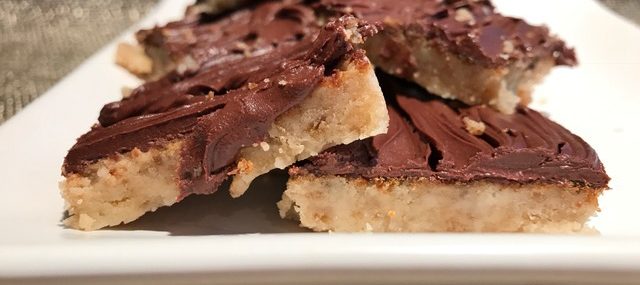
 Day 6 of my 12 Days of Christmas Baking compilation! I’ve been seeing a million Magic Cake recipes on Pinterest lately and had to see for myself if this craze was for real or not.
 Day 5 of my 12 Days of Christmas Baking compilation.


Recent Comments