Always fun running analytics on my blog to see what posts have the most likes, comments and clicks so I thought I’d recap the posts with top engagement of 2022.

- Crumb Top Blueberry Pie
- Purple Rain Cocktail
- Easy Pears Foster
- Easy Veal Saltimbocca
- Chocolate Walnut Crumb Bar
- Chocolate Marshmallow Frosting
- Cabot Creamery Seriously Sharp Mac N Cheese
- Chicken Risotto Soup
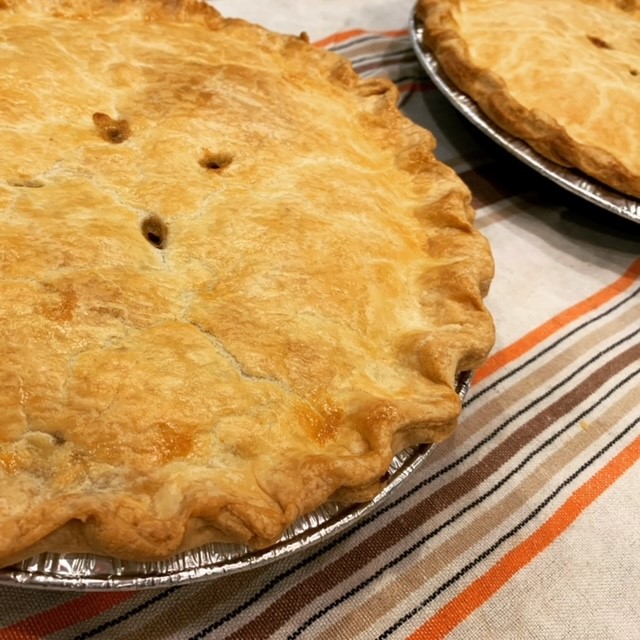
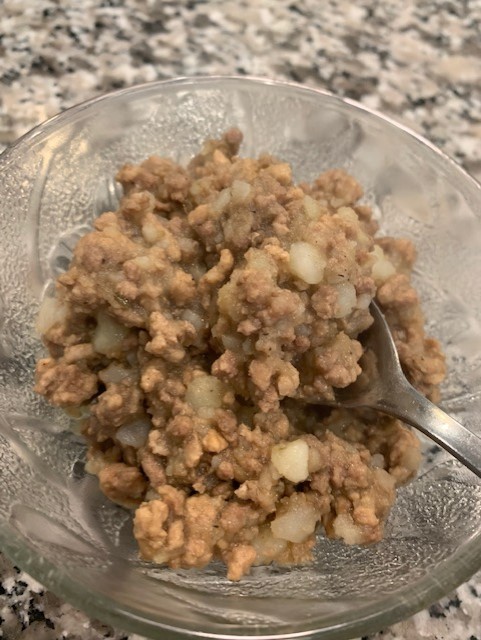
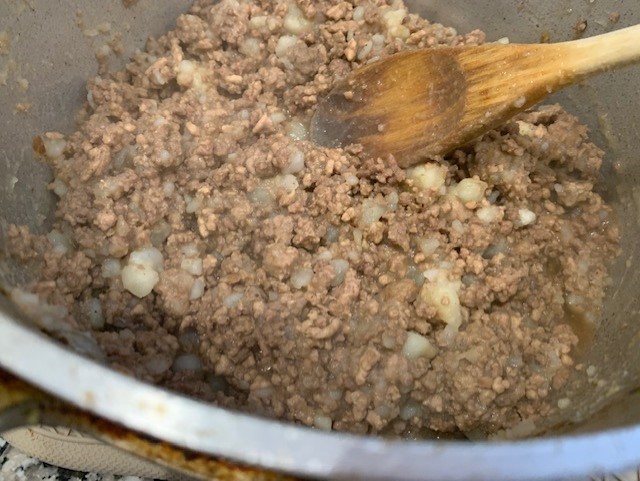
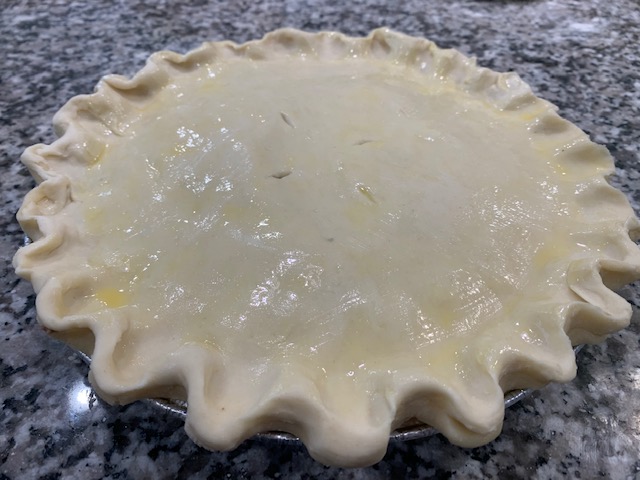
- Tourtiere du Lac St Jean
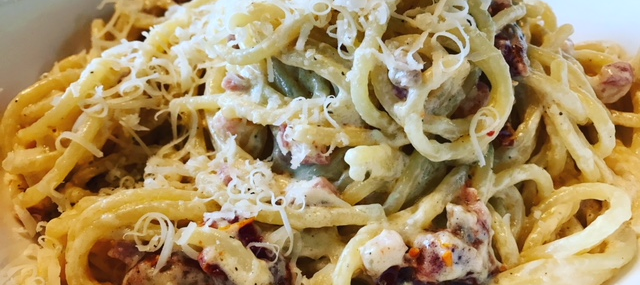
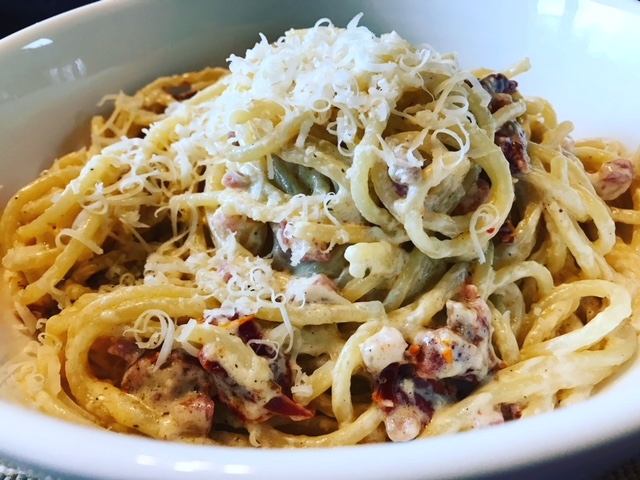
- Pancetta and Sundried Tomato Creamy Spaghetti
Hope you try some of these top recipes!
Cheers,
Veronique


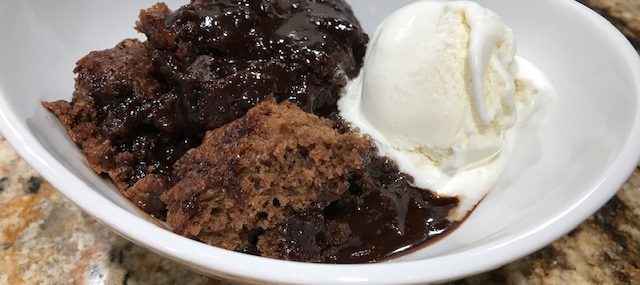
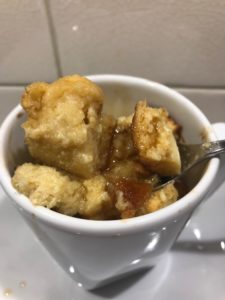
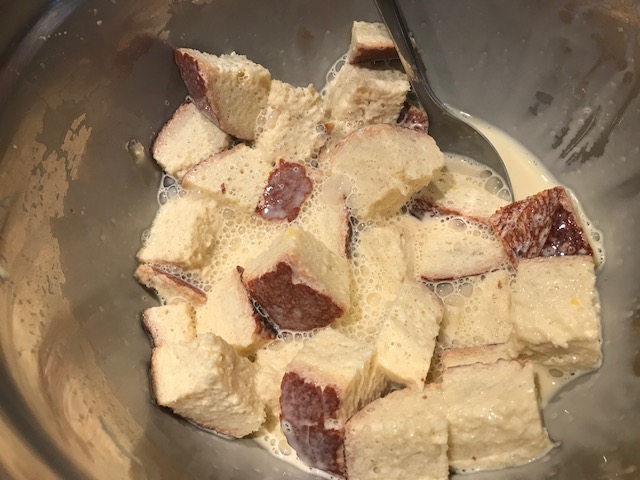
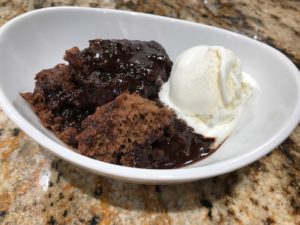 This recipe comes together super quickly and it’s best served with good quality vanilla ice cream which kind of melts into the pudding – decadent and comforting.


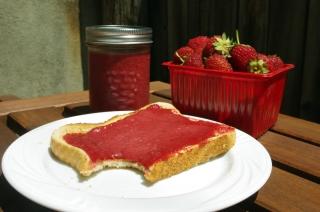
 Cultivated strawberries are so easy to pick as farmers have rows and rows of plants with an abundant amount of berries on them. Within a few minutes, I have more strawberries that I know what to do with!


Recent Comments