
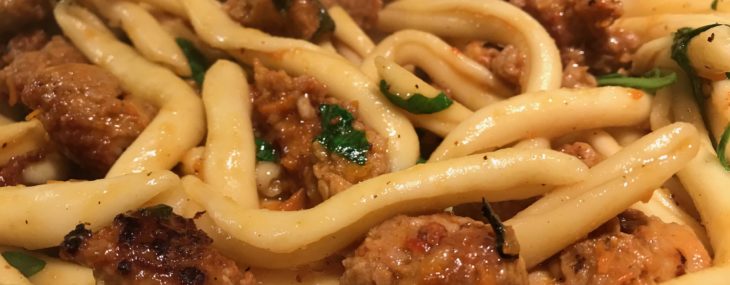
This a rustic meal-in-a-bowl and perfect on a chilly winter day. It’s an easy way to use up turkey leftovers also.

Ingredients:
- 2 Tbsp. vegetable oil
- ½ medium turnip, diced
- 1 large carrot, diced
- 2 celery stalks, diced
- 6 cups turkey stock, homemade ideally
- 2 cups cooked turkey, cut into bite-sized pieces
- 1 ¼ cups barley, rinsed and cooked to package directions
- ½ tsp. each salt, pepper and dried thyme
- 2 bay leaves
Directions:
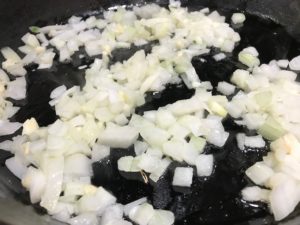
- To a large skillet over medium heat, warm the oil. Add the turnip, carrot and celery and cook until softened, about 5 minutes, stirring frequently. Set aside.
- While the vegetables cook, bring the stock to a simmer in a large saucepan over medium-high heat. Add the turkey, the cooked vegetables, the barley, the salt, pepper, thyme and bay leaves. Simmer over medium-low heat for 45 minutes. Discard the bay leaves and serve.
Yields 6-8 servings.


 Ingredients:


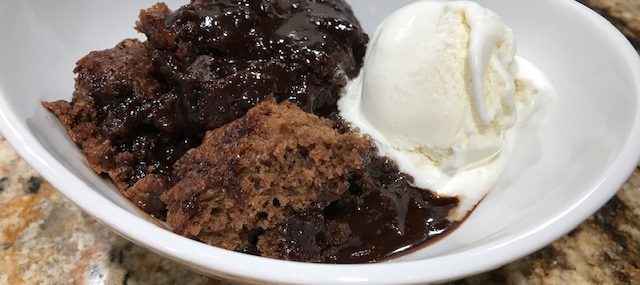
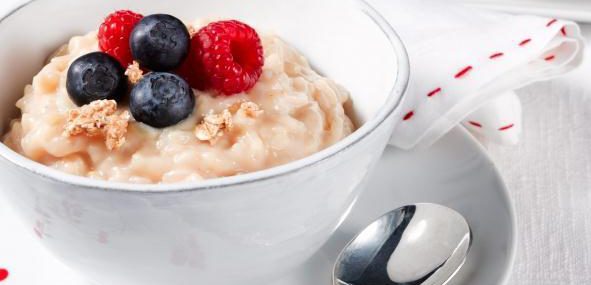
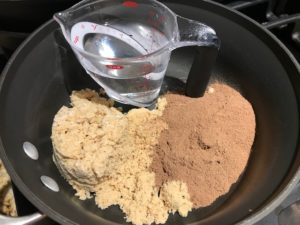
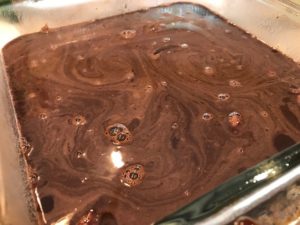
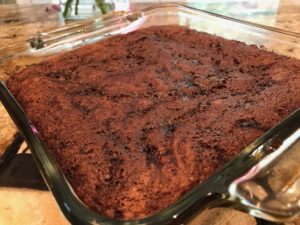
 This recipe comes together super quickly and it’s best served with good quality vanilla ice cream which kind of melts into the pudding – decadent and comforting.
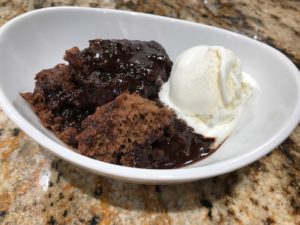
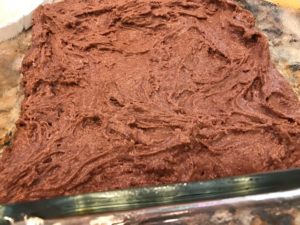

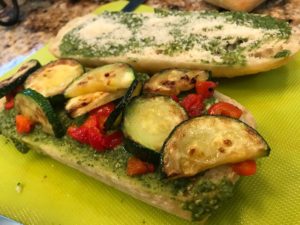
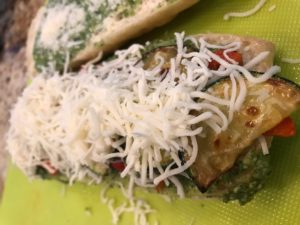
 We served this Pesto and Roasted Zucchini Panini with a side of roasted cauliflower tossed in a mixture of red wine vinegar/Parmesan and garlic and it was delish.
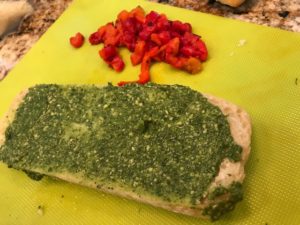

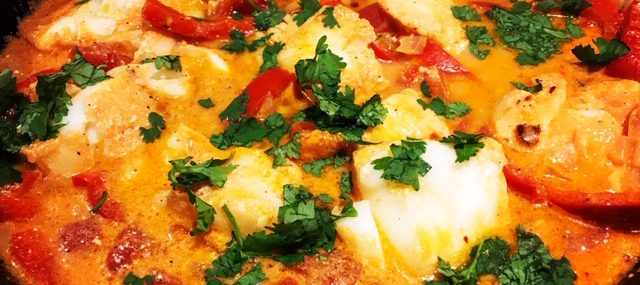
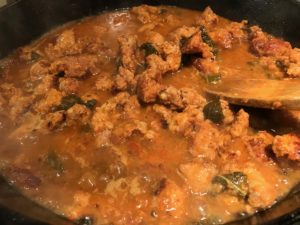
 This is a 20-minute fish stew that simmers in a fragrant, rich and addictive coconut milk broth. This recipe comes together fast and I cook it in my large cast iron pan and serve it directly in the pan with perfectly-cook Jasmine rice. Very comforting dish!


Recent Comments