
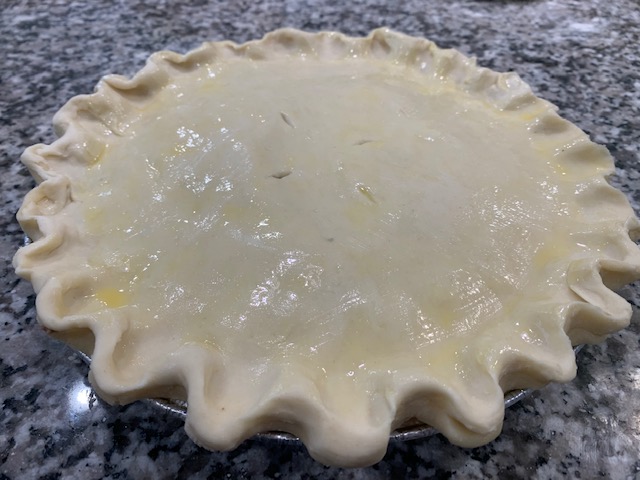
If you’ve seen me cook, you know that I mostly use the “throw a little of this and a little of that” in the pan mentality. Even when I use a family recipe as a guideline, I modify the ingredients, measurements and techniques to make the final dish my own (okay, I follow my grandma’s meat sauce recipe to the letter).
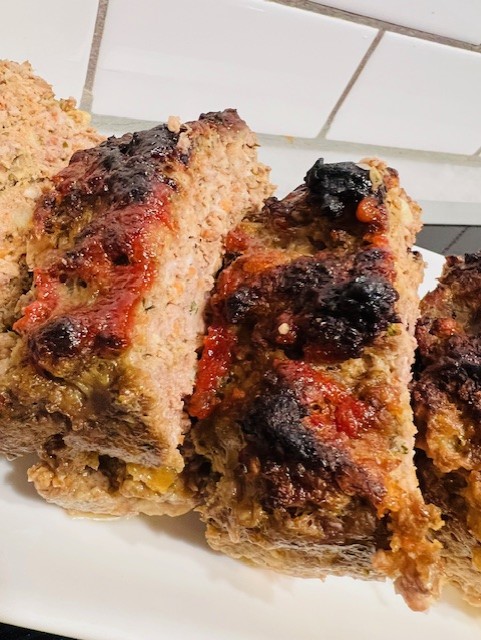
With this in mind, I tested Martha Stewart’s Meatloaf 101 recipe years ago and have never veered off from the original – it’s simply the best meatloaf I’ve ever eaten. It’s all that a meatloaf should be: comforting, moist with a caramelized, crusty topping. I’m willing to be proven wrong if you feel your favorite meatloaf recipe is better than this one.
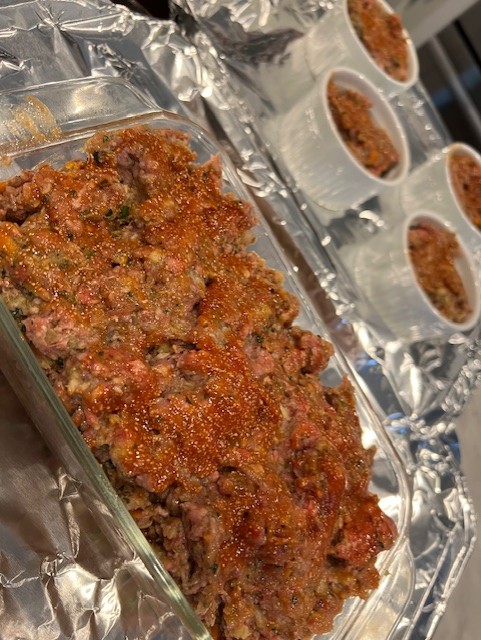
While I often just make a meatloaf, I also like to divide up the mixture between a load fan and individual ramekins for one-serving mini meatloaves I freeze and thaw for weeknight dinners. The mini loaves I cook for 45 minutes.
Martha Stewart Meatloaf 101 (first published January 2006)
Ingredients:
- 4 slices white bread, torn into pieces
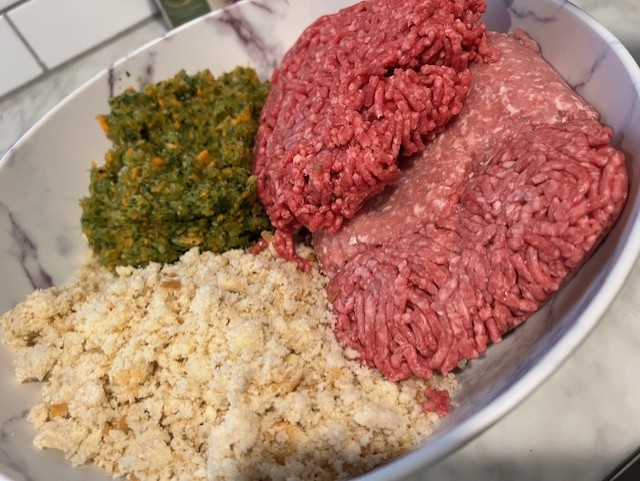
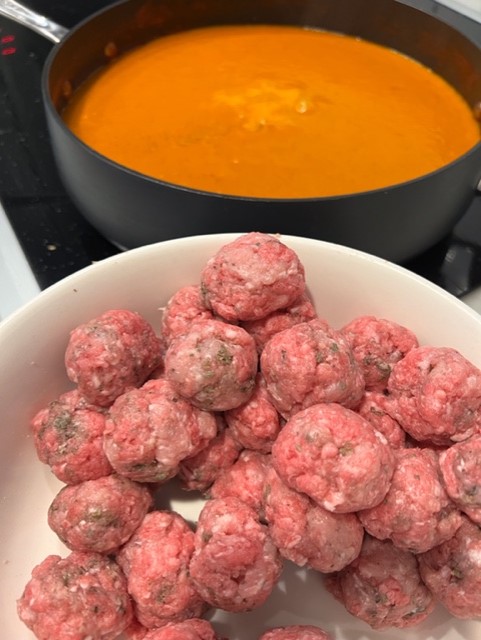
- 1 3/4 pounds ground beef
- 3/4 pound ground pork
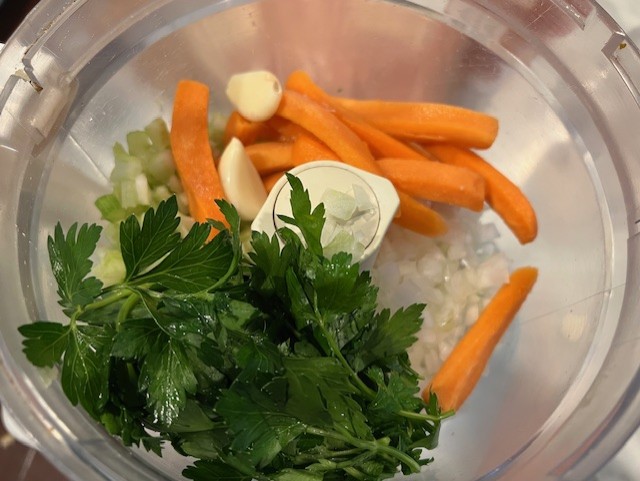
- 1 medium yellow onion, peeled and cut into eighths
- 2 cloves garlic
- 2 stalks celery, cut into 2-inch pieces
- 2 carrots, peeled and cut into 2-inch pieces
- 1/2 cup fresh flat-leaf parsley
- 1 large egg
- 3/4 cup ketchup
- 4 tsp. dry mustard
- 1 Tbsp. coarse salt
- 2 tsp. freshly ground pepper
- 2 Tbsp. packed light-brown sugar
Directions:
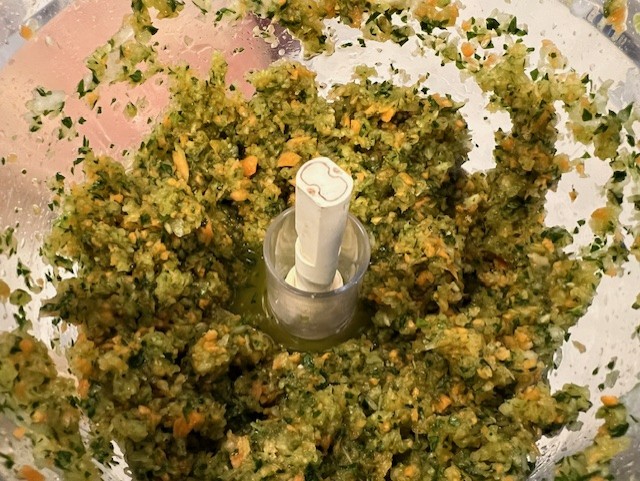
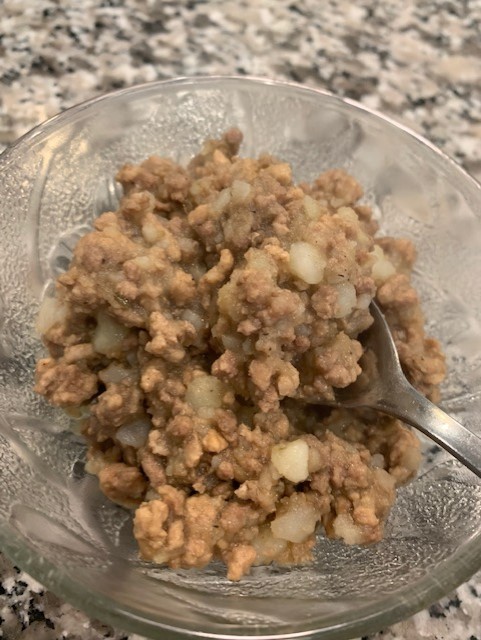
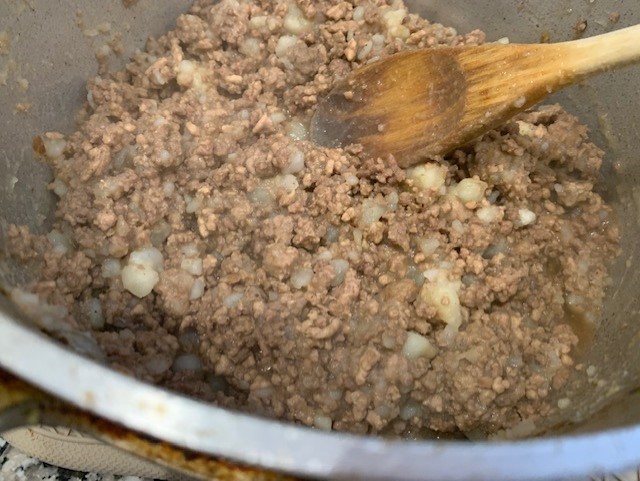
- Preheat oven to 400 degrees. In the bowl of a food processor, pulse bread until fine crumbs form. Transfer to a medium bowl; add ground beef and ground pork.
- Place onion, garlic, celery, carrots, and parsley in food processor; pulse until finely chopped. Add to beef mixture; combine using your hands. Add egg, 1/2 cup ketchup, 2 teaspoons dry mustard, salt, and pepper; combine thoroughly, using your hands. Place in an 8 1/2-by-4 1/2-by-2 1/2-inch loaf pan.
- In a small bowl, combine the remaining 1/4 cup ketchup and 2 teaspoons dry mustard, and the brown sugar; stir until smooth.
- Brush mixture over top of the meatloaf. Place the pan on a baking sheet to catch drippings, and transfer to oven. Bake until a meat thermometer inserted in the center reaches 160 degrees, about 1 1/2 hours. (If the top of the meatloaf gets too dark, cover with foil and continue baking.) Let meatloaf stand 15 minutes before slicing.
Yields 8-10 servings.

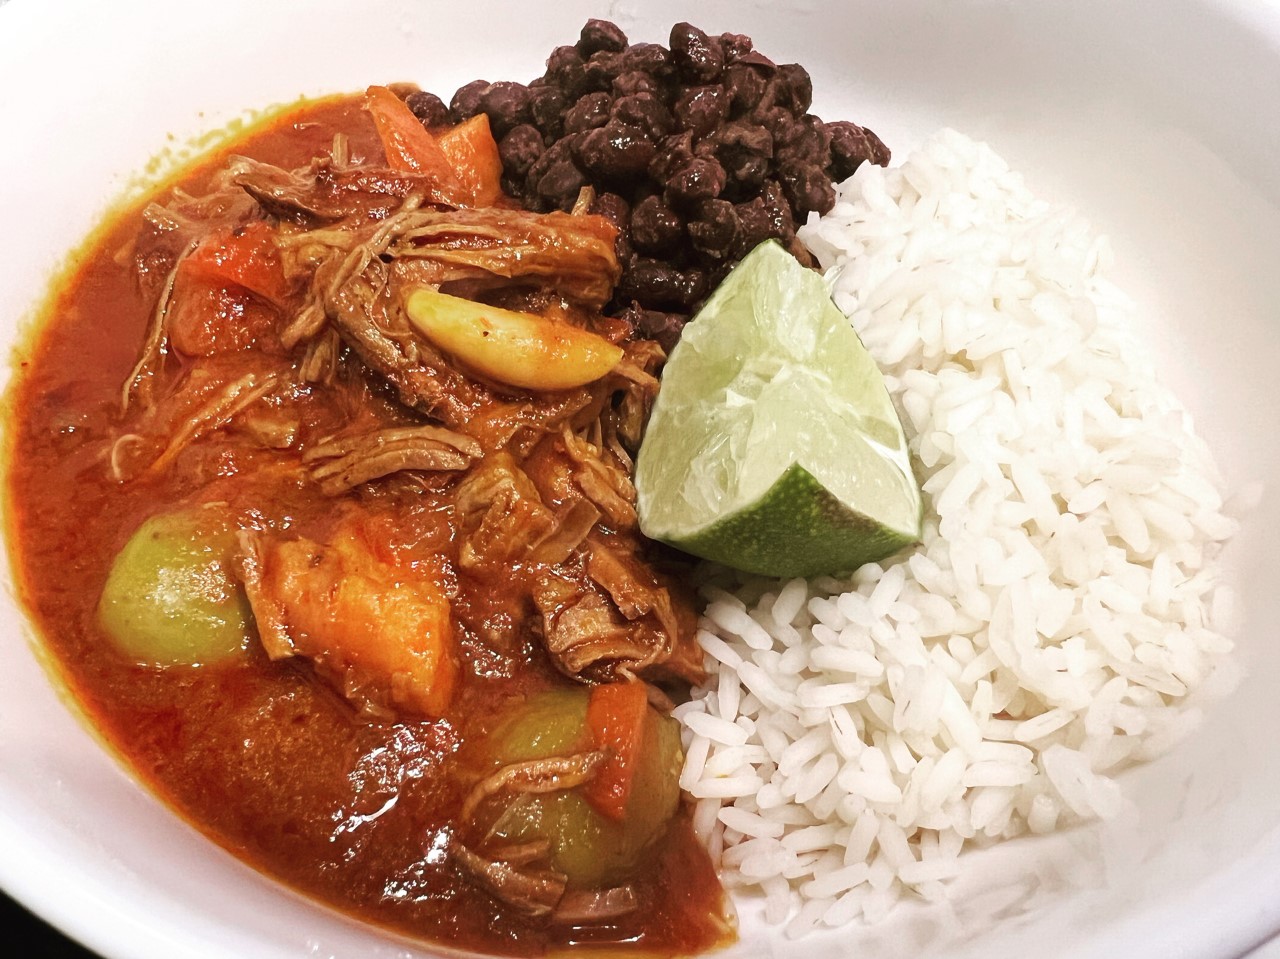
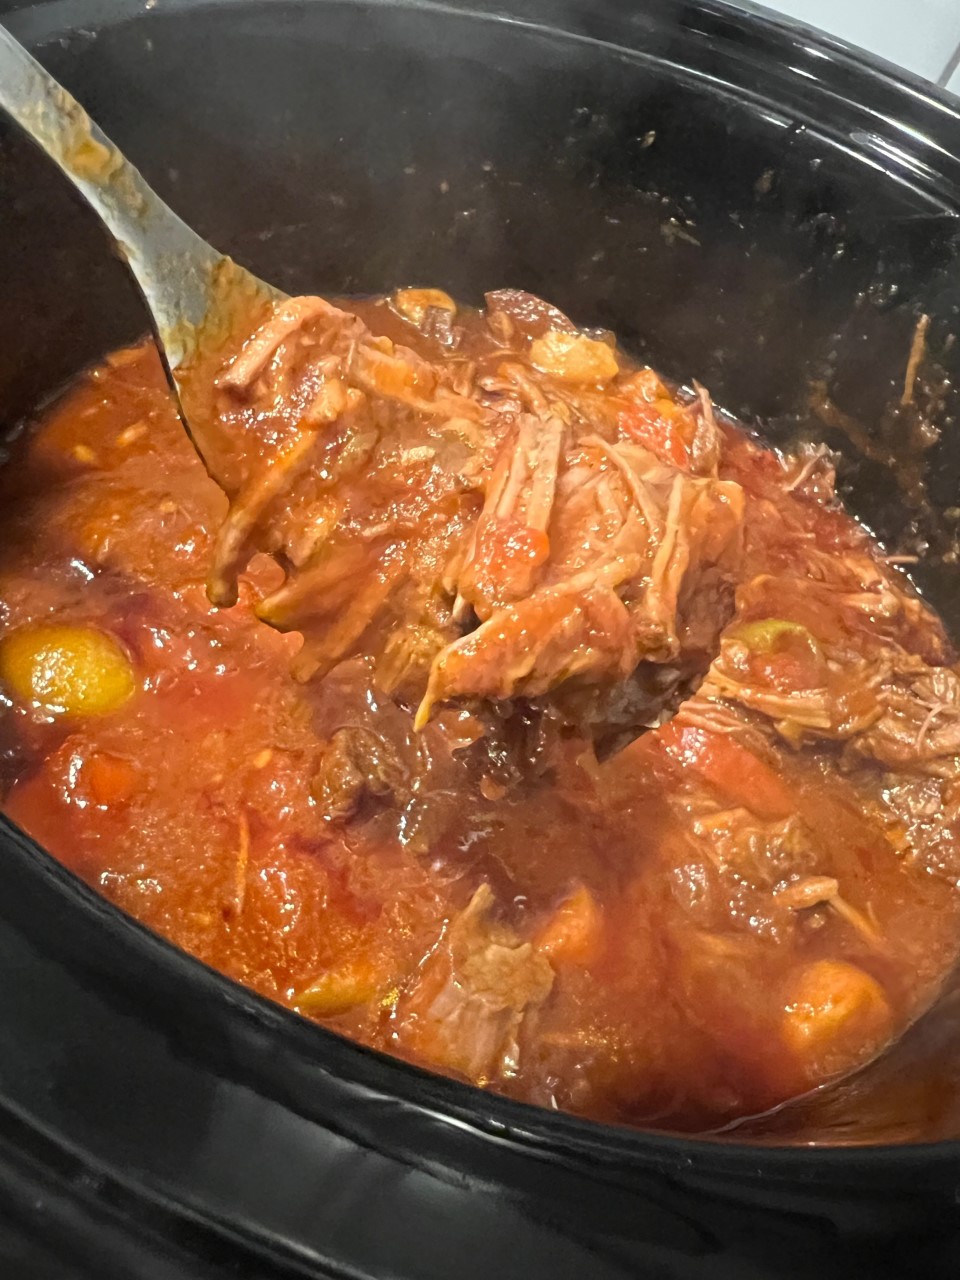
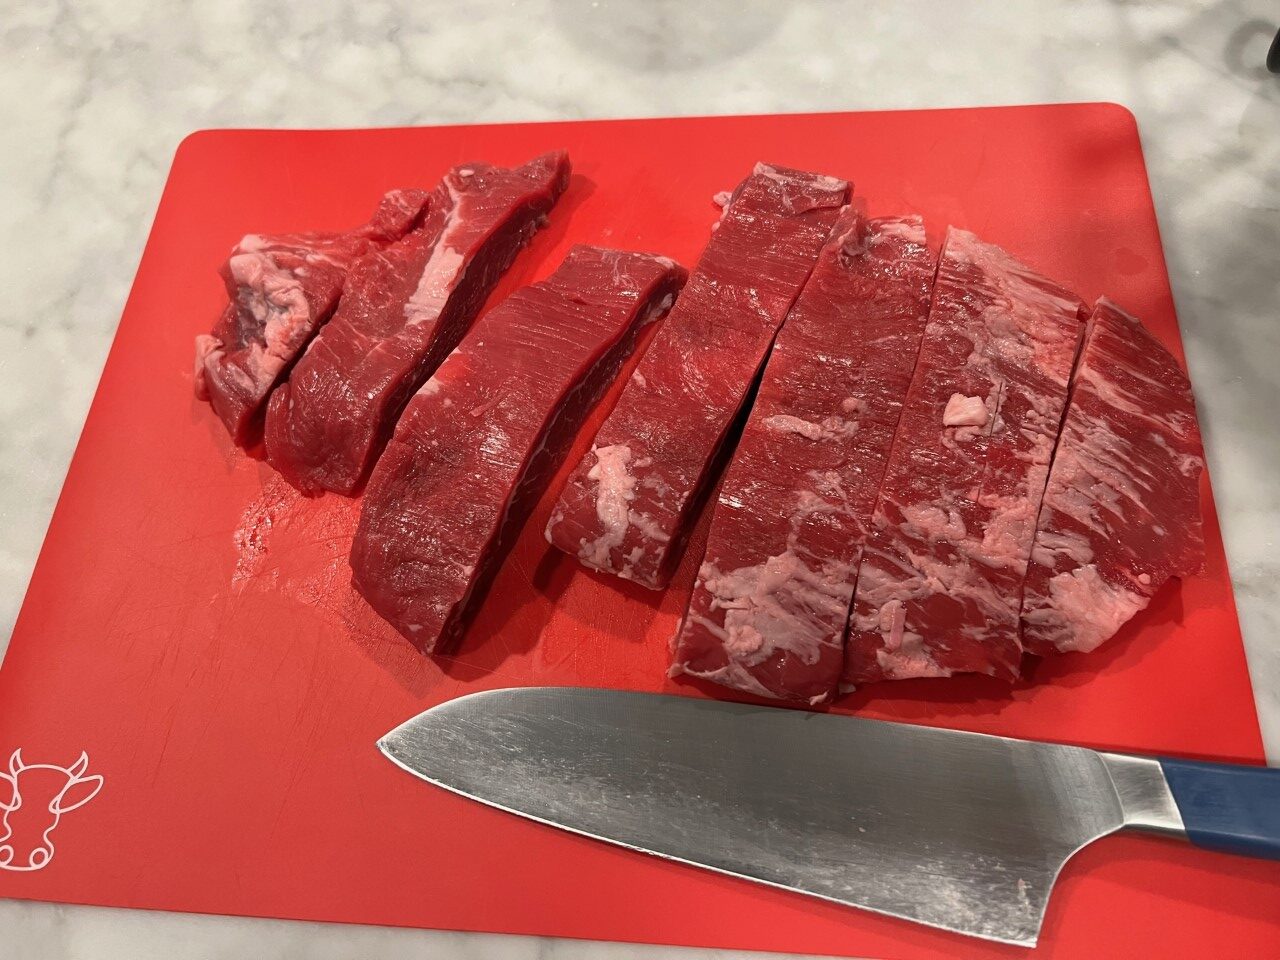

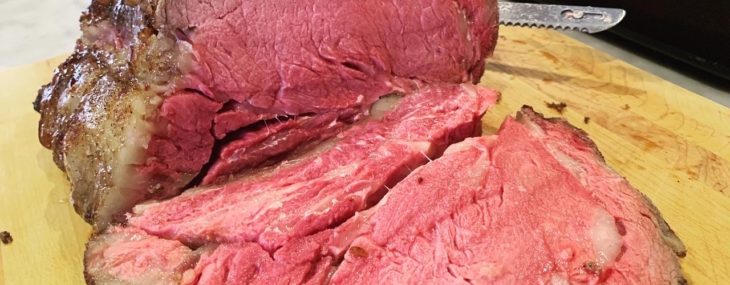
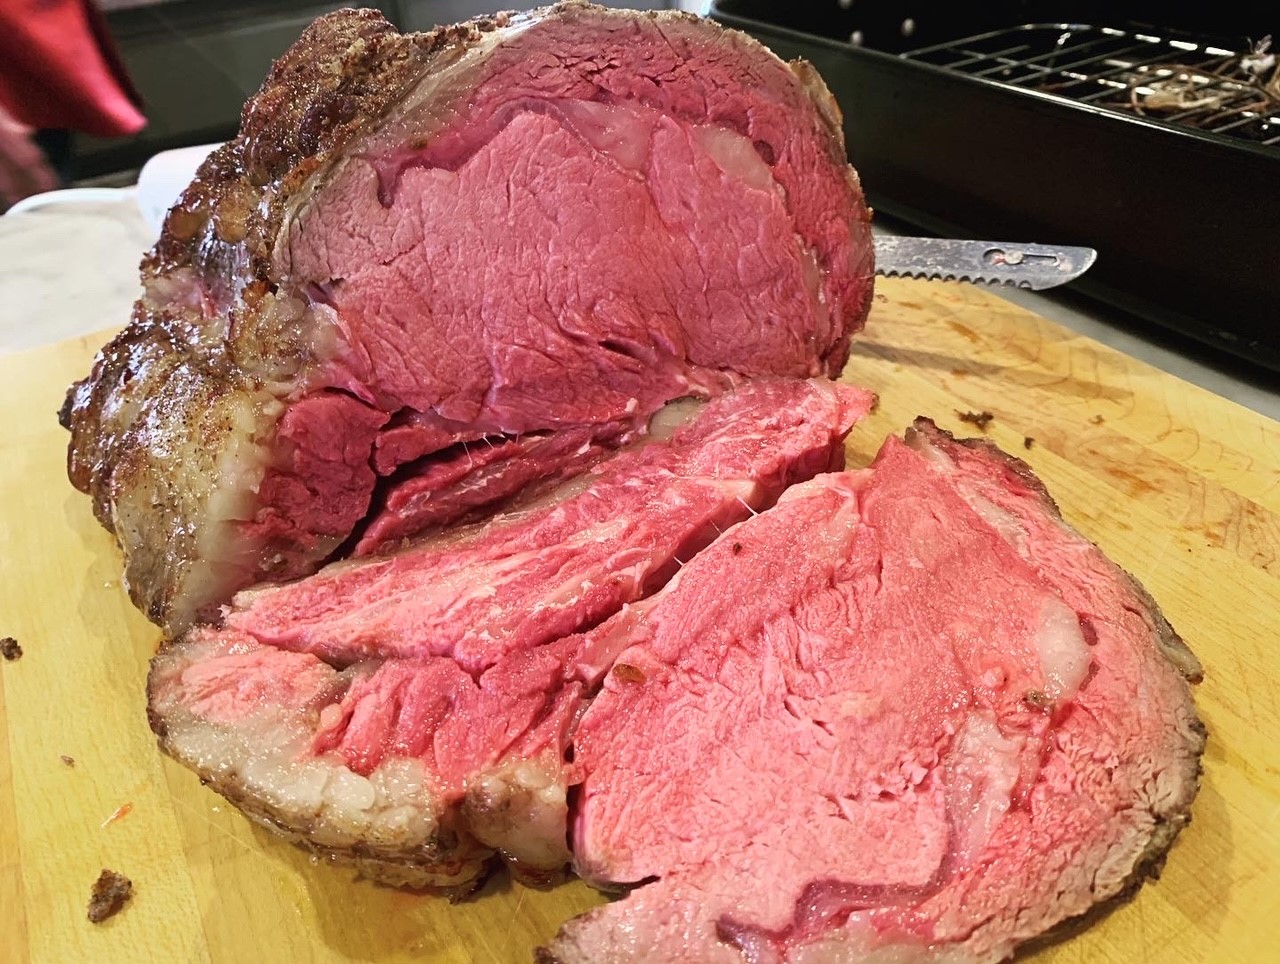
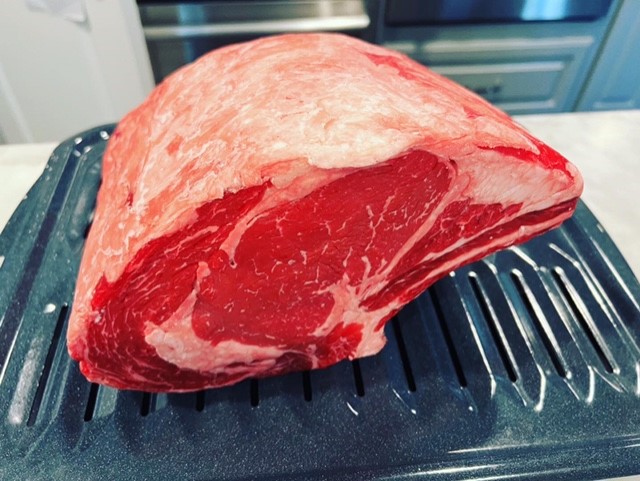
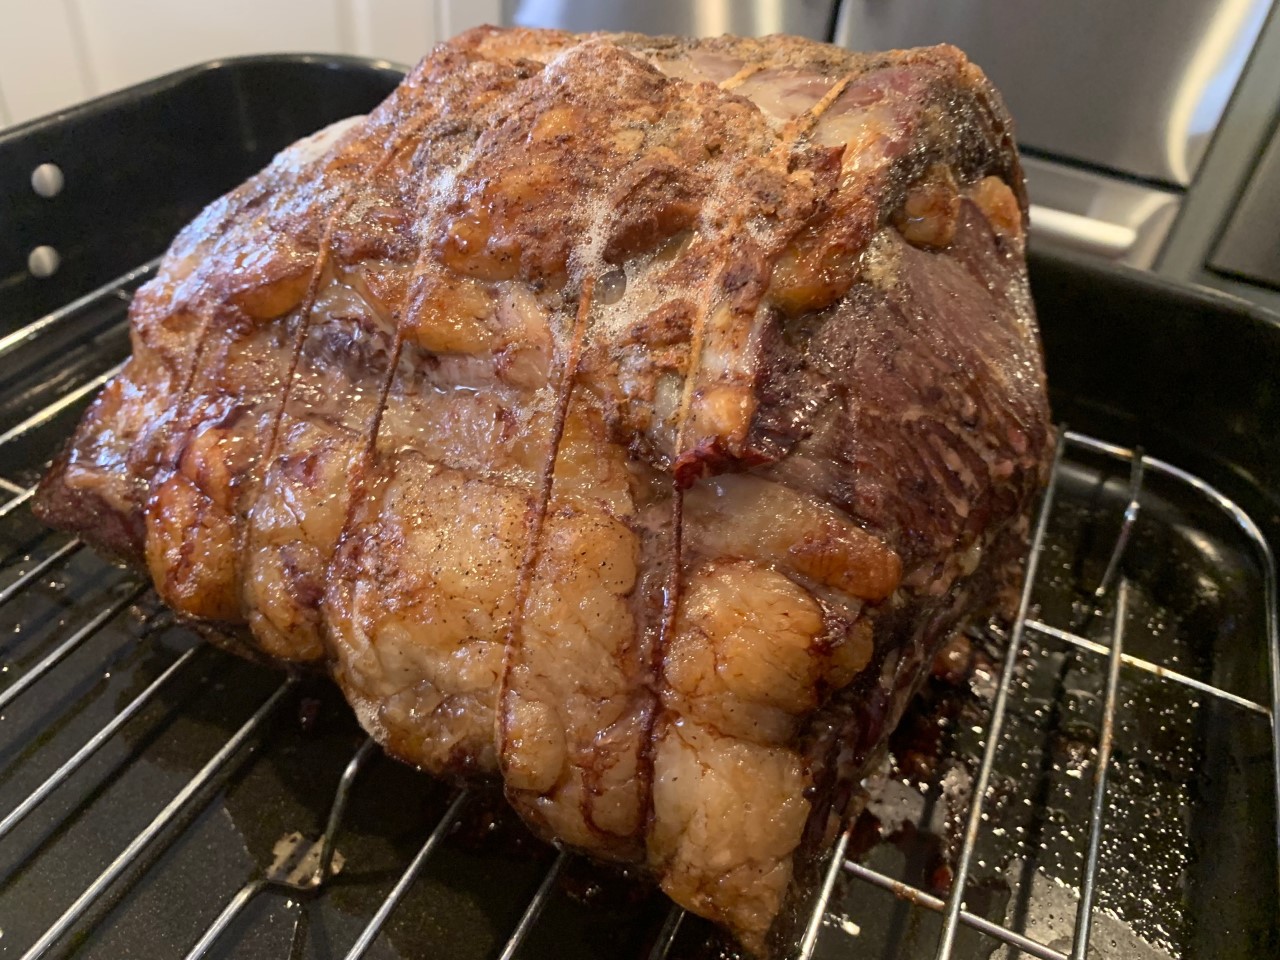


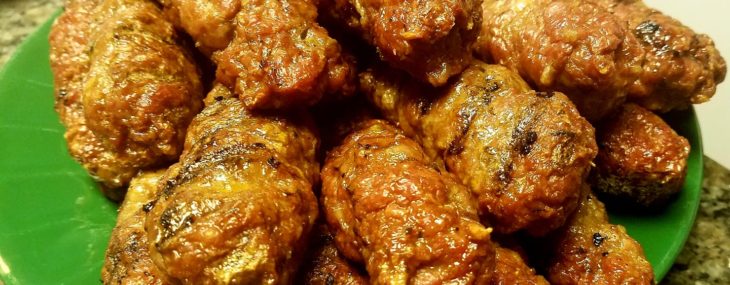

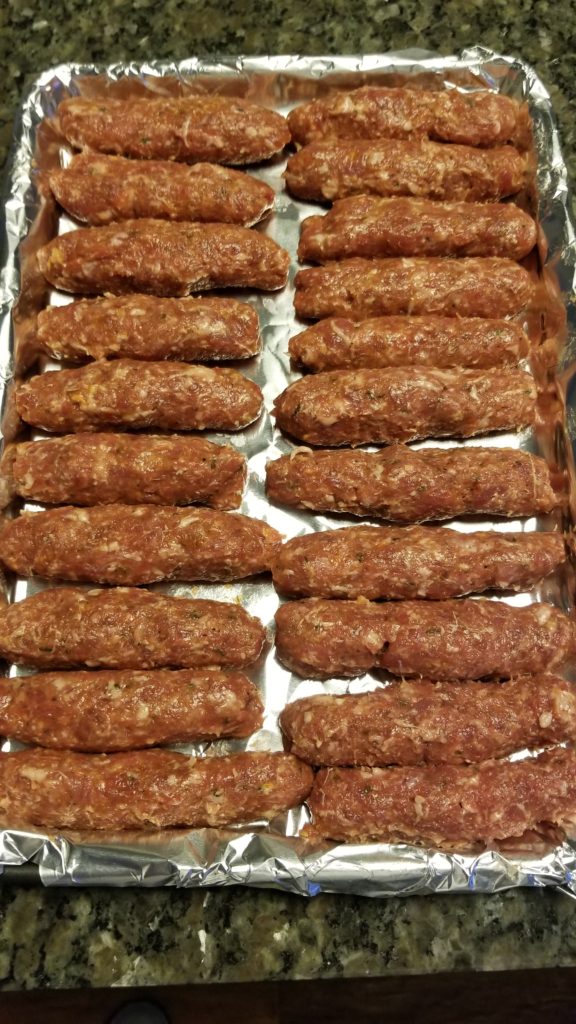
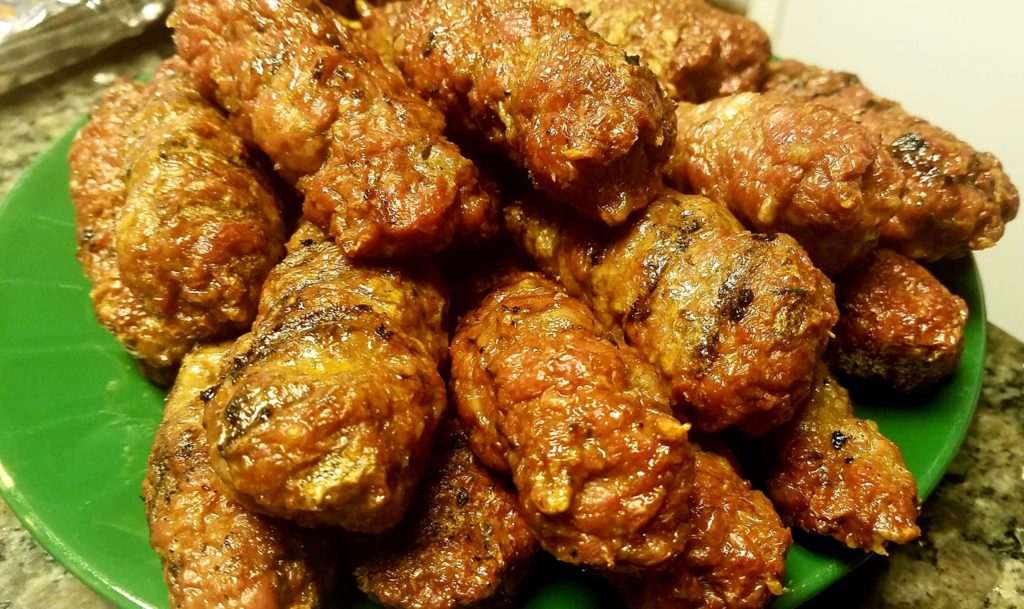
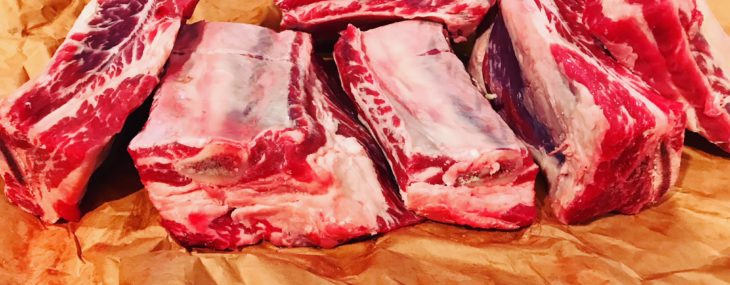
 While I was visiting my favorite craft butcher, Denville Meat Shop (
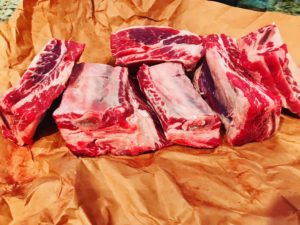

 Ingredients:


Recent Comments