
 Creamy chicken and rice soup has been a favorite of mine since my youth going to St Hubert restaurant in Quebec. St Hubert is a popular restaurant chain and the rice and creamy chicken soup it makes is pure comfort in a bowl.
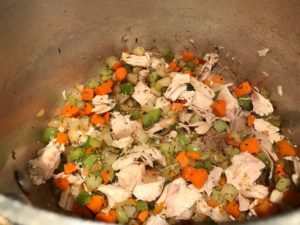
This week as I was prepping for my pot of Sunday soup, I decided to make my typical chicken soup, creamy. Then I decided to replace the hand-cut spaghetti (popular at my home) with the rice from a boil-in bag. The result – velvety texture, big chicken flavor and hearty enough to almost use a fork to eat!
The “Short Cut” Part
I had leftover cooked chicken and homemade chicken broth in the freezer so I used that, but you could poach your own chicken to use or simply buy a rotisserie chicken at the grocery store and grab store-bought broth. I’m a big believer in taking shortcuts in the kitchen, especially when they result in the heaven-in-a-bowl that is this Creamy Chicken and Rice Soup.
Ingredients
- 4 Tbsp. vegetable oil
- 1 small yellow onion, diced
- 2 medium-large carrots, diced
- 3 stalks celery, diced
- 1 garlic clove, minced
- 6 cups low-sodium chicken broth
- ½ tsp. each dried thyme and sage
- 1 tsp. each salt and pepper
- 2 cups diced roasted chicken
- 1 cup heavy cream
- 3 tsp. corn starch diluted into ½ cup cold water
- 1 Uncle Ben’s Boil-In Bag rice packet, uncooked OR 2 cups cooked long grain rice

Directions
- In a large pot over medium-high heat, warm the oil. Add the onion, carrot, celery and sauté until tender, about 10 minutes, stirring frequently. Add the garlic and cook an additional minute.
- Add chicken broth, thyme, sage, salt, black pepper and chicken and cook for 10 more minutes.
- Add the cream and bring the soup to a simmer. Add the corn starch mixture and stir for 2 minutes until the soup has thickened.
- Add the uncooked rice, lower heat to medium-low and cook 15 more minutes. If using cooked rice, reduce the cooking time for 2 minutes.
Serves 6 generously.
 This is the fourth post in my new series called “Not Really a Recipe”. These will be non-recipe posts that just give ideas on how to fix meals that are tasty and require very little work.
 This is the second post in my new series called “Not Really a Recipe”. These will be non-recipe posts that just give ideas on how to fix meals that are tasty and require very little work.
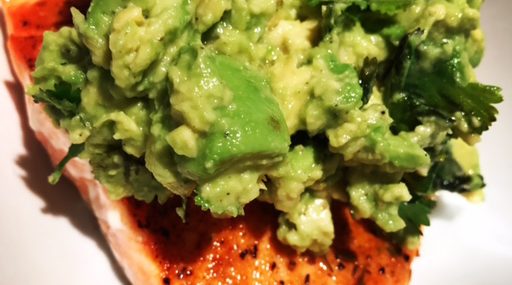
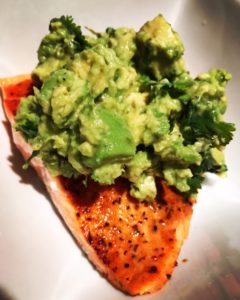 This will be the first in a new series I’m going to do called “Not Really a Recipe”. These will be non-recipe posts that just give ideas on how to fix meals that are tasty and require very little work.
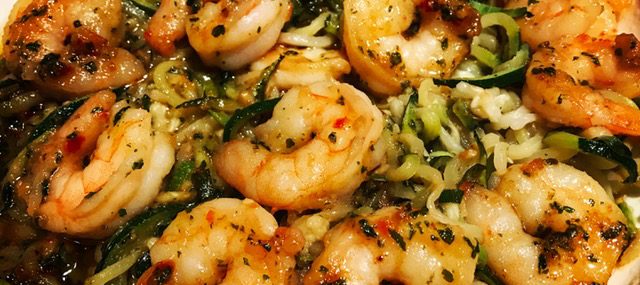
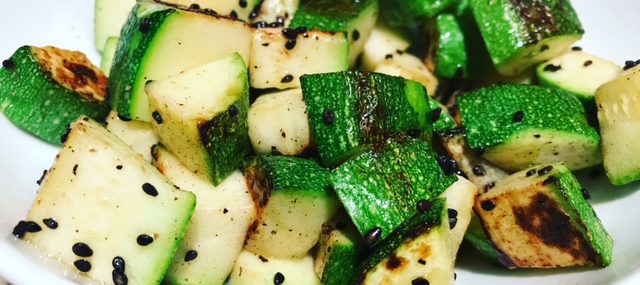
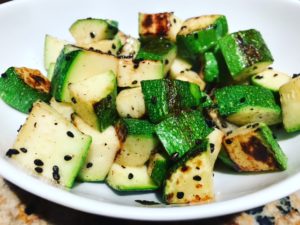
 Yes, I’m officially on the zoodles bandwagon. Not familiar with zoodles? They’re made by spiralizing vegetables and using as you would pasta. Many grocery stores even have already-prepared zoodle packages in the produce department – mine does. Zoodles are a good way to reduce carbohydrates intake, thus reducing high blood sugar – it’s why they grace my fridge every week instead of perfectly-cooked pasta.


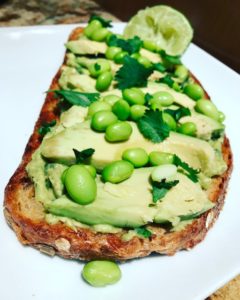
 I’m still on my mission to try to stick to vegetarian dishes on #MeatlessMonday and since I’d make a double batch of my


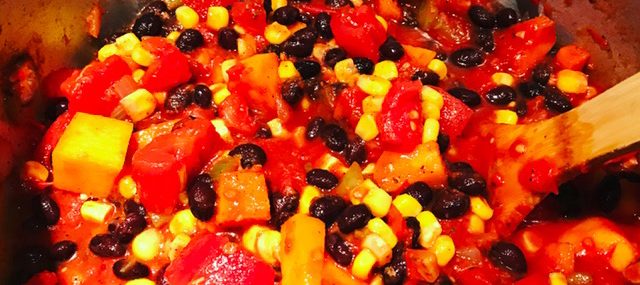
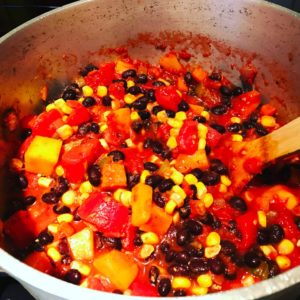 While winter’s been mild here so far in New Jersey, I’m still craving hearty, comforting food. In my continued effort to ‘prep Sunday – eat throughout the week’, this week, I’ve made a meatless chili that was uber satisfying and can be used in various ways during the week. I used it as dip for chips during the football game and topped a baked sweet potato with it for lunch (see photos).


 On Christmas morning, my mom went all fancy on us and served this delicious frittata. A frittata is an Italian egg-based dish alike an omelet or a quiche without a crust. It was a perfect, comforting dish on a snowy Quebec morning.

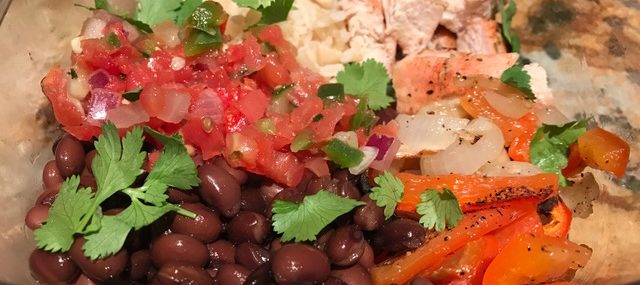
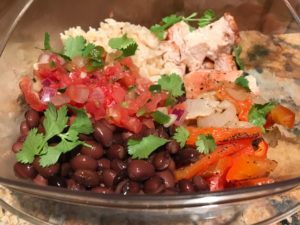 It’s a new year and I’m making all efforts to use meal prepping more so I can cook on Sundays and have delicious, healthy lunches during the week. I did pretty well with this in 2016, but since I travel over 50% of the time, meals at home weren’t very frequent. This recipe makes four lunch since bowls that are easy to take to work and reheat in the microwave. Corn would be a nice addition to this recipe, so feel free to add if you’re not trying to cut down on carbs a bit. Ingredients:


Recent Comments