Day 12 of my “12 Days of Baked Goods” series!
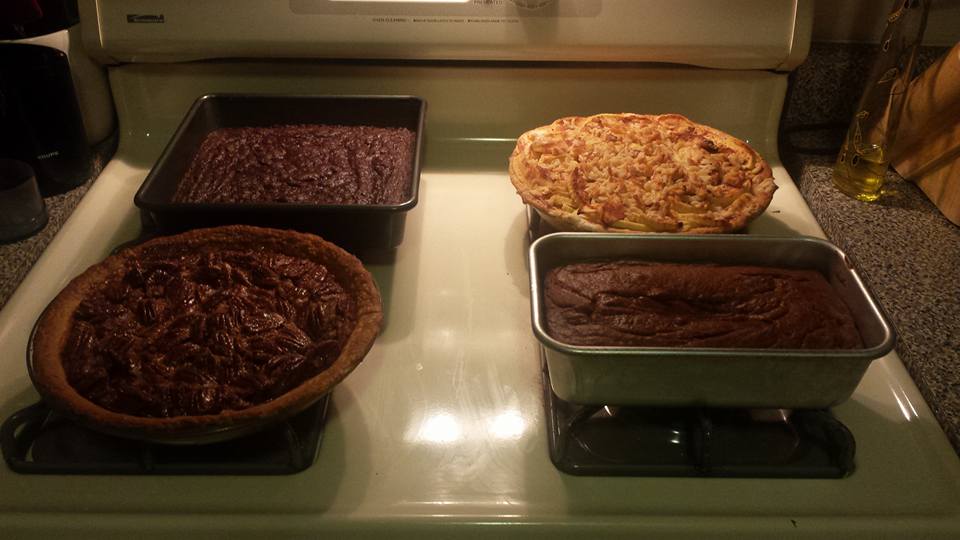
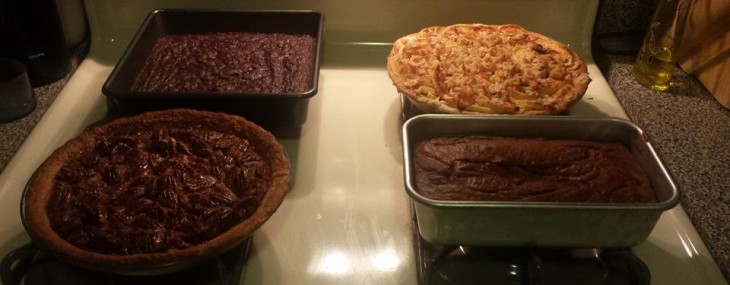
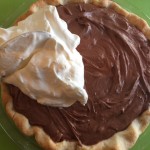
Pumpkin Bread on Bottom Right
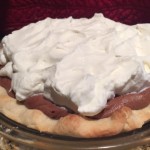
Right before Thanksgiving, my friend, Alli Meyer, posted a photo (included here) of all the desserts she made for her parents’ Thanksgiving dinner. She was willing to share the recipe she uses for her pumpkin bread that I thought you’d enjoy.
Ingredients:
- 1 cup pumpkin pie filling (not pure pumpkin pie, the filling)
- ½ cup canola oil, plus more for the pan
- ¾ cup granulated sugar
- ½ cup molasses
- 1 tsp. pure vanilla extract
- 2 cups all-purpose flour
- 1 ½ tsp. baking powder
- ½ tsp. baking soda
- ¾ tsp. kosher salt
- 1 tsp. ground cinnamon
- ¼ tsp. ground nutmeg
- ¼ tsp. ground cloves
- ½ tsp. ground ginger
Directions:
- Preheat oven to 350 degrees F.
- Oil a 9 x 5 inch loaf pan.
- In a large bowl, combine pumpkin pie filling, oil, sugar, molasses, and vanilla.
- In a separate bowl, combine the flour, baking powder, baking soda, salt, cinnamon, nutmeg, cloves, and ginger.
- Slowly stir the flour mixture into the pumpkin mixture.
- Pour into the prepared loaf pan.
- Bake for 60 – 65 minutes.
- Transfer pan to a wire rack for 10 minutes to cool.
- Using a knife, loosen the bread from the pan.
- Inver the bread onto a cutting board or serving plate and serve warm.
Inspired by a recipe by Real Simple Alli found about eight years ago.
Cheers,
Veronique


Recent Comments