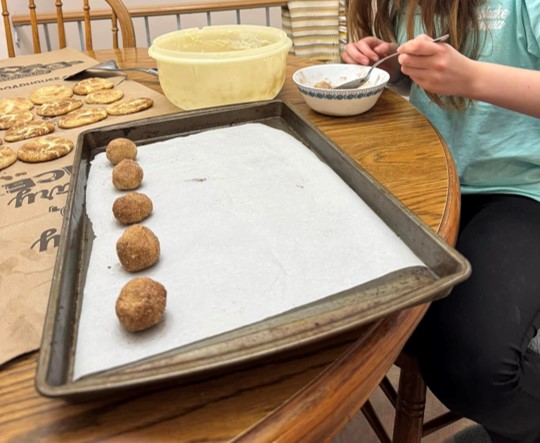
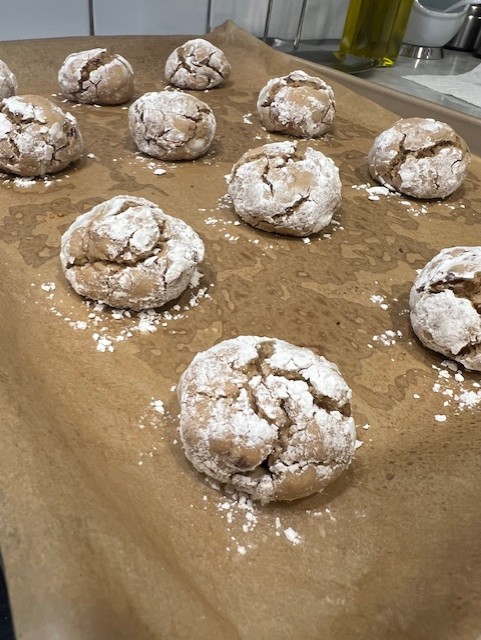
I love so much when kids and teens show a passion for cooking or baking. Cooking and baking skills are becoming sort of a lost art these days and when my colleague Sarah brought on her 12 year-old daughter, Claire, on a video call we were having to show off her cookie sheet full of freshly baked cookies, I was beyond impressed.
I’ve known about Claire’s love of baking for a while and it stems from her grandma, Chris, who’s an amazing baker. My passion for baking also comes from my grandma, so this little lady and her Kitchen Sink Cookies hit close to home for me.
Claire shared the recipe she used, Kitchen Sink Cookies (Panera Copycat), by popular food blogger, Melissa at Design N Eat Repeat and I’m adding it to my repertoire to try over the weekend.
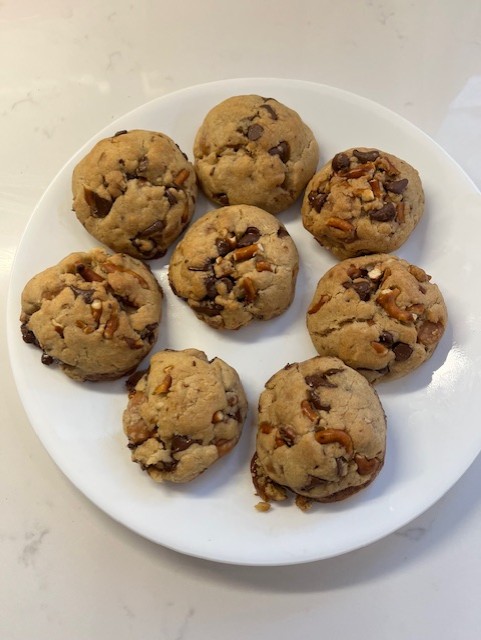
Kitchen Sink Cookies
Here’s to all the young cooks and bakers out there!
Cheers,
Veronique


Recent Comments