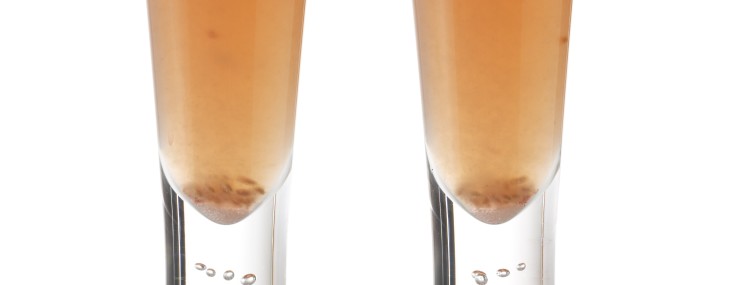
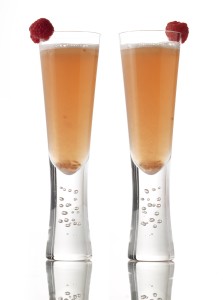
Photo by Driscoll’s Berries
I received this fun and elegant cocktail recipe from the folks at Driscoll’s Berries. I think it’s perfect to kick off spring!
Ingredients:
- 1 oz St. Germaine
- 0.5 oz lemon juice
- 0.5 oz simple syrup
- 4 raspberries
- Sparkling Brut
- 2 Raspberries for garnish
Directions:
- Combine the St. Germaine, lemon juice, simple syrup
- and berries in a cocktail shaker.
- Top with ice and shake vigorously.
- Add 3 ounces sparkling Brut in a champagne coupe.
- Strain shaken contents into champagne coupe.
- Garnish with raspberry & blackberry.
Makes 1 cocktail.


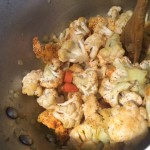
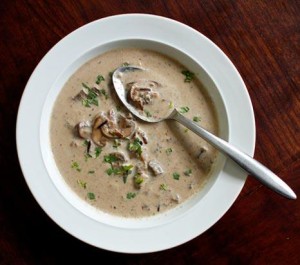 What could be more comforting than a hearty, warm soup on a cold winter day? Nothing, that’s what!


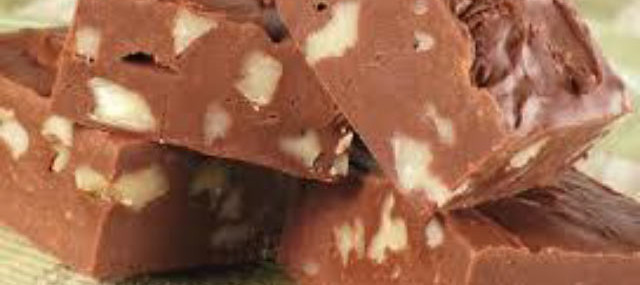
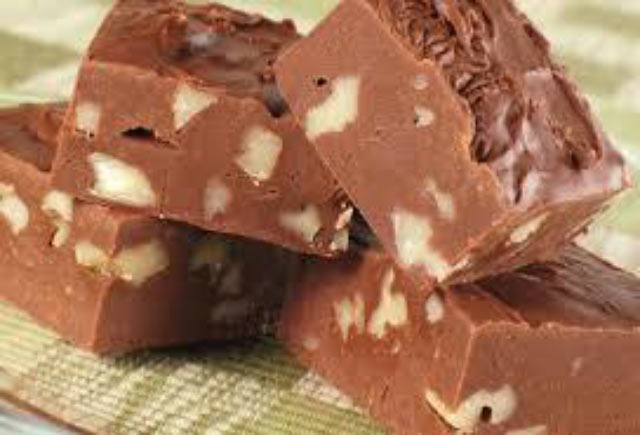
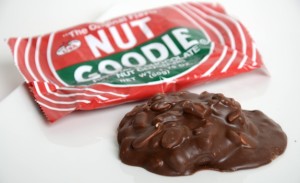 Nut Goodie is a candy bar that has been manufactured by Saint Paul, Minnesota’s


Recent Comments