Every late spring, I make it my mission to go strawberry picking at Donaldson Farms, and amazing local farm. My love for picking berries started a long time ago when my grandma would take me to pick wild/wood strawberries in Quebec as a toddler. She’s sit me in the field with a pail and tell me to pick berries around me. Of course, that ended up with me eating the strawberries around me, but it’s a very fond memory nonetheless.
 Cultivated strawberries are so easy to pick as farmers have rows and rows of plants with an abundant amount of berries on them. Within a few minutes, I have more strawberries that I know what to do with!
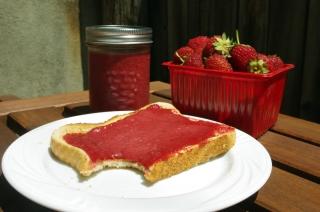
One way I like to use up my fresh berries is by making a very simple butter using maple syrup from back home in Quebec. This butter can be used on toasts, waffles, pancakes/crepes and in a multitude of ways. It keeps a couple of weeks in the fridge and it’s delicious!
Hope you make it out to a u-pick-it berry farm near you, it’s a fun and tasty activity for the whole family.
Ingredients:
- 6 cups of fresh, chopped strawberries
- 2/3 cups maple syrup
- 1 ½ cups unsalted butter, cut into pieces
- 1 Tbsp. pure vanilla extract
- Pinch of salt
Directions:
- In a large saucepan over medium-high heat, add the chopped berries, the maple syrup and the butter. Bring to a boil then lower heat to medium-low and cook for 30 minutes, stirring occasionally.
- Turn the heat off, add the vanilla and salt and stir to combine.
- Puree the berry mixture in a blender or food processor until smooth, 30 seconds or so. You may need to puree in batches if your food processor/blender is on the small side.
- Pour the strawberry maple butter in small glass jars and refrigerate until ready to serve.
Makes 6 small canning jars.
Cheers,
Veronique
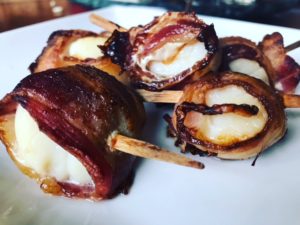
 I make the tarragon dipping sauce the day before and keep it in the refrigerator until I’m ready to serve the dish. This saves some time and keeps you out of the kitchen and with your guests come party time.
 Ingredients:


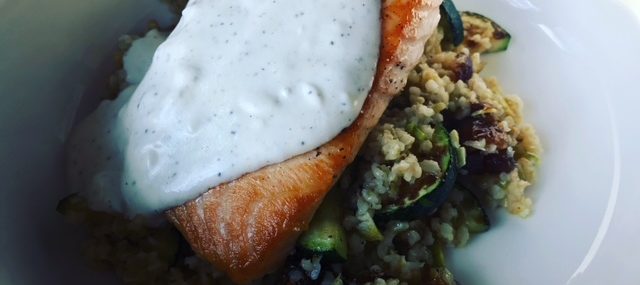
 We received this fabulous salmon and simple recipe in our Blue Apron kit this week and it was one of my favorite dishes from the meal program thus far. I loved all the bold flavors and the various texture. I don’t zest my lemon and instead finely chop the rinds it for bigger lemon flavors to match against the salmon.
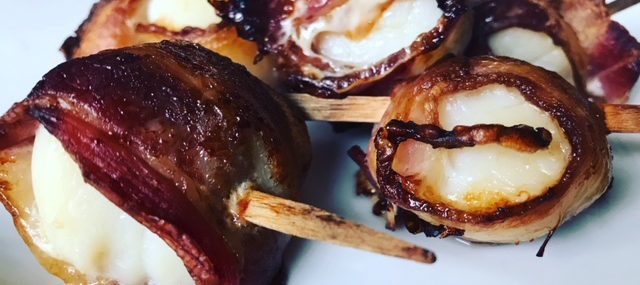

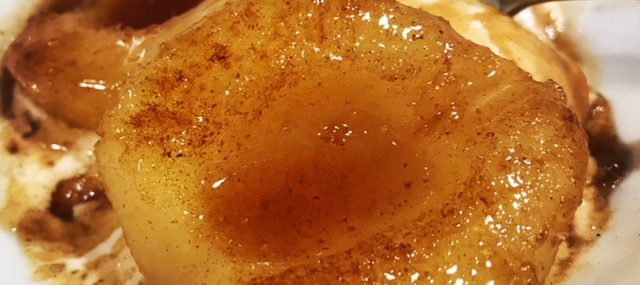
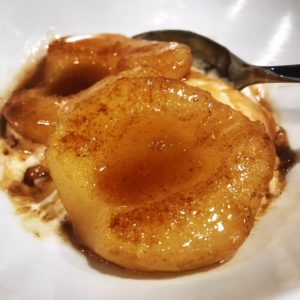
 Bananas Foster is a dessert originally-created at Brennan’s Restaurant in New Orleans back in the 1950s. The popular dish consists of ripe bananas cooked in a butter, dark rum, banana liquor and brown sugar sauce then topped with vanilla ice cream. It’s decadent, old school and a most perfect dish.
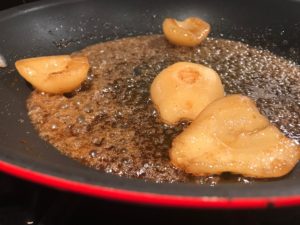

 According to Wikipedia, Mardi Gras, also called Fat Tuesday, refers to events of the Carnival celebrations, beginning on or after the Christian feasts of the Epiphany (Three Kings Day) and culminating on the day before Ash Wednesday. Mardi Gras is French for “Fat Tuesday”, reflecting the practice of the last night of eating richer, fatty foods before the ritual fasting of the Lenten season.
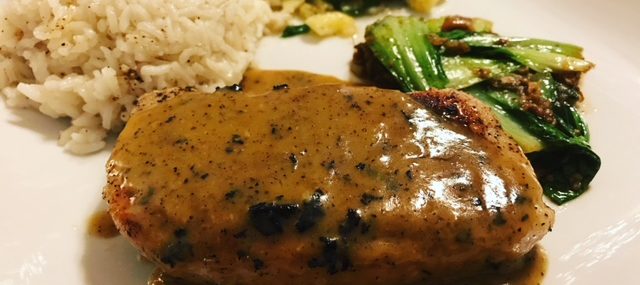
 My hubby fixed our Blue Apron dinner last night and our dish, pork chop with miso butter sauce was outstanding. What made the dish was the rich, slightly salty, umami-packed miso butter sauce. It would go great with steaks or chicken or vegetables or just about anything.


Recent Comments