-
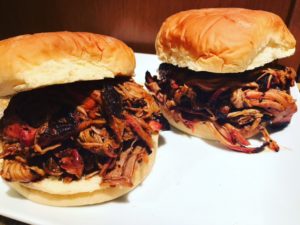
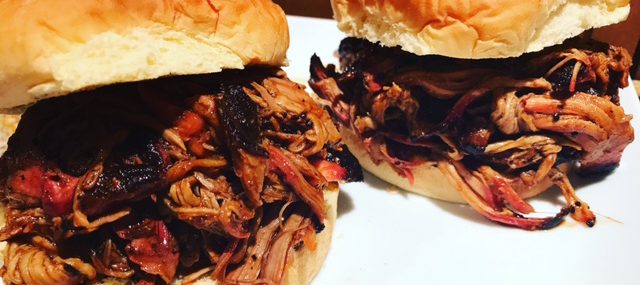
- Pulled Pork Sandwich
-

- Pork Quesadillas
I’ve been smoking pork shoulder/butt for a few years on the Weber kettle grill since I don’t have a smoker (yet). The pork is always super moist, flavorful and delicious, but a couple weeks ago, I decided to try the method by “MNLang” he posted on Instructables – wow, amazing!!
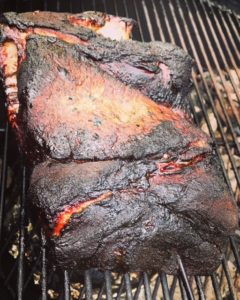
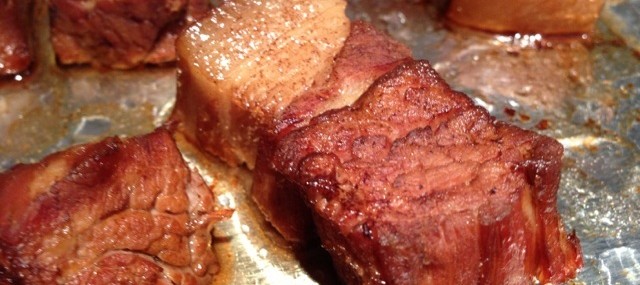
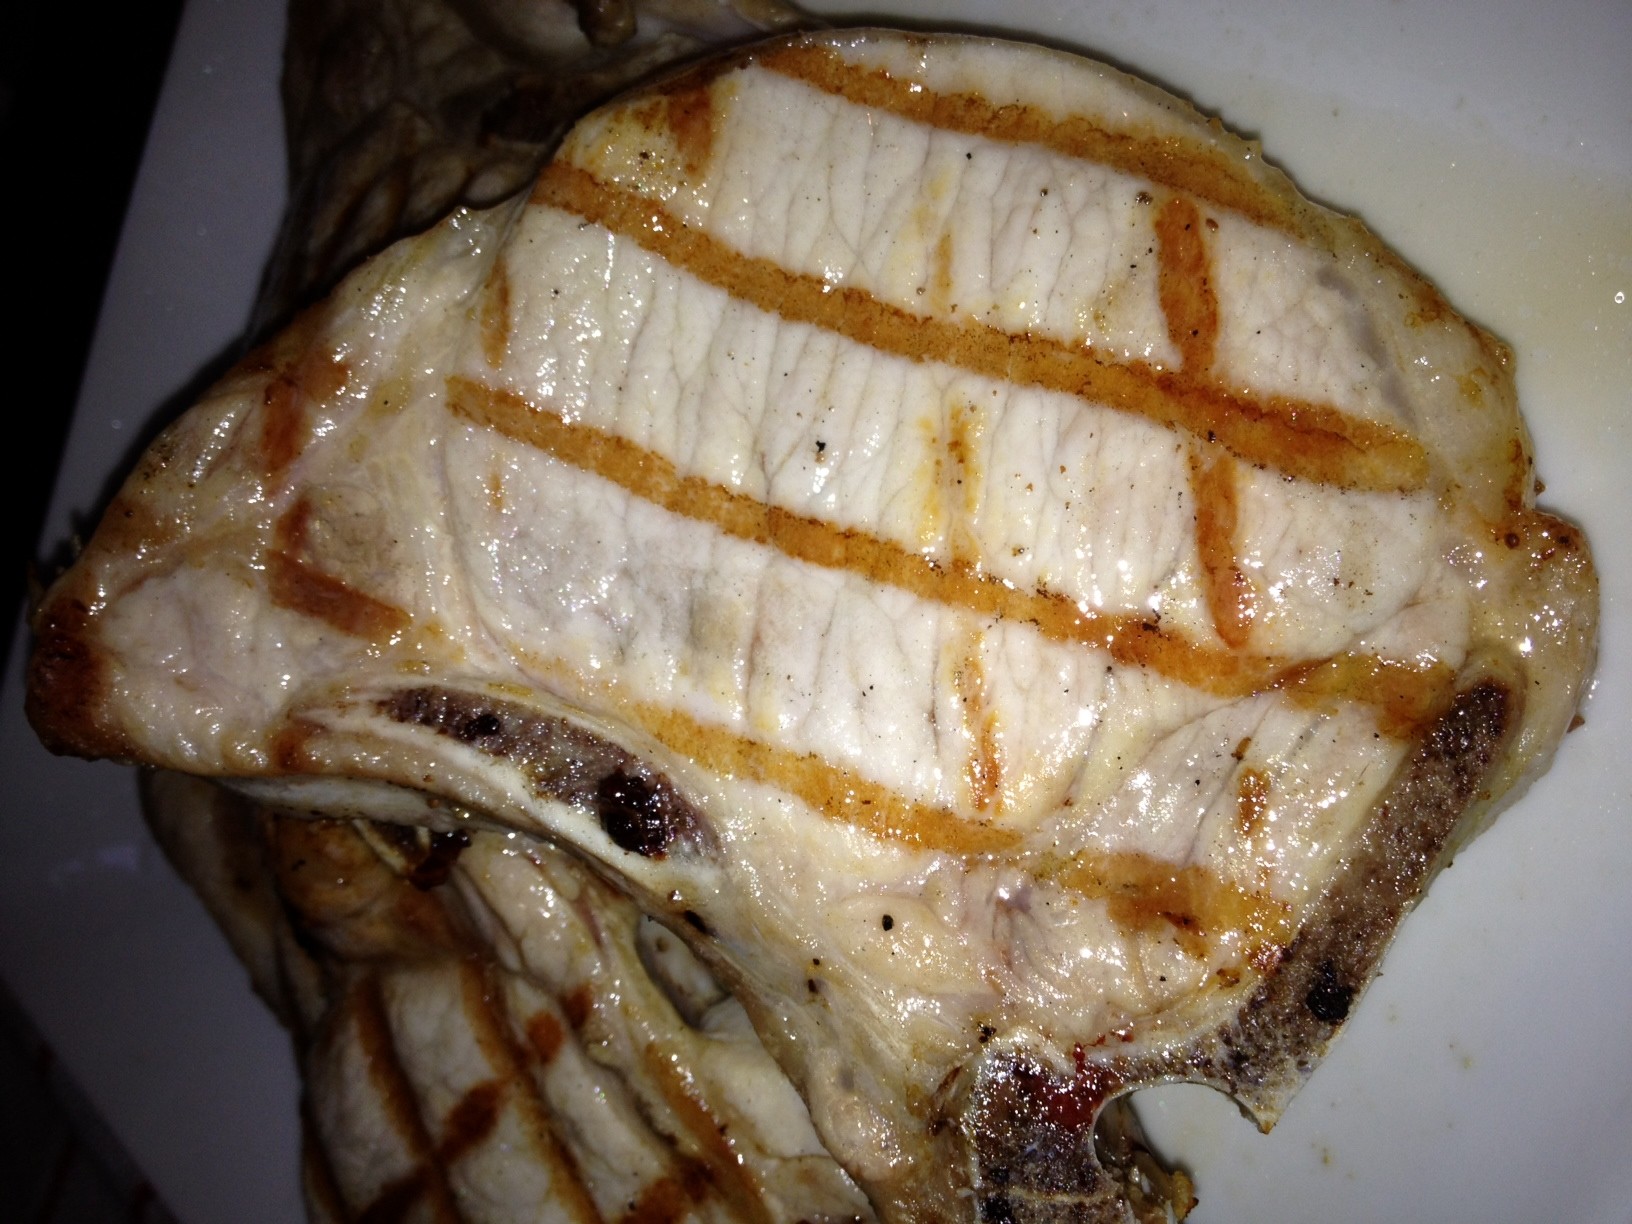
Smoked Butt
I followed the instructions very closely and I must admit, it was some of the best pulled pork I’ve had, and god knows I get around a pork butt.
Here are his instructions: http://www.instructables.com/id/Pulled-pork-on-a-Weber-kettle-grill/
Once I had my cooked/smoked pork, I made several dishes with it, including fabulous pulled pork sandwiches lightly dressed with my World’s Best BBQ Sauce. I also made some pulled pork quesadillas with grilled onions, sharp Cheddar and Jack cheeses, cilantro and salsa verde.
-
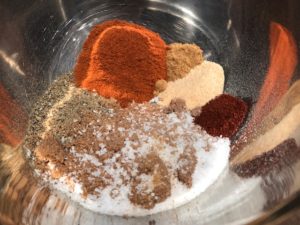
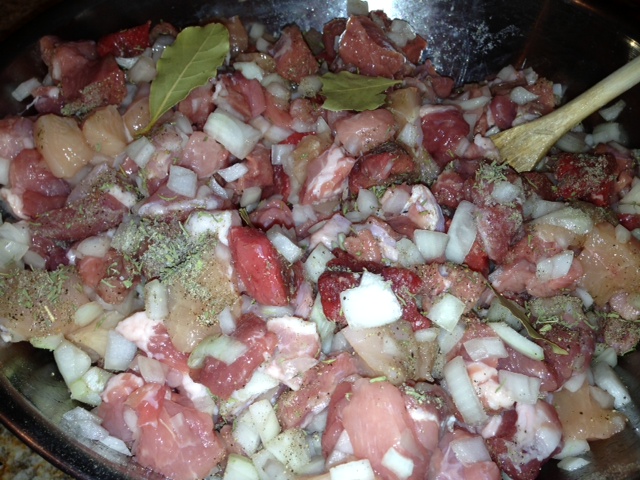
- Dry Rub
-
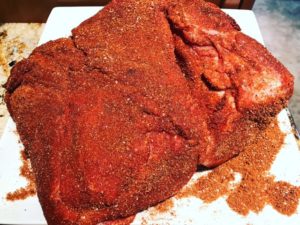
- Rubbed Butt
-
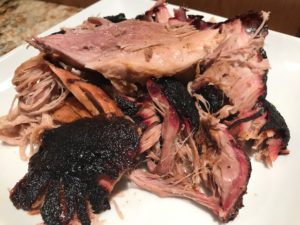
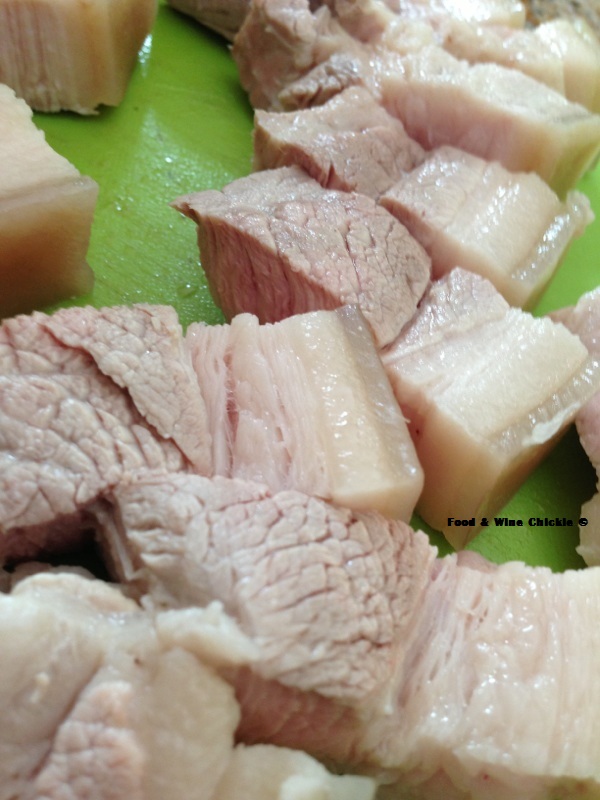
- Pulled Pork
I hope you try this technique if you have a kettle grill. It’s definitely not a “set it and forget it” method, but it produces some of the best smoked pork you’ll be able to make without a smoker.
Cheers,
Veronique
 While I have my
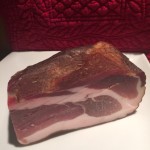


Recent Comments