Smoked Creamy Tomato Bisque

Smoked Creamy Tomato Bisque

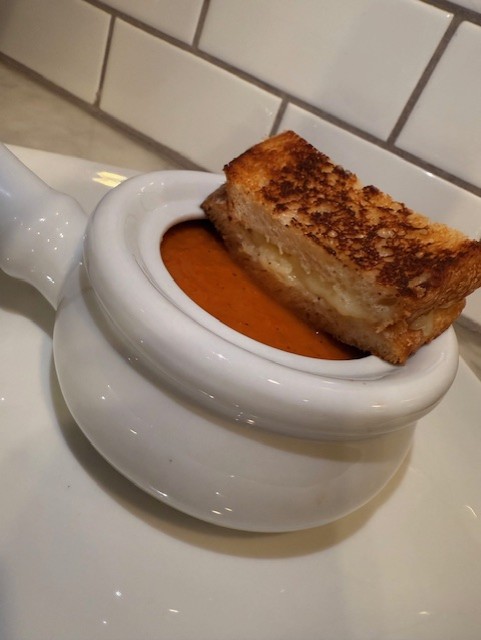
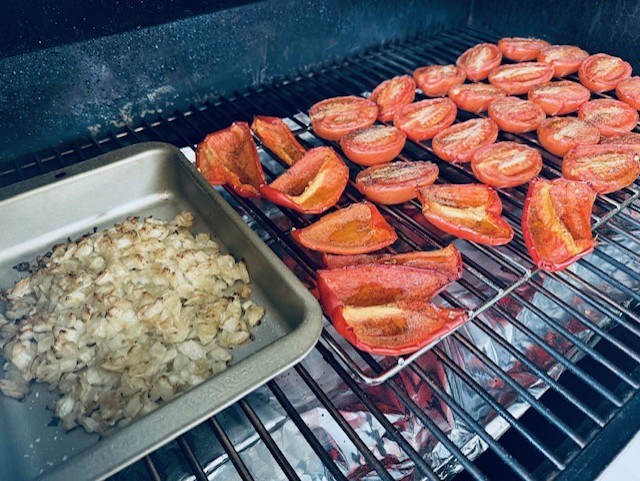
There’s something magical about combining smoke and soup. On a slightly chilly Sunday, I decided to fire up my Recteq pellet smoker and experiment with smoked tomatoes, red bell peppers, and onions. The result? A creamy tomato bisque that’s rich, comforting, and layered with flavor.

Why Smoke Your Veggies?

Smoking vegetables adds depth and complexity that you just can’t get from roasting or sautéing. The gentle heat and wood smoke infuse the tomatoes and peppers with a subtle sweetness and a hint of char that elevates this classic soup.

This smoked tomato bisque is perfect for cozy evenings or as a starter for a fall dinner party. The smoky undertones make it stand out from traditional tomato soups, and it’s surprisingly easy to make.
🛒 Ingredients

Smoked Vegetables

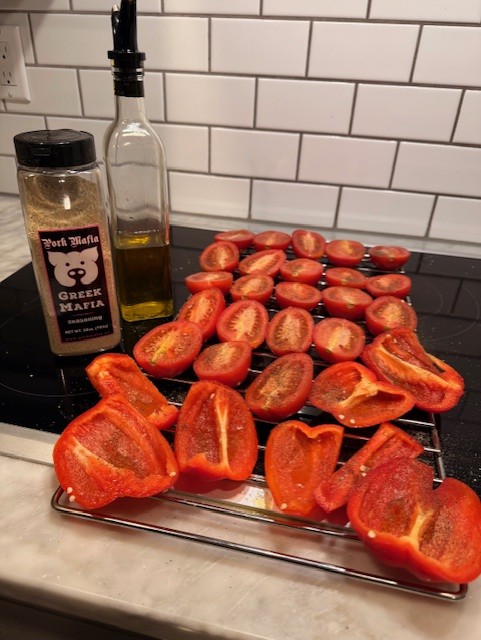
  • 12 Roma tomatoes, halved
  • 2 large red peppers, quartered
  • 1 large onion, chopped
  • 1/4 cup olive oil
  • 1 tsp each, salt and pepper

Soup Base

  • 3/4 cup loosely packed basil leaves, coarsely chopped
  • 1 tsp granulated sugar
  • 1 tsp each, salt and pepper
  • 16 ounces chicken broth (use vegetable broth for a vegetarian soup)
  • 1/2 cup heavy whipping cream

🔥 Smoking Instructions

  1. Preheat your smoker (I use a Recteq pellet smoker) to 225°F.
  2. Arrange tomato halves and red pepper pieces on a baking rack, skin side down.
  3. Place chopped onion in a small metal dish.
  4. Drizzle olive oil over all vegetables and sprinkle with salt and pepper.
  5. Smoke for 2 hours.

🍲 Soup Assembly

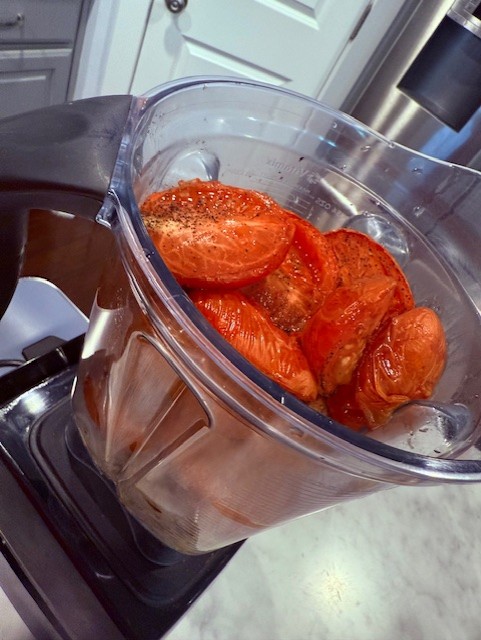
  1. Transfer smoked vegetables to a blender (I use a Vitamix).
  2. Add basil, sugar, salt, pepper, and chicken broth. Pulse for one minute until mostly smooth.
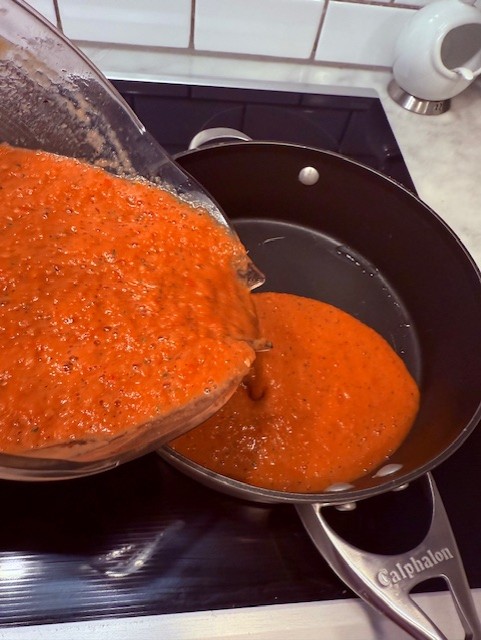
  3. Pour the mixture into a saucepan and simmer over medium heat for 15 minutes.
  4. Reduce heat to medium-low, stir in the cream, and simmer for another 5 minutes.
  5. Serve hot and enjoy!

🥄 Yield

Serves 6

Cheers,
Veronique

Top 10 Cookie Recipes on Food and Wine Chickie

🍪 Cookie Lovers, Rejoice!
Food & Wine Chickie has rolled out a mouthwatering lineup of cookie recipes that’ll make your baking sheets beg for action. Whether you’re craving a timeless chocolate chip or something with a festive twist, there’s a treat here for every mood and moment.

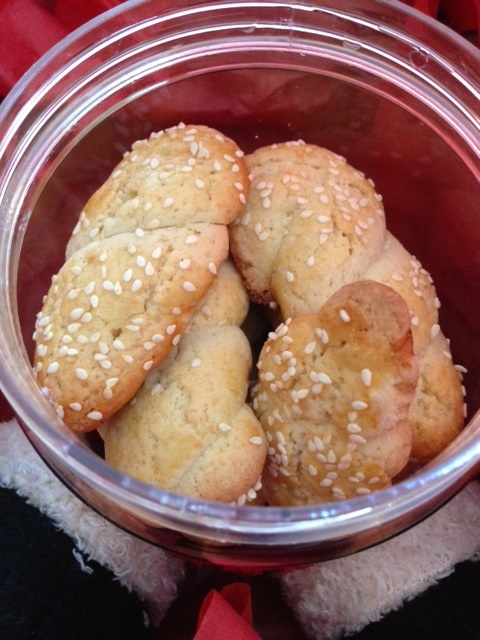
Koulourakia

Here are some of the top picks:
Kitchen Sink Cookies by Claire – Everything but the kitchen sink, and somehow it works.
Brown Sugar Crackle Top Cookies – Crispy tops, chewy centers, pure magic.
DoubleTree Signature Cookie Recipe – Yes, those famous hotel cookies.
Easy Recipe for Two Cookies – Because sometimes, you just need a small batch.
Koulourakia (Greek Cookies) – Twisted, buttery, and perfect with coffee.
Chocolate Rolo Cookies – Gooey caramel meets rich chocolate.
Pepernoten (Dutch Spiced Cookies) – Bite-sized bursts of warm spice.
Candy Bar Cookies – Your favorite candy, now in cookie form.
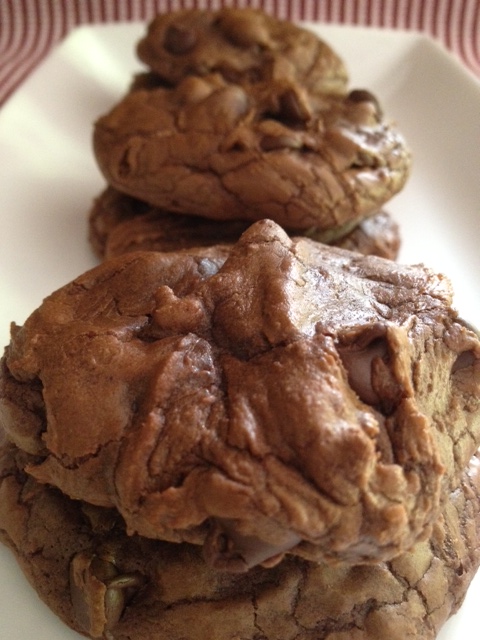
Quadruple Chocolate Brownie Cookies – Four kinds of chocolate. Enough said.
St. Louis Gooey Butter Cookies – Soft, sweet, and unapologetically indulgent.

🎉 Whether you’re baking to impress or just treating yourself, there’s something here to spark joy. So preheat that oven, grab your mixing bowl, and let’s get baking!

Which one’s calling your name? Drop a comment—I’d love to know what you’re whipping up!

Cheers,
Veronique
Easy Bruschetta Dip

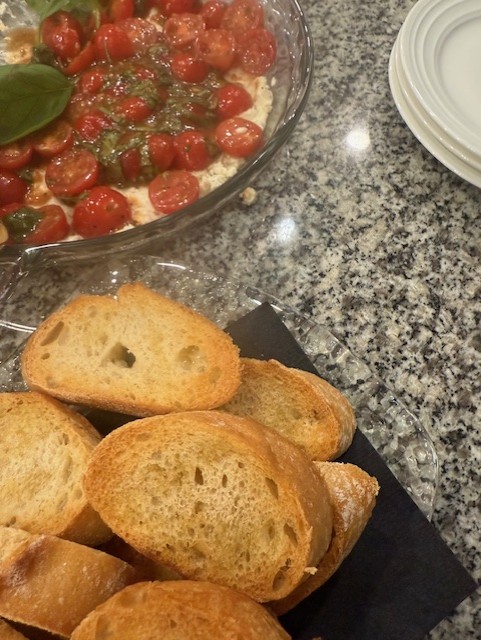
I recently had this tasty starter at a friend’s home (thanks Lorelei) and added it to my repertoire as it’s delicious and simple to make.

It’s truly the easiest little appetizer you can make yet, it garnered so many kudos at a recent outdoor pool party at my home. It can be prepared in advance and served when guests arrive and would be great for sports watching.

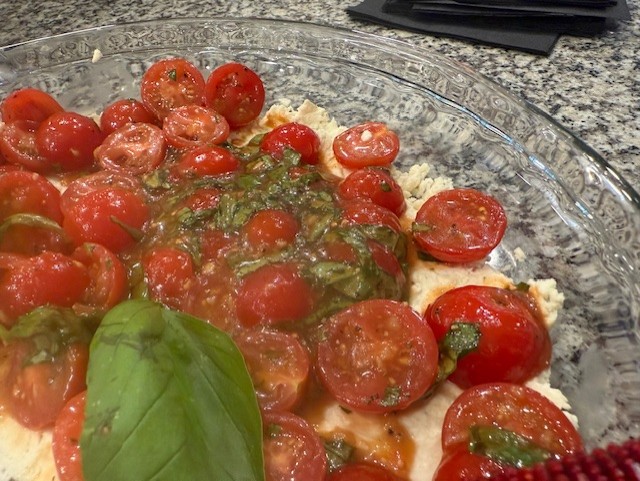
You simply spoon Garlic and Fine Herbs Boursin cheese in a serving dish, I use an 8” pie plate or a rectangular platter then fix an easy chopped tomato “salsa” that’s a great way to use up garden tomatoes and basil. Little olive oil and balsamic glaze drizzle and you’re all set.

The recipe can easily be doubled for a larger crowd.

Ingredients:

1 5.3 Oz Garlic and Fine Herbs Boursin cheese, allowed to come to room temperature for 30 minutes 

3 medium ripe tomatoes, small diced

1 garlic clove, finely chopped

2 Tbsp. finely diced shallots or onion

2 dashes of hot sauce, I used Cholula

3 Tbsp finely chopped fresh basil

1/2 tsp. each salt and pepper 

Directions:

  1. Using the back of a spoon, spread the Boursin on the bottom and sides of a dish.
  2. In a medium bowl, combine all the remaining ingredients and allow the flavors to meld, at least 30 minutes or overnight. If making I advance, you may need to drain a bit of the liquid that will come out of the tomatoes.
  3. Top the cheese layer with the bruschetta and serve within a couple of hours.

Serve with grilled bread or pita chips.

Makes 4-6 servings.

Prosciutto Wrapped Chicken with Gouda and Sage

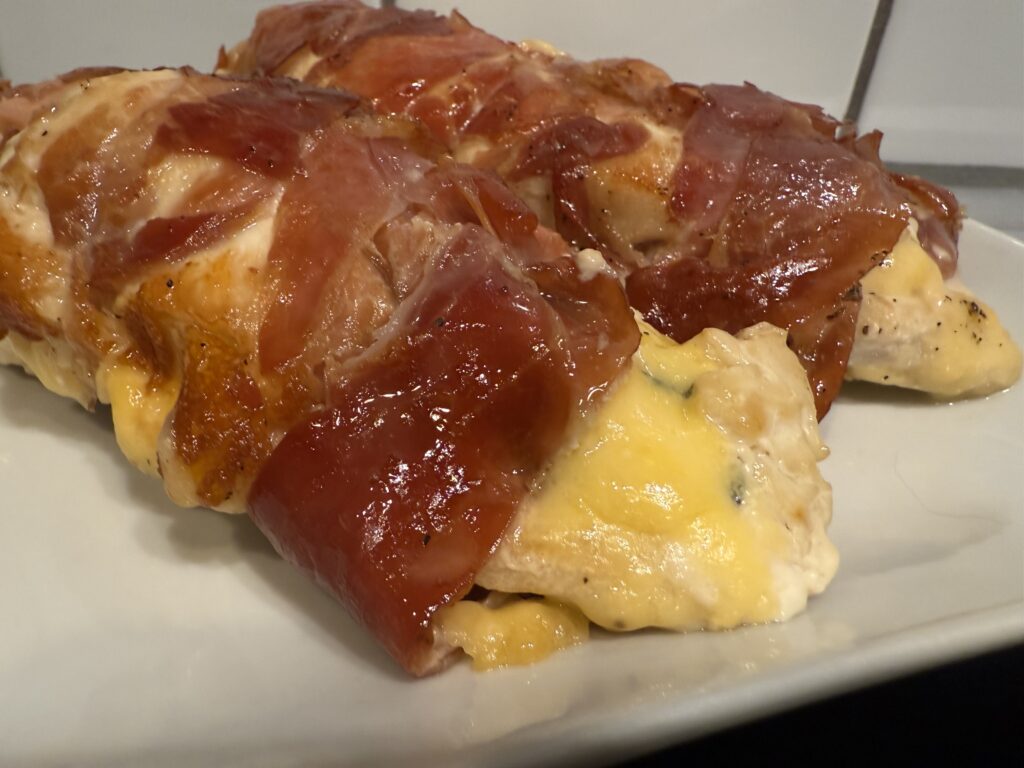
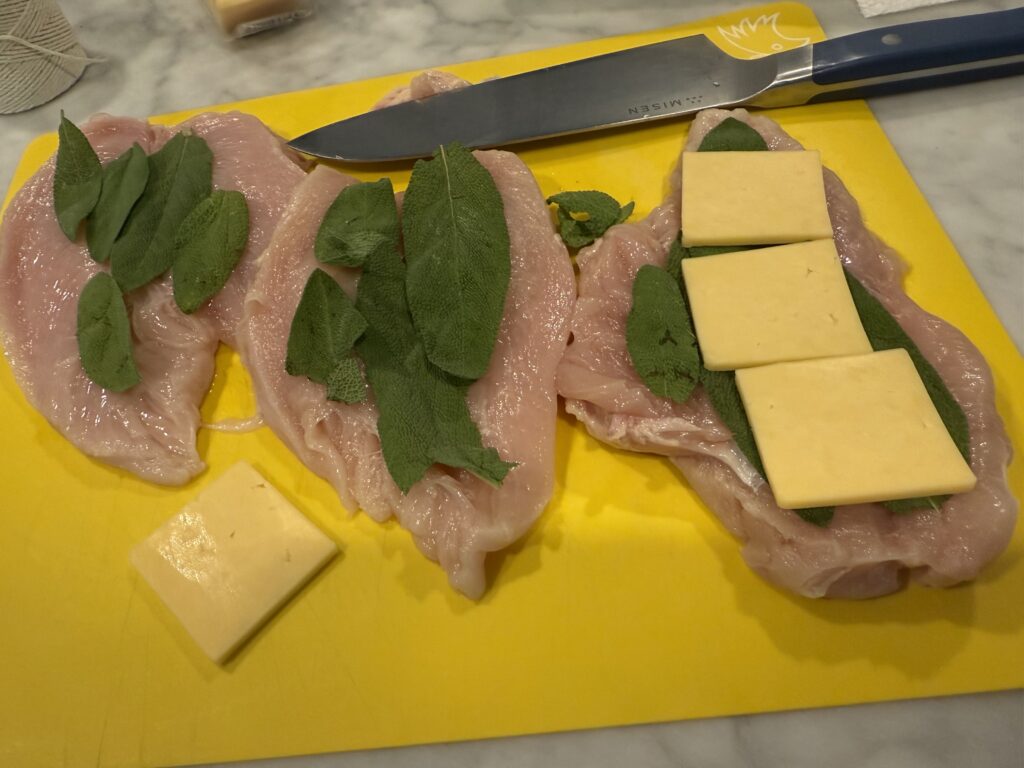
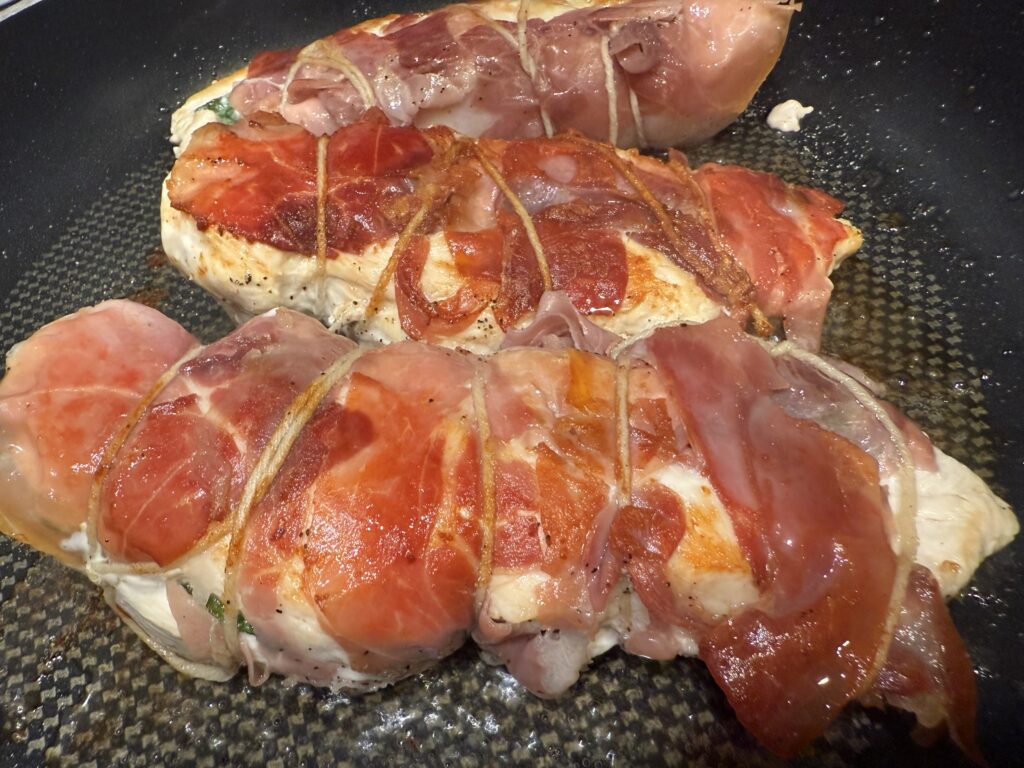
When I have a lot of sage in the garden, like right now, I typically make a traditional Easy Veal Satimbocca but last week, I had leftover Gouda cheese so decided to mix things up a bit by stuffing chicken I’d butterflied with the Gouda and tons of sage. I then wrapped the chicken in Prosciutto, tied it up, pan fried it and finished the dish in the oven. So flavor packed, moist and perfectly paired with a salad.

Ingredients:

  • 2 chicken breasts, butterflied and pounded thinly
  • Large bunch of sage leaves (will need about 8-10 leaves) 
  • 4 ounces Gouda, sliced or shredded (could use aged Cheddar)
  • Large pinch of salt and pepper
  • 6 slices Prosciutto
  • 2 Tbsp. olive oil

Directions:

  1. Preheat oven to 375 degrees.
  2. Press 4-5 sage leaves on each chicken pieces and top with Gouda. Season with salt and pepper and close the chicken over the stuffing.
  3. Wrap each chicken pieces with three slices of Prosciutto. Tie each chicken breast with kitchen twine or toothpicks to ensure the stuffing is secure inside the chicken.
  4. In a large oven-proof skillet over medium-high heat, warm the oil for a minute. Add the two breasts to the skillet and cook for 3 minutes on one side, until the Prosciutto is crispy. Carefully flip the chicken and cook 2 additional minutes on the second side. Place the skillet in the oven and cook 10 minutes.
  5. Remove the chicken from the oven, remove the twine or toothpicks and serve.

Serves 2. 

Cheers, Veronique
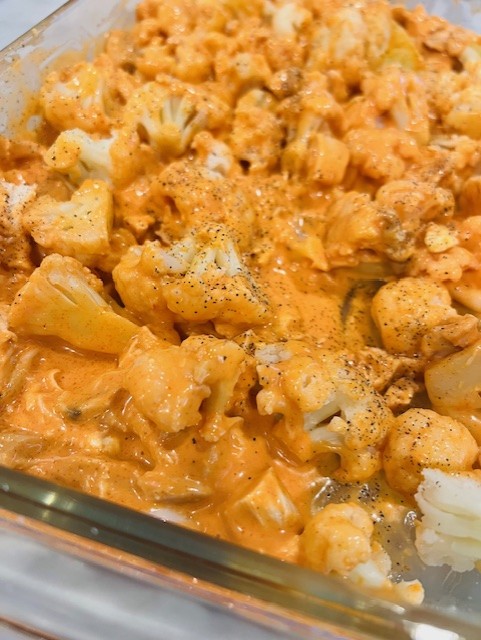
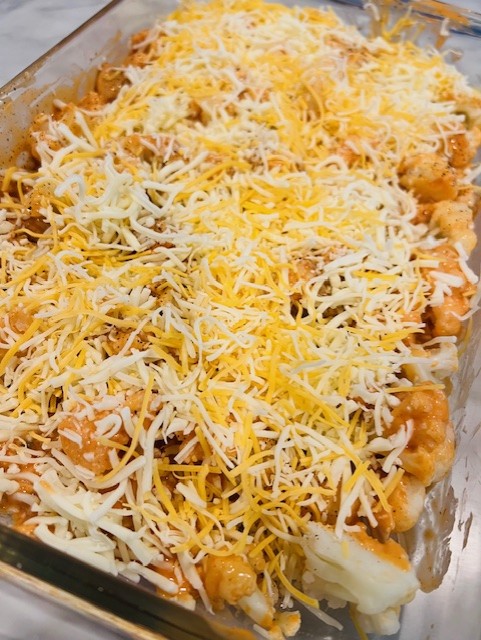
Buffalo Cauliflower and Chicken Bake

Buffalo Cauliflower and Chicken Bake

I’ve been making a conscious effort to lower the amount of carbs I intake and always looking for, or coming up with, recipes that I can easily reheat for weeknight dinners.

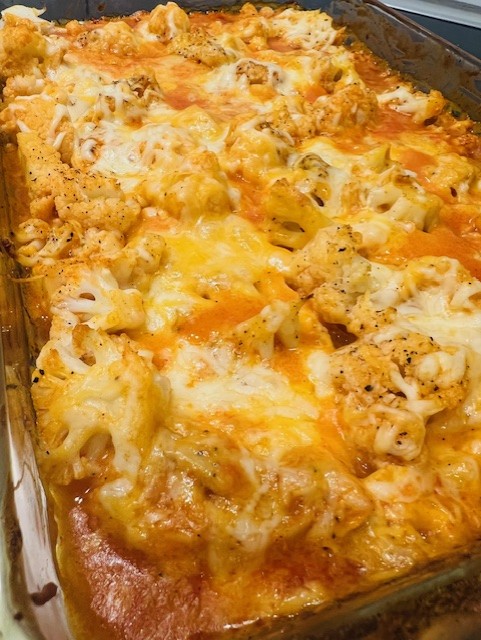
After the Big Game, I decided to try to make a simple-to-prepare cauliflower bake using the flavors of Buffalo wings. Since I only had a small head of cauliflower, I added some leftover roast chicken, but this could be made with just cauliflower for a meatless option.

After making this recipe on Sundays, I portion the mixture into four small meals for the week that I eat with celery and carrot sticks to keep things low carb. The mixture would be super served with crackers or tortilla chips also.

Ingredients:

  • 2 cups cooked chicken, diced or shredded
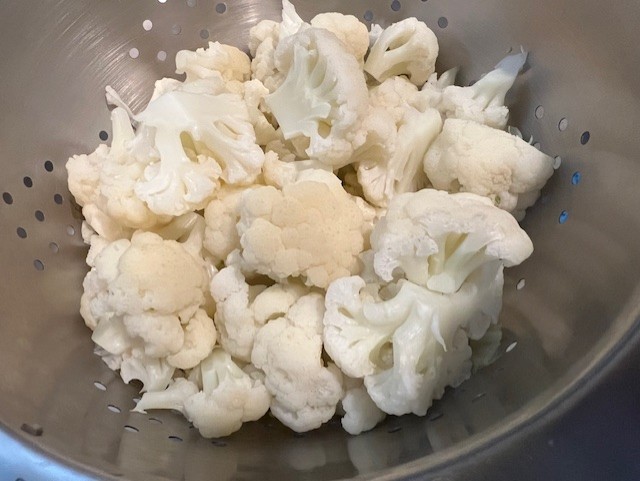
  • 1 medium head of cauliflower, cut into florets and blanched/steamed for 5 minutes
  • ½ cup blue cheese dressing (could use ranch dressing also)
  • 1 cup Buffalo sauce (I use Frank’s)
  • 1 cup each shredded Cheddar and Mozzarella cheese
  • ½ tsp. each salt and pepper
  • 3 green onions, chopped

Directions:

  1. Preheat oven to 400 degrees and coat a 9” x 13” baking dish with cooking spray.
  2. In a large bowl, gently combine the chicken, cauliflower, blue cheese dressing, Buffalo sauce, ½ cup each Cheddar and Mozzarella cheese and salt and pepper.
  3. Add the mixture to the baking dish and sprinkle with the rest of the two cheeses.
  4. Bake for 20 minutes, until the cheese is melted.
  5. Sprinkle with chopped green onions and serve!

Yields about 5 cups.

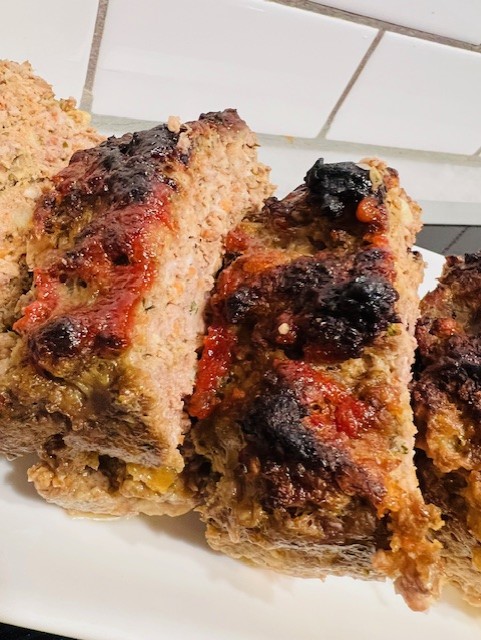
Best Meatloaf Recipe Ever

Best Meatloaf Recipe Ever

If you’ve seen me cook, you know that I mostly use the “throw a little of this and a little of that” in the pan mentality.  Even when I use a family recipe as a guideline, I modify the ingredients, measurements and techniques to make the final dish my own (okay, I follow my grandma’s meat sauce recipe to the letter).

With this in mind, I tested Martha Stewart’s Meatloaf 101 recipe years ago and have never veered off from the original – it’s simply the best meatloaf I’ve ever eaten.  It’s all that a meatloaf should be: comforting, moist with a caramelized, crusty topping.  I’m willing to be proven wrong if you feel your favorite meatloaf recipe is better than this one.

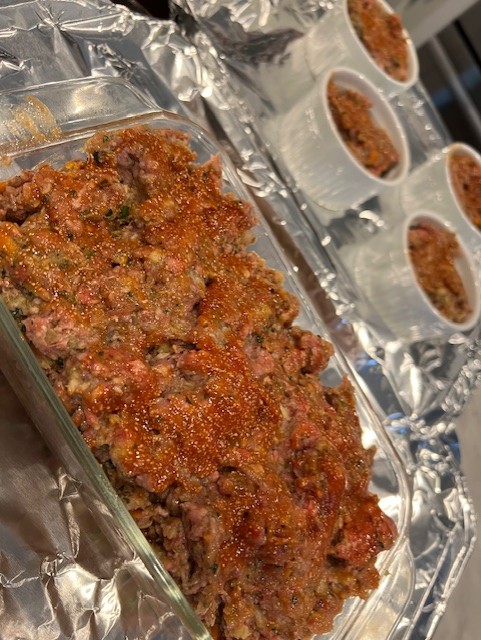
While I often just make a meatloaf, I also like to divide up the mixture between a load fan and individual ramekins for one-serving mini meatloaves I freeze and thaw for weeknight dinners. The mini loaves I cook for 45 minutes.

Martha Stewart Meatloaf 101 (first published January 2006)

Ingredients:

  • 4 slices white bread, torn into pieces
  • 1 3/4 pounds ground beef
  • 3/4 pound ground pork
  • 1 medium yellow onion, peeled and cut into eighths
  • 2 cloves garlic
  • 2 stalks celery, cut into 2-inch pieces
  • 2 carrots, peeled and cut into 2-inch pieces
  • 1/2 cup fresh flat-leaf parsley
  • 1 large egg
  • 3/4 cup ketchup
  • 4 tsp. dry mustard
  • 1 Tbsp. coarse salt
  • 2 tsp. freshly ground pepper
  • 2 Tbsp. packed light-brown sugar

Directions:

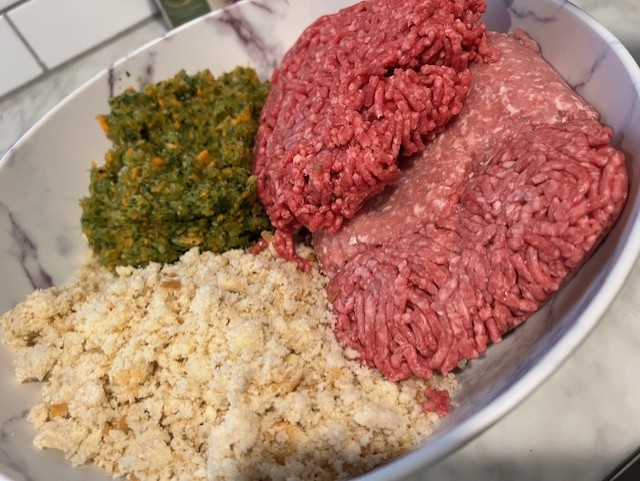
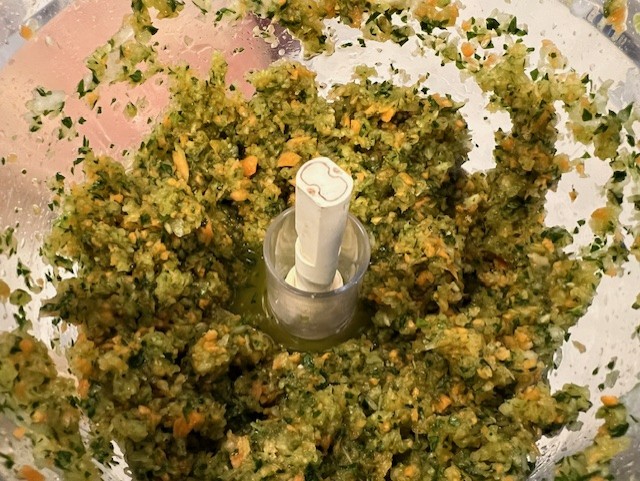
  1. Preheat oven to 400 degrees. In the bowl of a food processor, pulse bread until fine crumbs form. Transfer to a medium bowl; add ground beef and ground pork.
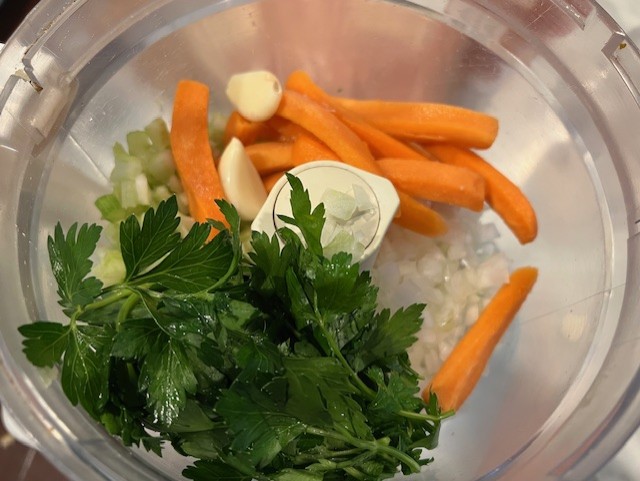
  2. Place onion, garlic, celery, carrots, and parsley in food processor; pulse until finely chopped. Add to beef mixture; combine using your hands. Add egg, 1/2 cup ketchup, 2 teaspoons dry mustard, salt, and pepper; combine thoroughly, using your hands. Place in an 8 1/2-by-4 1/2-by-2 1/2-inch loaf pan.
  3. In a small bowl, combine the remaining 1/4 cup ketchup and 2 teaspoons dry mustard, and the brown sugar; stir until smooth.
  4. Brush mixture over top of the meatloaf. Place the pan on a baking sheet to catch drippings, and transfer to oven. Bake until a meat thermometer inserted in the center reaches 160 degrees, about 1 1/2 hours. (If the top of the meatloaf gets too dark, cover with foil and continue baking.) Let meatloaf stand 15 minutes before slicing.

Yields 8-10 servings.

Kitchen Sink Cookies by Claire

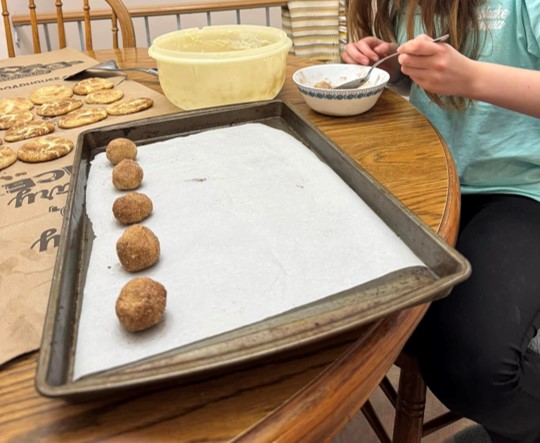
I love so much when kids and teens show a passion for cooking or baking. Cooking and baking skills are becoming sort of a lost art these days and when my colleague Sarah brought on her 12 year-old daughter, Claire, on a video call we were having to show off her cookie sheet full of freshly baked cookies, I was beyond impressed.

Claire Baking

I’ve known about Claire’s love of baking for a while and it stems from her grandma, Chris, who’s an amazing baker. My passion for baking also comes from my grandma, so this little lady and her Kitchen Sink Cookies hit close to home for me.

Claire shared the recipe she used, Kitchen Sink Cookies (Panera Copycat), by popular food blogger, Melissa at Design N Eat Repeat and I’m adding it to my repertoire to try over the weekend.

Kitchen Sink Cookies

Here’s to all the young cooks and bakers out there!

Cheers,

Veronique
Broccoli and Cauliflower Soup

Broccoli and Cauliflower Soup

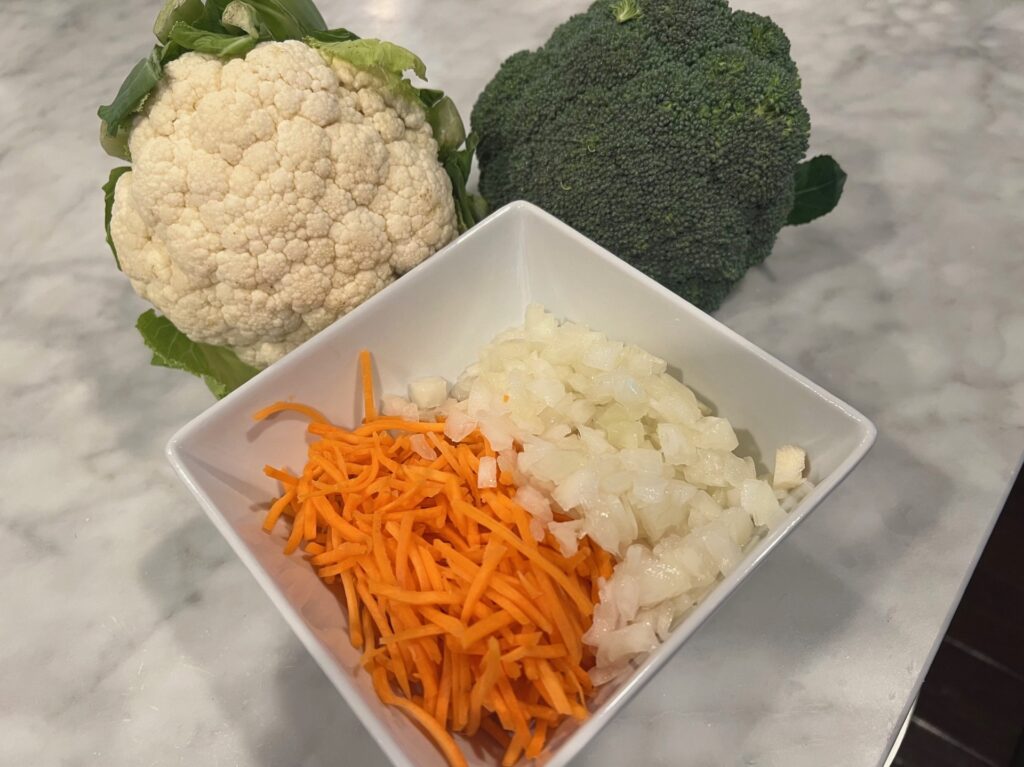
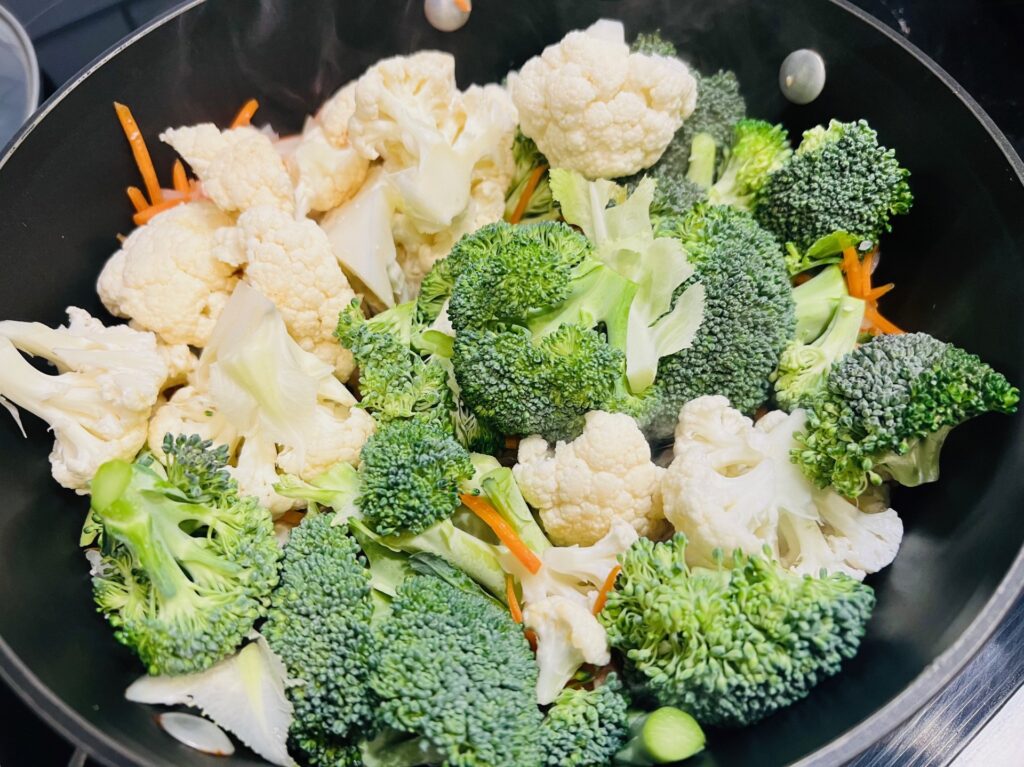
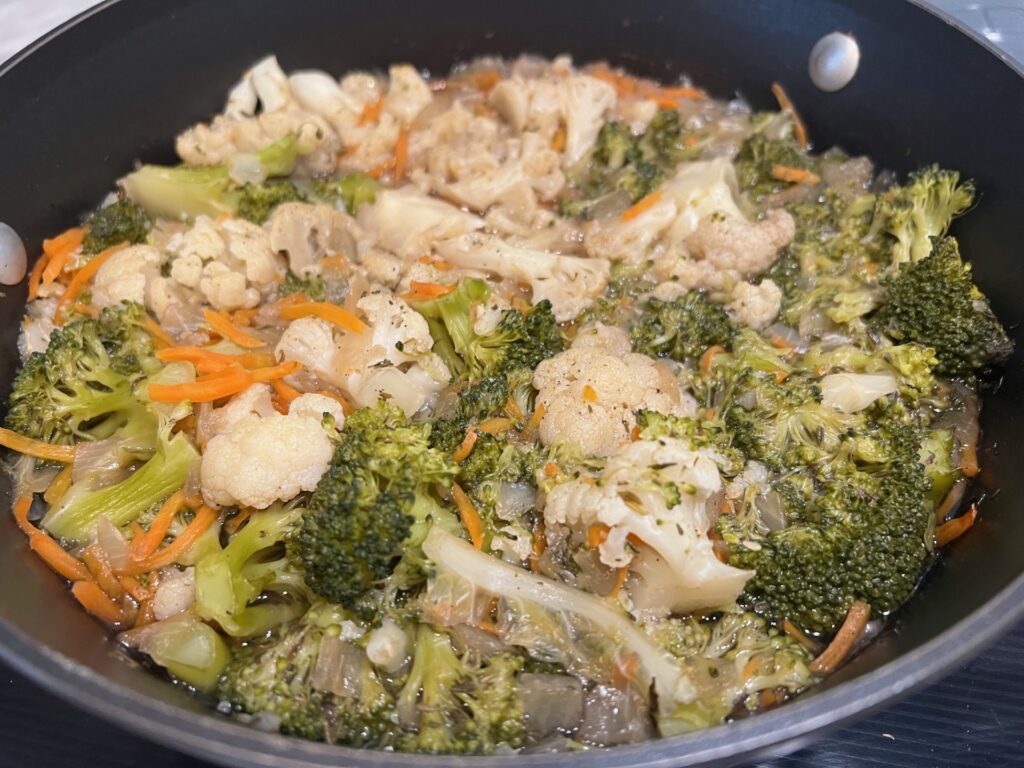
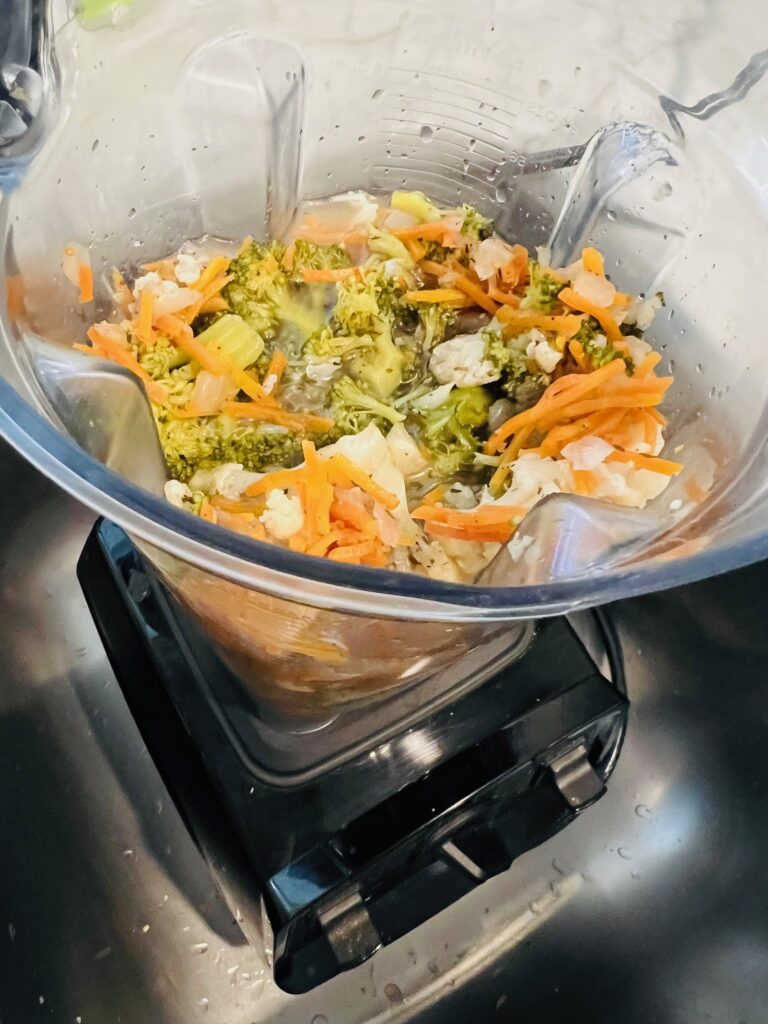
Broccoli and cauliflower are two vegetables my husband doesn’t like so while he was away recently, I took the opportunity to make a batch of this soup that I portioned for lunches during the week.

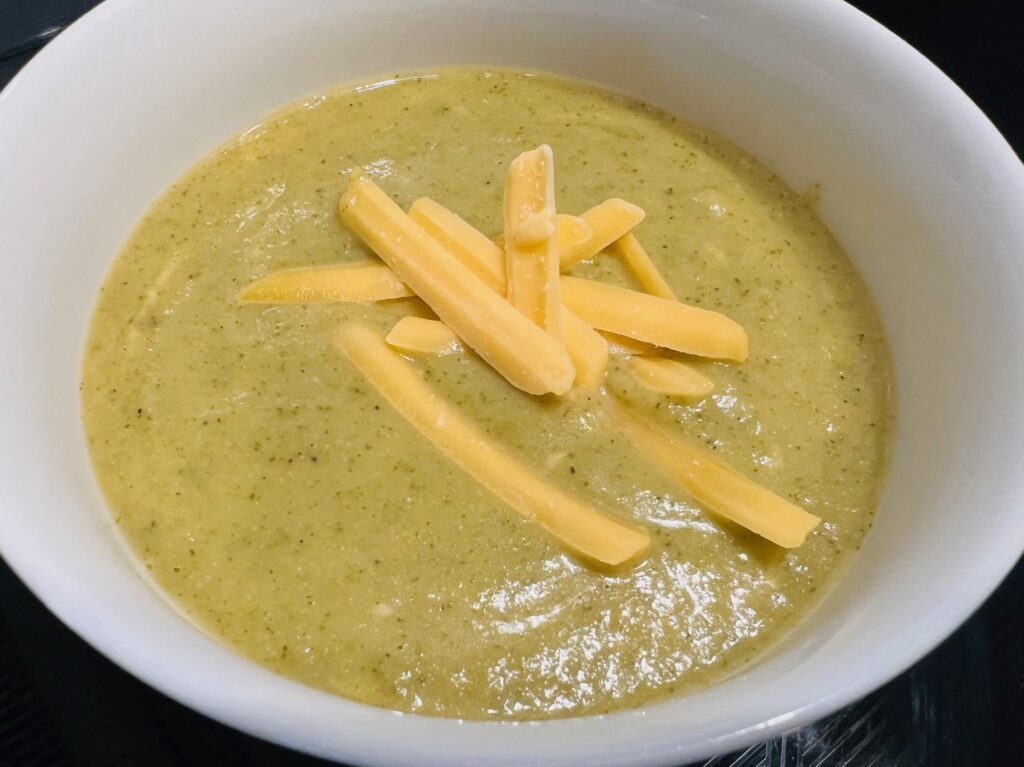
This Broccoli and Cauliflower Soup is great with the Cheddar or without and only features a touch of cream for a bit of extra richness. Cream could also be kept out if the extra calories or the dairy concern you.

Do you want a vegetarian soup? Simply use vegetable broth!

Ingredients:

  • 2 Tbsp. olive oil
  • 1 medium Spanish onion, chopped
  • 3 carrots, chopped or 1 cup shredded
  • 1 medium broccoli head, chopped into bite-size pieces
  • 1 medium cauliflower head, chopped into bite-size pieces
  • 1 tsp. each salt & pepper
  • ½ tsp. each thyme, garlic powder and onion powder
  • 32 ounces chicken or vegetable broth
  • ½ cup heavy cream, optional
  • 1 cup shredded sharp Cheddar

Directions:

  1. In a large saucepan over medium-high heat, warm the oil then sauté the onion and carrots for 3 minutes, stirring occasionally. Add the broccoli and cauliflower and cook, partially covered, an additional 5 minutes, stirring occasionally.
  2. Add the seasonings and broth. Simmer, partially covered, for 30 minutes.
  3. Purée in a blender or with an immersion blender until completely smooth, about 2 minutes. Return the puréed soup to a clean saucepan and gently heat for 2 minutes.
  4. Add the cream and/or Cheddar, if using, and warm for 2 minutes.
  5. Re-season with salt and/or pepper to taste.
  6. To serve, ladle soup into bowls.

Yields 6 servings.

Brown Sugar Crackle Top Cookies

Brown Sugar Crackle Top Cookies

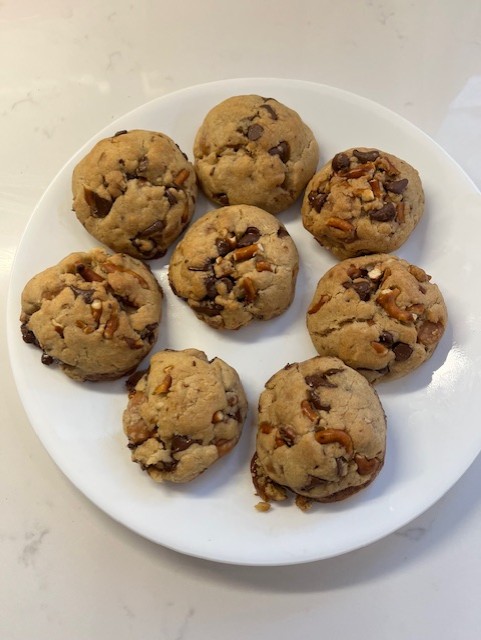
I was recently invited to a holiday cookie exchange party where I had to bring dozens of cookies to swap with other ladies. While I have many delicious cookie recipes on the blog, I wanted to challenge myself with trying a new recipe that would yield several dozen cookies.

I came across a recipe that yields four dozen cookies by blogger, Bake or Break, for Brown Sugar Crinkle Cookies. I have a great recipe for Chocolate Crackle-Top Cookies, that I love, but brown sugar cookies!!?? I was in!

This is a link to the recipe: https://bakeorbreak.com/2012/04/brown-sugar-crinkles/

While I followed the instructions, I did use a 1 ½-inch ice cream scoop vs the 1-inch version proposed in the recipe. Because of this, the recipe yielded 40 cookies, vs 48.

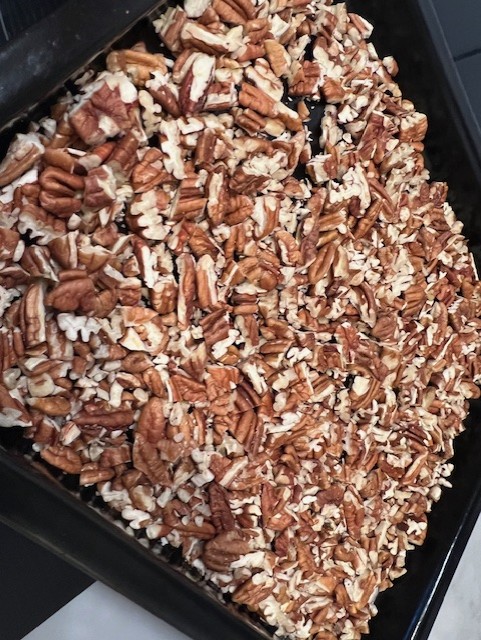
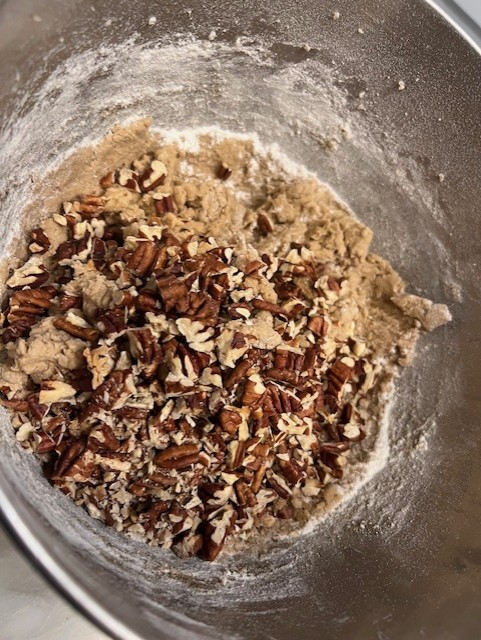
Toasting the chopped pecans made a huge difference in how nutty the cookies tasted, don’t skip that step!

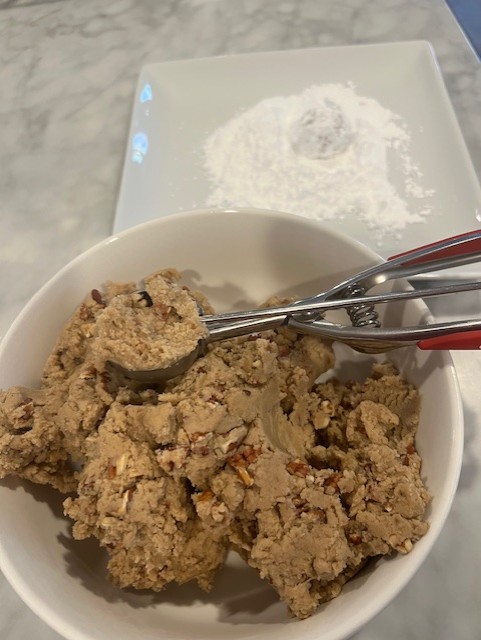
Don’t overbeat the batter, mix until the dough comes together then manually fold in the pecan pieces with a wooden spoon or spatula. Again, mix until the pecans are just incorporated.

Letting the dough chill in the fridge prior to scooping into balls is critical here so that the cookies hold their shape and don’t go flat and spread too much. I gave mine 45 minutes in the fridge.

When possible, I like to bake one cookie sheet at a time, which I did here also as I had a leisurely day to do the baking. I just think cookies bake more evenly that way. I totally get that it’s not always feasible though.

As the cookies were a little bigger than what was prescribed in the recipe, I baked them for 13 minutes and they were perfect.

Can’t imagine one person who wouldn’t love getting a box of these precious and delicious cookies for the holidays.

Happy baking! Veronique
Easy Pellet Smoker Pulled Pork

Easy Pellet Smoker Pulled Pork

I’m no professional when it comes to smoking, but I’ve developed certain skills at using my Recteq RT-590. One of the easiest things one can make on a pellet smoker is pulled pork using a pork shoulder, also known as pork butt or Boston butt.

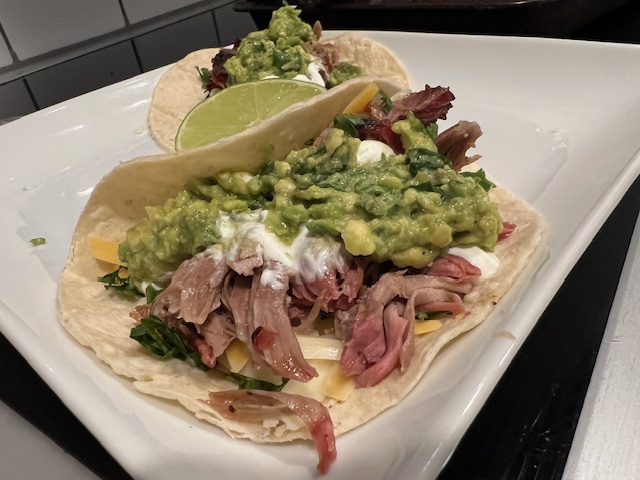
With just a few ingredients and in just a few steps, you’ll have a solid product that can be used in many ways. We’re fond of tacos (see below)!

Ingredients

  • 6-8 lb. pork butt with the bone in
  • Yellow mustard
  • Homemade or store-bought BBQ rub, we like Pork Mafia and Revolution Barbecue both found on Amazon
  • Spray bottle filled with equal amounts of cola and apple juice
  • Squeeze bottle margarine, I use Parkay brand
  • Salt and pepper
  • Homemade bbq sauce, or store-bought BBQ sauce, we like Bone Suckin’ Sauce widely available

Directions:

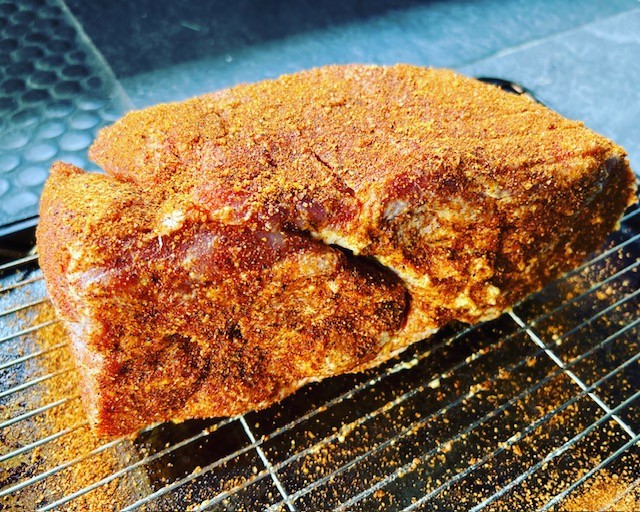
  1. The night before your cook, pat dry the pork butt with paper towels, coat in yellow mustard and generously sprinkle rub over the mustard. Wrap the pork butt in shrink wrap and place in the refrigerator overnight.
  2. The morning of your cook, add pellets to your smoker and preheat to 250 degrees for about 10 minutes, or until blue smoke turns white-ish.
  3. Take the pork out of the fridge, sprinkle with a second layer of rub then allow to warm up a bit while you fill a metal or aluminum pan with water, coming up halfway up the pan. Place the water-filled pan on one side of the smoker, that’ll help keep the pork moist as it cooks, and place the pork butt on the other side, fat cap down. Insert the smoker’s probe, or a meat thermometer, inside the pork ensuring it doesn’t touch the bone, which will cause bad temp readings.
  4. Generously spray the pork with the cola/juice mixture every hour until the internal temp of the meat reaches 155 degrees.
  5. Place three large sheets of foil on a work surface and position the pork on the foil. Spray generously with the coke/apple juice and squeeze margarine all over the surface, you’ll need about ½ cup depending on the size of your pork butt. Wrap the pork tightly with the foil and place the probe/thermometer back in the meat. Put the pork back on the smoker and cook until the internal temp reaches 200 degrees.
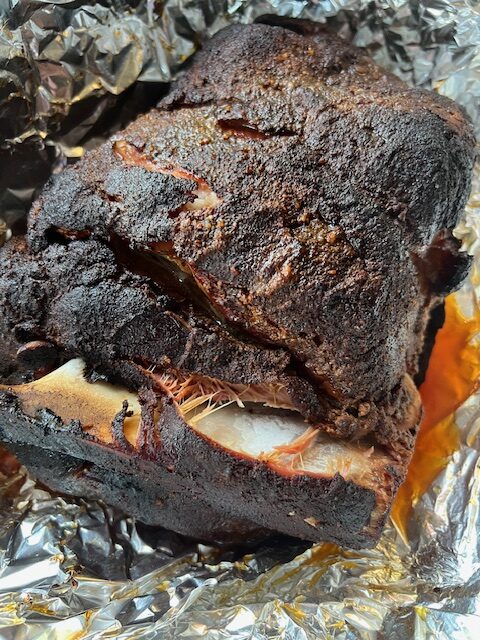
  6. Take the pork out of the smoker, uncover the top and put the pork back on the smoker to finish creating the crunchy bark, about 30 minutes.
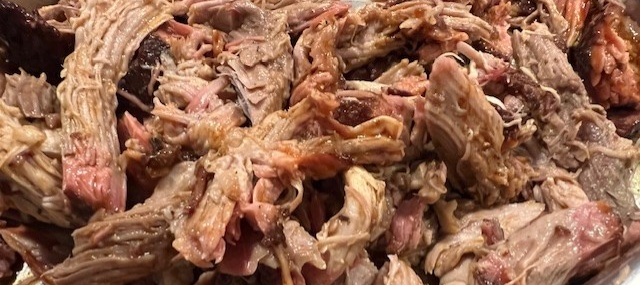
  7. Take the pork out and let it rest 15-20 minutes, remove the bone then shred and pull using two forks, or your gloved hands. Generously salt and pepper the meat then add a thin layer or BBQ sauce, about ½ – ¾ cup to lightly coat but not overwhelm the amazing pork flavor. Alternatively, you can omit the bbq sauce.

Yields 6-8 pulled pork sandwiches.

Note that the cooled pork freezes very well in freezer bags for up to a couple of months.