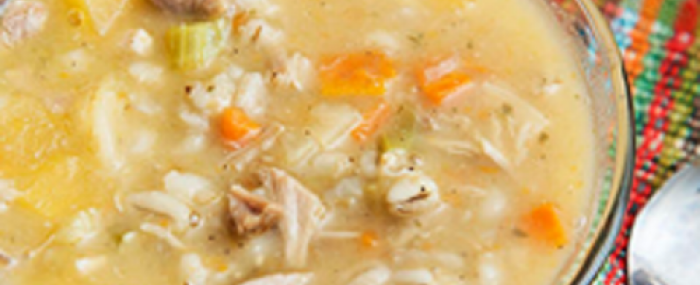
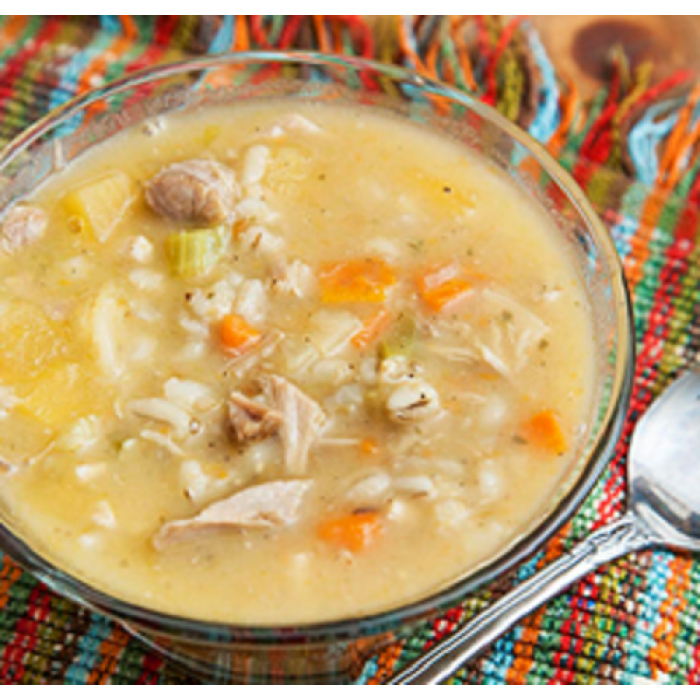
This a rustic meal-in-a-bowl and perfect on a chilly winter day. It’s an easy way to use up turkey leftovers also.
Ingredients:
- 2 Tbsp. vegetable oil
- ½ medium turnip, diced
- 1 large carrot, diced
- 2 celery stalks, diced
- 6 cups turkey stock, homemade ideally
- 2 cups cooked turkey, cut into bite-sized pieces
- 1 ¼ cups barley, rinsed and cooked to package directions
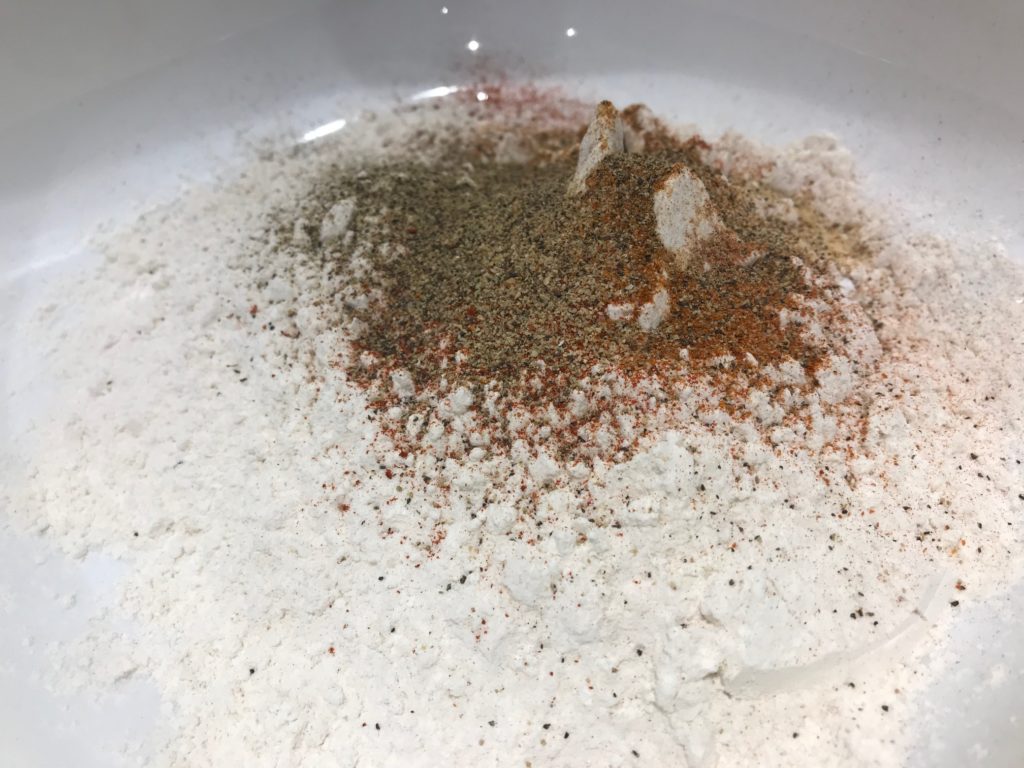
- ½ tsp. each salt, pepper and dried thyme
- 2 bay leaves
Directions:
- To a large skillet over medium heat, warm the oil. Add the turnip, carrot and celery and cook until softened, about 5 minutes, stirring frequently. Set aside.
- While the vegetables cook, bring the stock to a simmer in a large saucepan over medium-high heat. Add the turkey, the cooked vegetables, the barley, the salt, pepper, thyme and bay leaves. Simmer over medium-low heat for 45 minutes. Discard the bay leaves and serve.
Yields 6-8 servings.
 Ingredients:

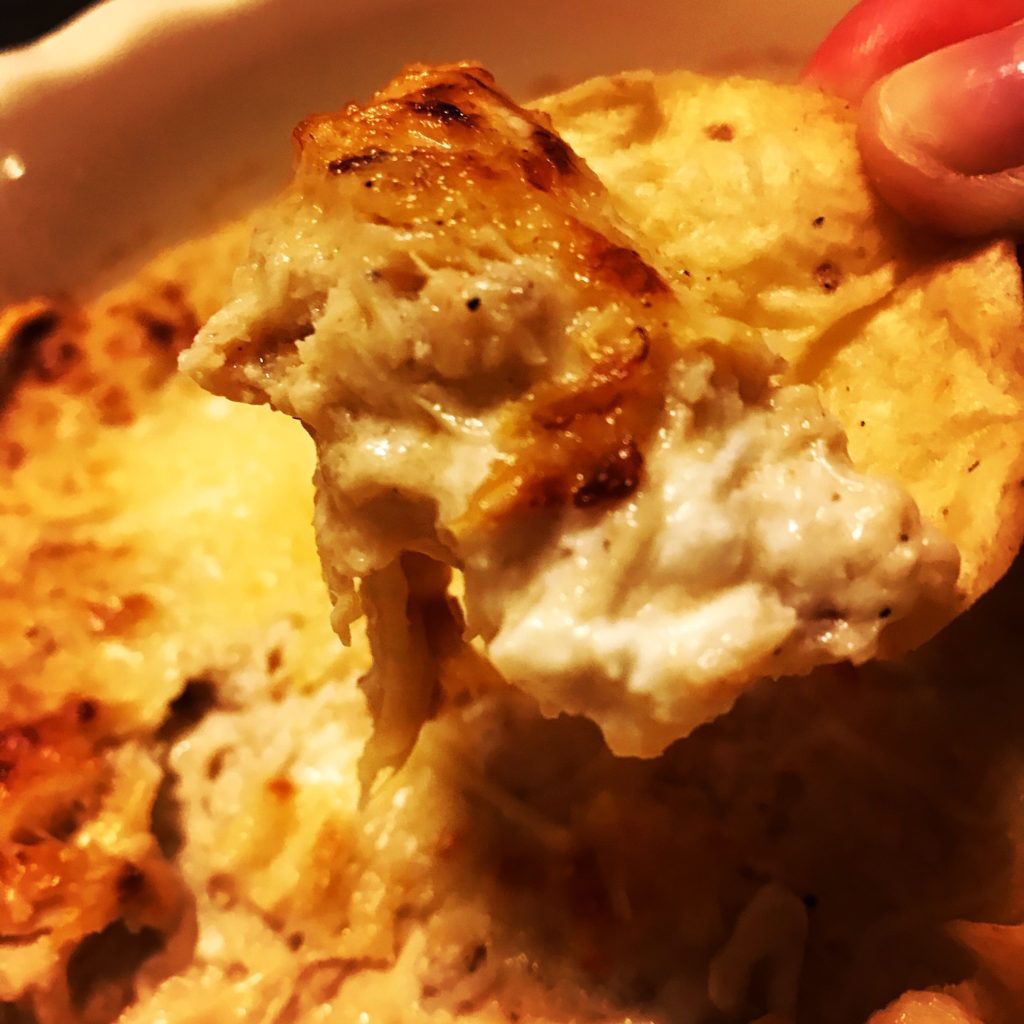
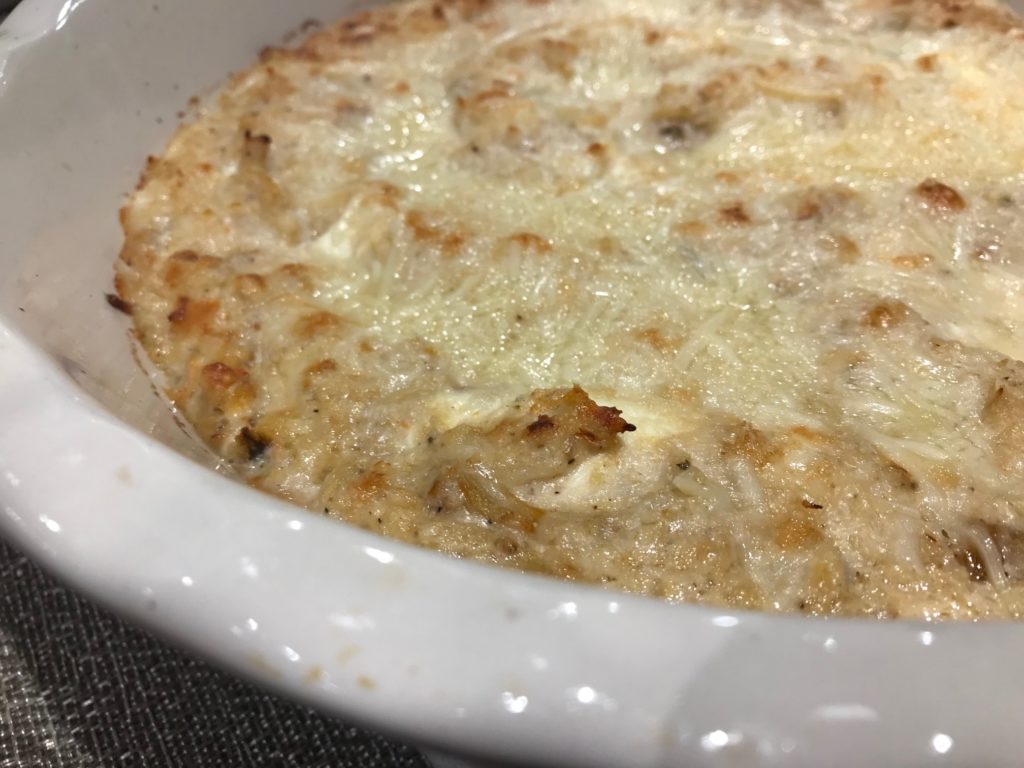
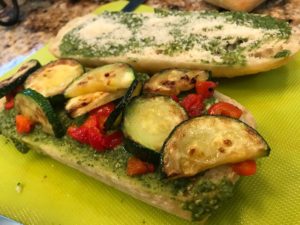
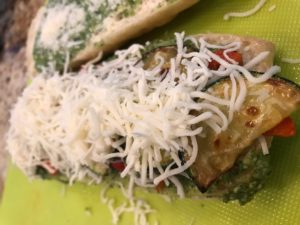
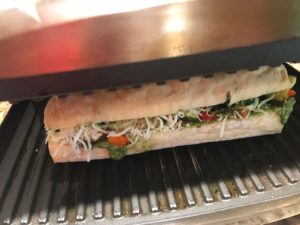
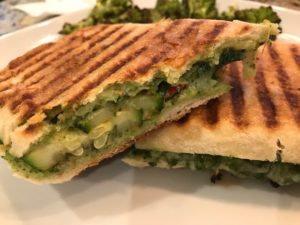 We served this Pesto and Roasted Zucchini Panini with a side of roasted cauliflower tossed in a mixture of red wine vinegar/Parmesan and garlic and it was delish.
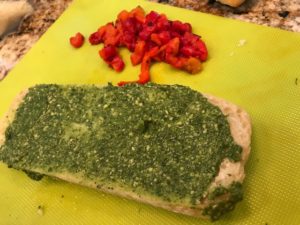
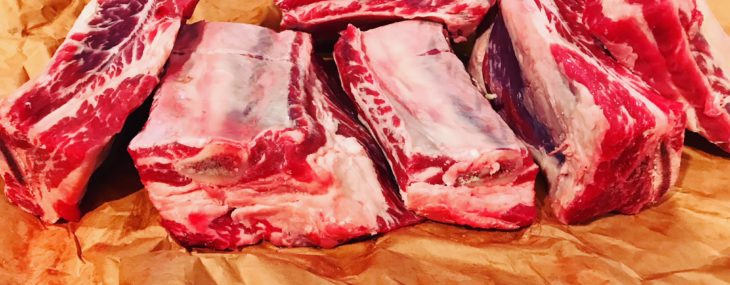
 While I was visiting my favorite craft butcher, Denville Meat Shop (
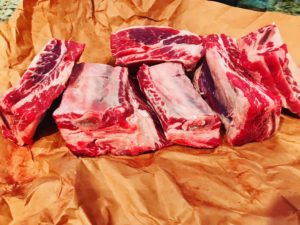
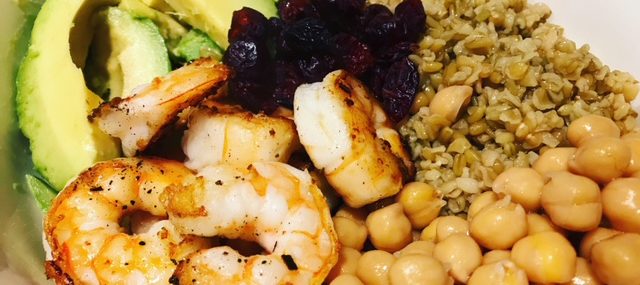
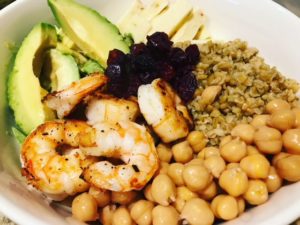 These types of bowls are all the rave right now and for good reason – they’re delicious and so versatile! I like the start with a grain or pasta, this time I’m using freekeh, and add whatever staples you have on hand. Here’s I’m using sliced avocado, canned chickpeas (don’t hate), leftover pepper jack cheese, cranberries and shrimp I thawed from the freezer that I used blackening spices on. Drizzle my favorite dressing and I was good to go in the time it took to cook the freekeh!


Recent Comments