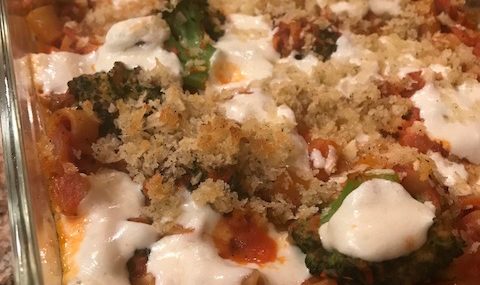
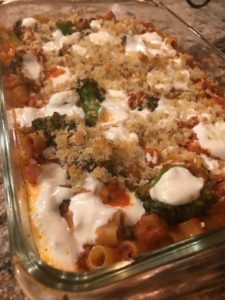
 This baked ditali pasta and creamy tomato sauce casserole is delicious and simple to make. This is a Blue Apron pasta recipe that was a huge hit at our home for its taste, ease of preparing and for its cheesy, comforting qualities.
I love that the broccoli and pasta are cooked at the same time in one pot – how fab is that!? The garlic/breadcrumb topping is packed with bold flavors and provides a nice crunch.
Ingredients:
- 6 ounces ditali (also called ditalini) pasta (or other small tubular pasta)
- ½ pound broccoli, cut into small florets
- 1 yellow onion, small diced
- 1 Tbsp. Italian seasoning (mix of basil, sage, oregano, savory, rosemary, thyme and marjoram)
- ¼ tsp. crushed red pepper flakes
- 1 15-ounce can crushed tomatoes
- ¼ cup heavy cream
- 1 cloves garlic, finely chopped then smashed into a paste
- ¼ cup panko breadcrumbs
- 1 Tbsp. olive oil
- 1 Tbsp. capers
- 4 ounces fresh Mozzarella cheese, torn into small pieces
Pasta and Broccoli Directions:
- Preheat oven to 475°F.
- Heat a large pot of salted water to boiling on high.
- Add the pasta and broccoli pieces to the pot of boiling water. Cook, stirring occasionally, 8-9 minutes (or two minutes less than package directions), or until the broccoli is bright green and the pasta is al dente (still slightly firm to the bite). Turn off the heat. Reserving 1/4 cup of the cooking water, drain thoroughly and return to the pot.
Sauce Directions:
- While the pasta and broccoli cook, in a large pan, heat a drizzle of olive oil on medium-high until hot. Add the diced onion, Italian seasoning and as much of the red pepper flakes as you’d like, depending on how spicy you’d like the dish to be; season with salt and pepper. Cook, stirring frequently, 2 to 3 minutes, or until slightly softened.
- Add the tomatoes (carefully, as the liquid may splatter); season with a pinch of salt and pepper. Cook, stirring occasionally, 3 to 4 minutes, or until slightly thickened.
- Add the heavy cream and cook, stirring frequently, 30 seconds to 1 minute, or until thoroughly combined. Turn off the heat and season with salt and pepper to taste.
Casserole Assembly Directions:
- Place the garlic paste in a bowl and add the breadcrumbs, olive oil and a pinch each of salt and pepper. Stir to combine and set aside.
- To the pot of cooked pasta and broccoli, add the sauce, capers and the reserved cooking water. Season with salt and pepper to taste.
- Transfer the pasta mixture to a baking dish (9×9 or 11×7). Evenly top with the cheese and seasoned breadcrumbs.
- Bake the casserole 8 to 10 minutes, or until lightly browned and bubbly around the edges. Remove from the oven and immediately drizzle with olive oil. Let stand for at least 2 minutes before serving.
Makes 2 generous entrée-sized portions or 4 side dish portions.
Cheers,
Veronique


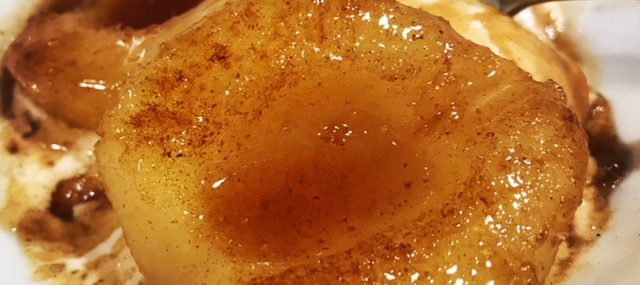
 Bananas Foster is a dessert originally-created at Brennan’s Restaurant in New Orleans back in the 1950s. The popular dish consists of ripe bananas cooked in a butter, dark rum, banana liquor and brown sugar sauce then topped with vanilla ice cream. It’s decadent, old school and a most perfect dish.
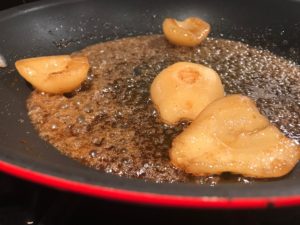


 According to Wikipedia, Mardi Gras, also called Fat Tuesday, refers to events of the Carnival celebrations, beginning on or after the Christian feasts of the Epiphany (Three Kings Day) and culminating on the day before Ash Wednesday. Mardi Gras is French for “Fat Tuesday”, reflecting the practice of the last night of eating richer, fatty foods before the ritual fasting of the Lenten season.
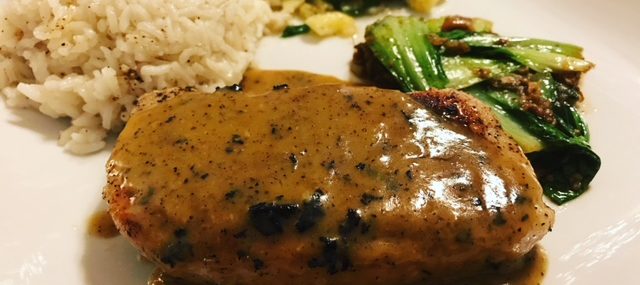
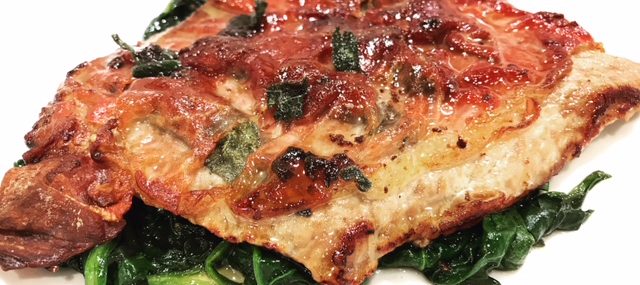
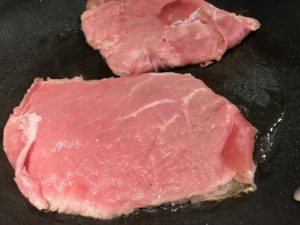
 My hubby fixed our Blue Apron dinner last night and our dish, pork chop with miso butter sauce was outstanding. What made the dish was the rich, slightly salty, umami-packed miso butter sauce. It would go great with steaks or chicken or vegetables or just about anything.


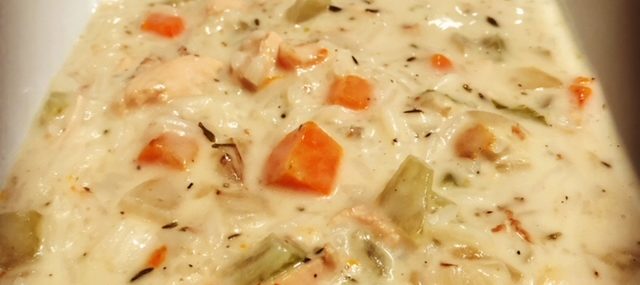
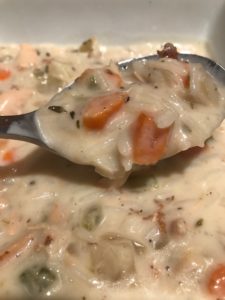
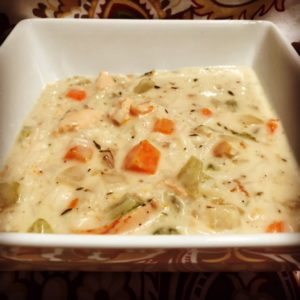 Creamy chicken and rice soup has been a favorite of mine since my youth going to St Hubert restaurant in Quebec. St Hubert is a popular restaurant chain and the rice and creamy chicken soup it makes is pure comfort in a bowl.
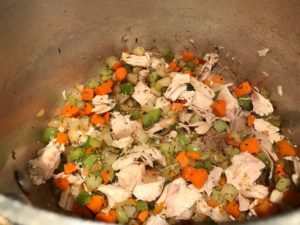

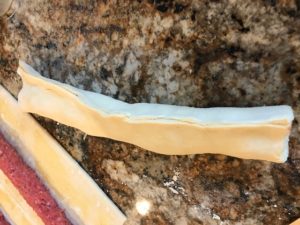
 My guy is Dutch and every time we go to Holland (okay, The Netherlands), the one food item he has to have right away is a warm Dutch sausage bread, also known as Saucijzenbroodjes in Dutch. Every bakery and grocery store there sells Saucijzenbroodjes and they’re just as the name sounds – sausage stuffed into bread. My Mother-In-Law’s boyfriend usually brings a brown bag full of them each morning and it’s a quick way to get my hubby out of bed.
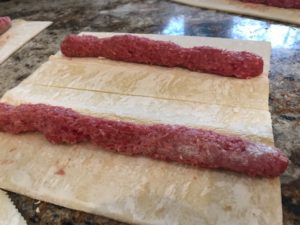


Recent Comments