It’s prime grilling season and, unlike other times of the year, we find ourselves gravitating to the meat counter at our local butcher shop for steaks. If you’re a carnivore, there’s nothing better than a medium-rare ribeye seared to perfection and served with a carb-loaded side.
 In an effort to cut down on carbs, we often forego the typical baked potatoes and corn in favor of grilled vegetables. Asparagus, zucchini and squash are veggies we like, but, our very favorites are mushrooms. We enjoy all kinds of mushrooms cooked many different ways.
One of those ways is to sauté mushrooms in garlic brown butter and finish with white miso and sage – yum!! Miso is a traditional Japanese seasoning produced by fermenting mashed soybeans (could also use rice or barley) with salt and a mold called Koji. After fermenting for anywhere from a few months to a few years, the miso turns into a thick paste that can be used in many ways to season things like soups and marinades. White miso paste, which is milder in flavor and lighter in color than its dark/red miso kin, can be found in the refrigerated section of the grocery store or at Asian markets.
These Garlic Miso Cremini Mushrooms are also great on burgers and served with grilled salmon or pork chops.
Ingredients:
- 4 Tbsp. butter
- 2 garlic cloves, minced
- 16-ounces sliced Cremini mushrooms (can use button or other mushrooms too)
- ½ tsp. each salt and pepper
- 1 Tbsp. white miso paste (this is the one I use)
- 1 Tbsp. chopped fresh sage
-

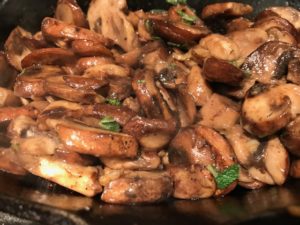
- Adding Miso
-
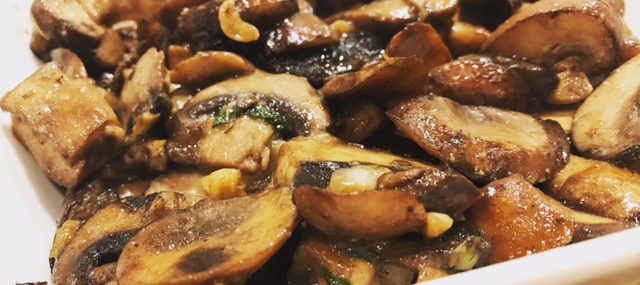
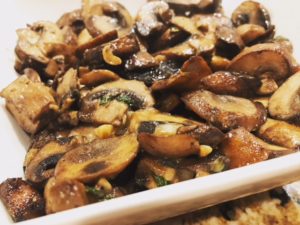
- Finished Mushrooms
-
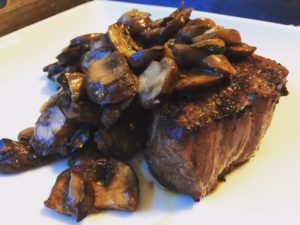
- Filet with Mushrooms
Directions:
- Place a large skillet over high heat and add butter. Once the butter is slightly browned, after about 1 minute, add the garlic and cook for 30 seconds, until fragrant. Add the mushrooms and toss to coat in garlic butter then cook for about 5 minutes over medium heat, stirring occasionally, until soften and slightly golden.
- Add the salt and pepper and stir to combine.
- Add the miso paste and stir into the mushroom mixture until it’s fully dissolved, about 1 minute.
- Add the sage and stir to combine for about 30 seconds.
Makes 2 large side servings.


 If you can’t find multi-colored carrots at your market, simply use regular orange-colored ones. It won’t affect the taste at all.
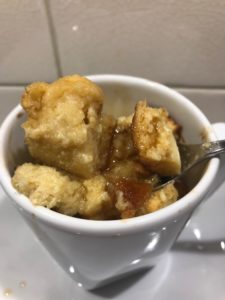
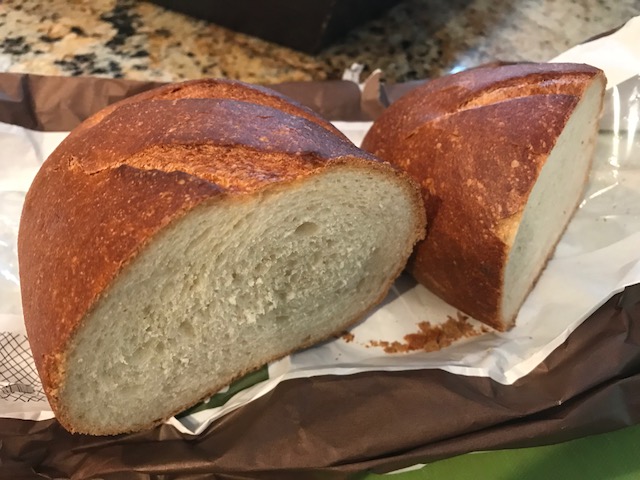
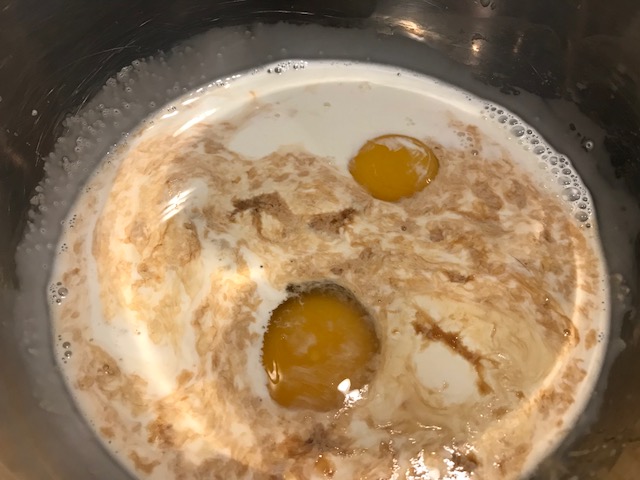
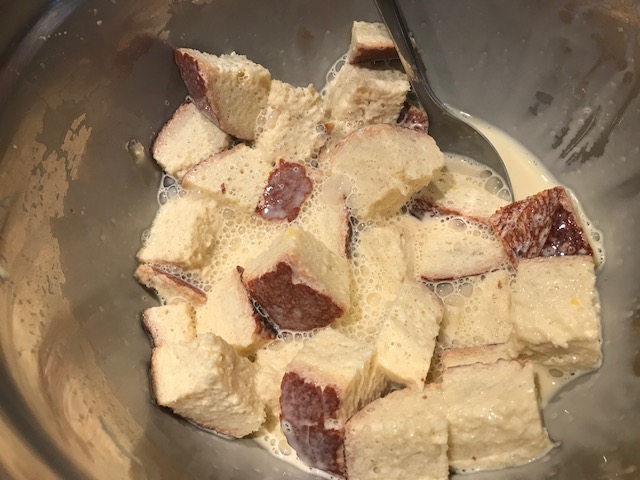
 I was going to a potluck where I offered to bring dessert and thought….why not do something different than my usual

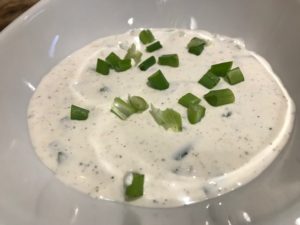
 It’s a really simple, tangy dressing that you can make a day in advance if kept in a container with a tight-fitting lid. I use canning jars for this as it’s easy to shake up the ingredients before pouring over the greens.
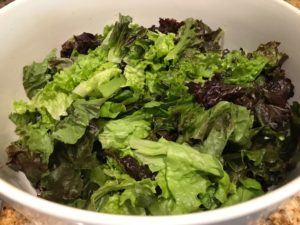
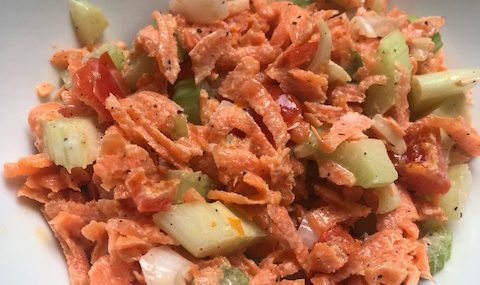
 Sweet piquante peppers are found typically jarred and are also known as peppadew peppers. They’re great on sandwiches, in salads and in this easy slaw recipe.
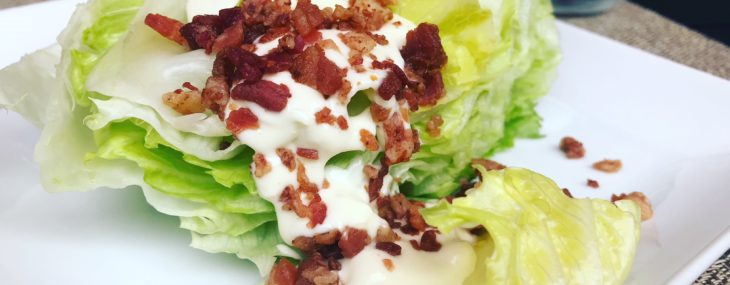
 It’s not innovative but it’s pretty close to perfect on hot summer days with its crisp, cold lettuce, decadent blue cheese dressing and fun toppings that can be customized to please your guests.
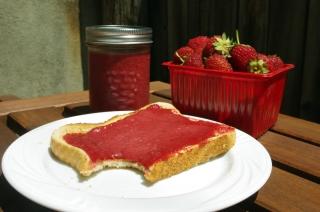
 Cultivated strawberries are so easy to pick as farmers have rows and rows of plants with an abundant amount of berries on them. Within a few minutes, I have more strawberries that I know what to do with!
 I make the tarragon dipping sauce the day before and keep it in the refrigerator until I’m ready to serve the dish. This saves some time and keeps you out of the kitchen and with your guests come party time.


Recent Comments